Here, we will convert our Nikon D7000 into a full-spectrum camera. This is a great camera and is currently available at a reasonable price.
We will need:
- a small screw driver set
- a LED flash light
- a drill bit 7 mm
- a cordless power drill, if possible, a small one.
- some precision measuring tool like a gauge with a stand.
The measuring tool is actually optional as I will show how to shift the sensor to the front without measuring tools.
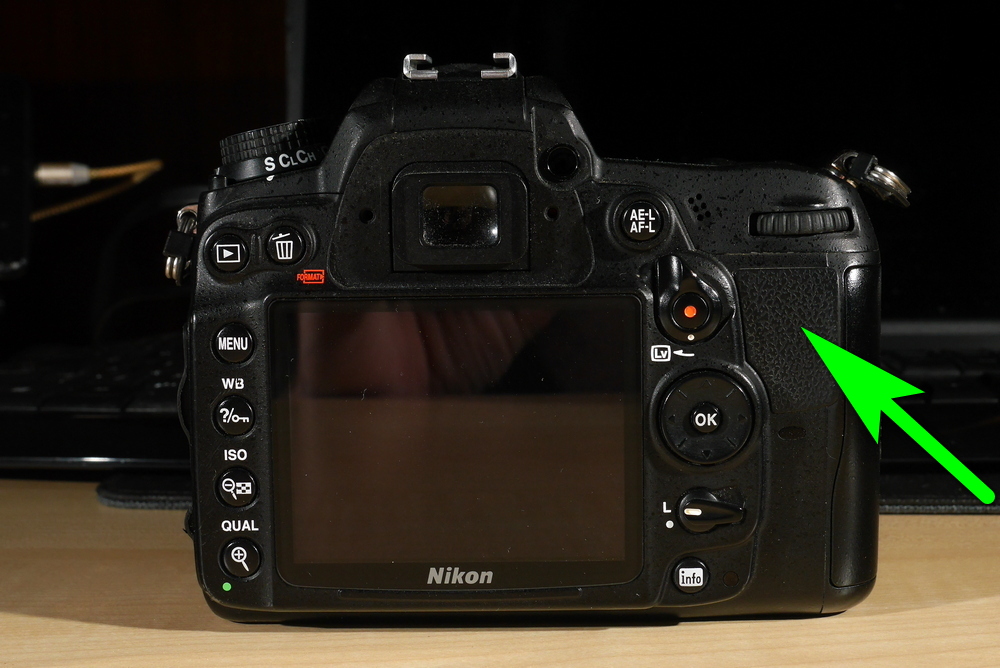
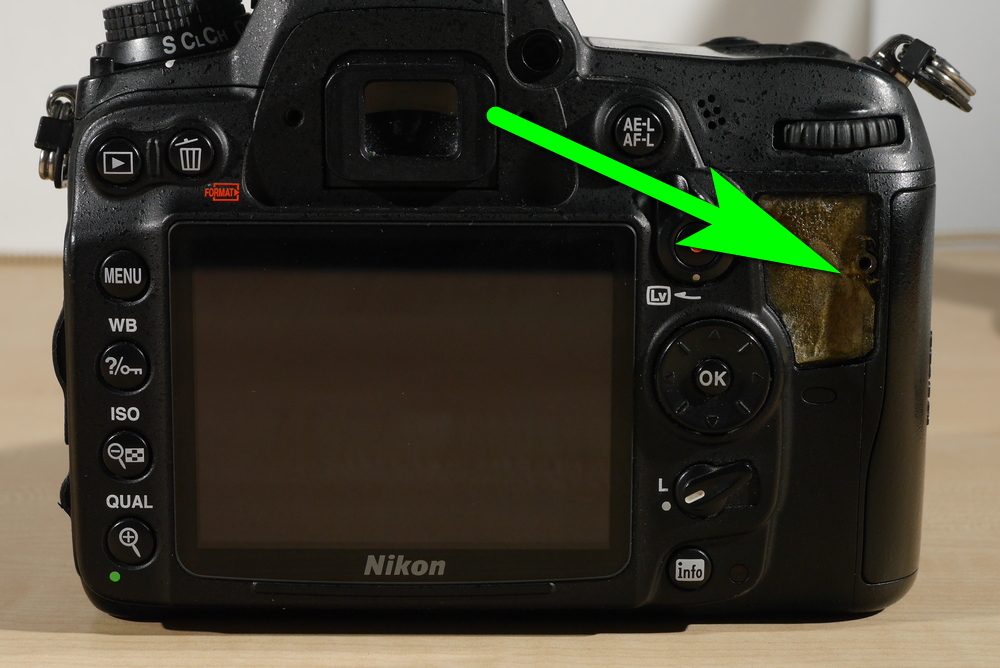
Unscrew all the outside screws. There is a screw located under the thumb rest rubber.
Notice that you need to take out the bottom panel first to unscrew LCD back panel holding screws.

There will be four screws in the battery compartment. Unscrew them also.
Disconnect the two LCD cables and take out the back panel.
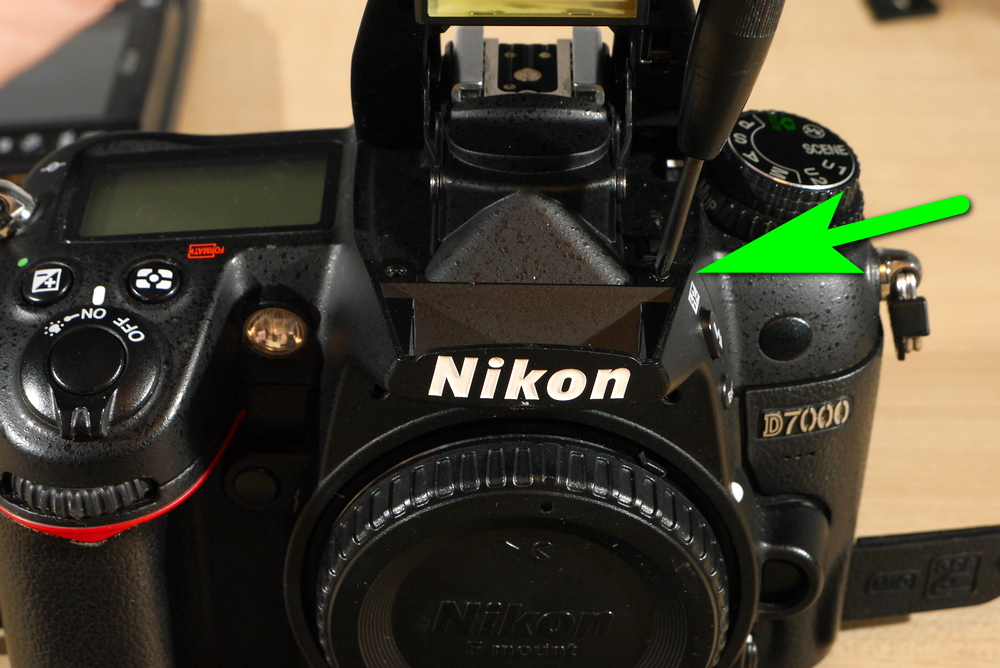
Take out the front panel screws. Screws for it are underneath flash.
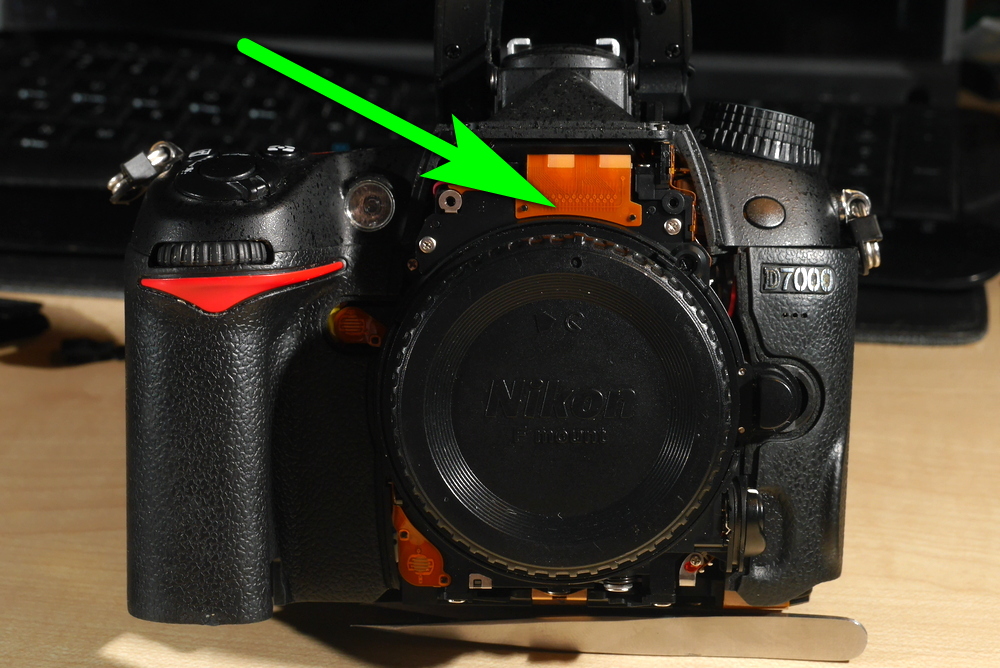
Take out the left panel.
Take out the right panel.
Disconnect all ribbon cables and double-check to ensure that none of them are left behind to prevent tearing.
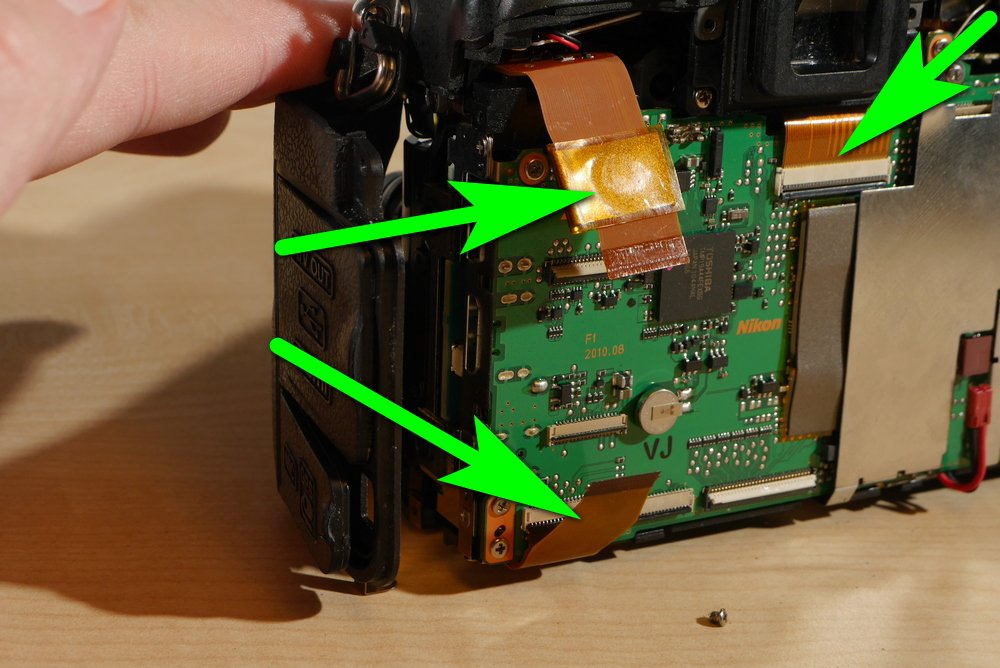
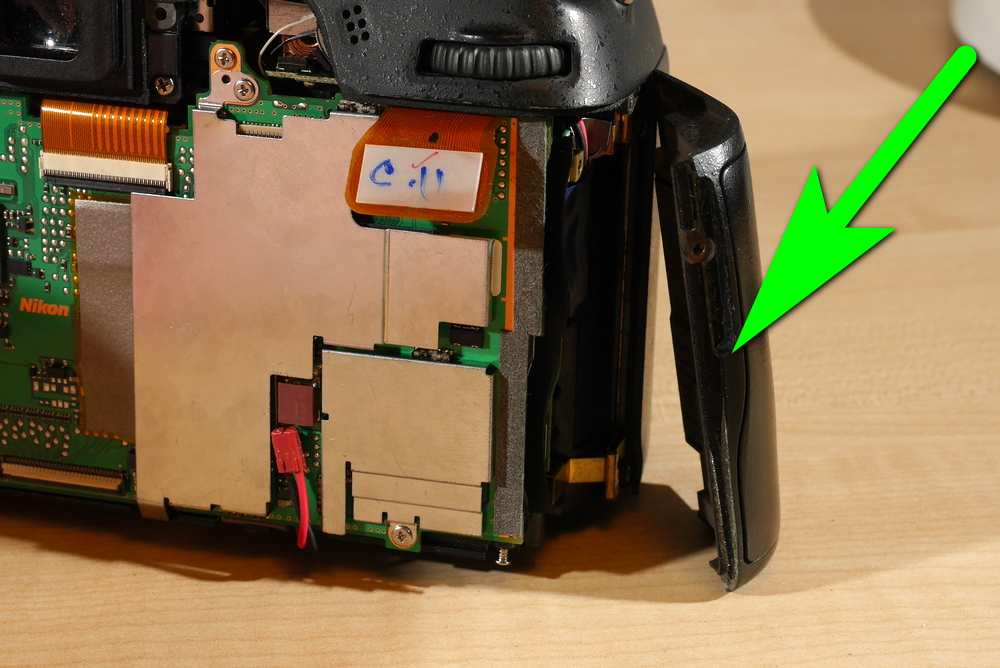
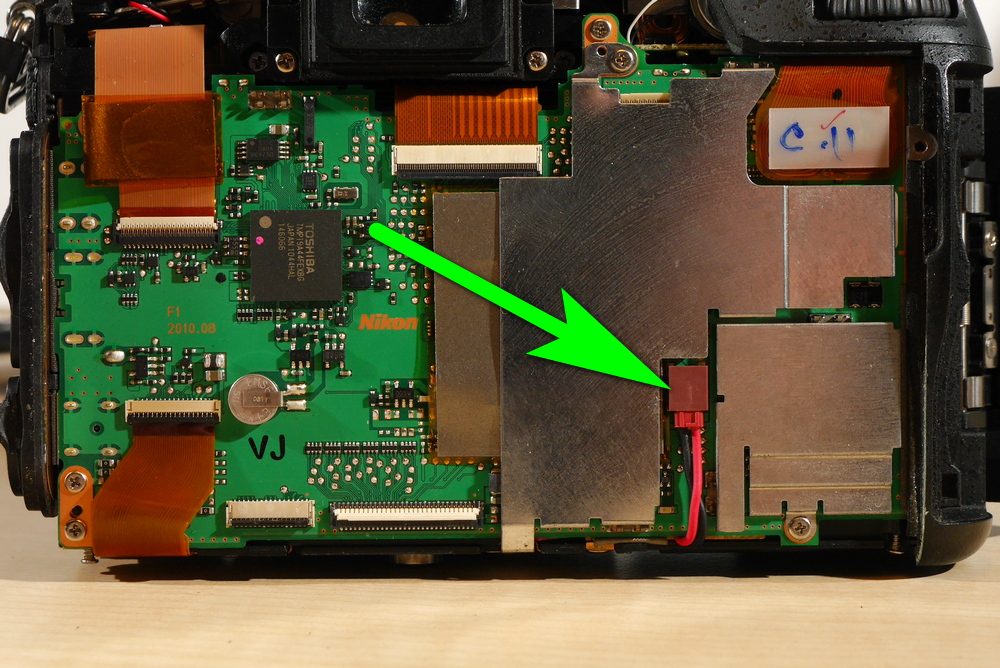
Disconnect the thick power cable.
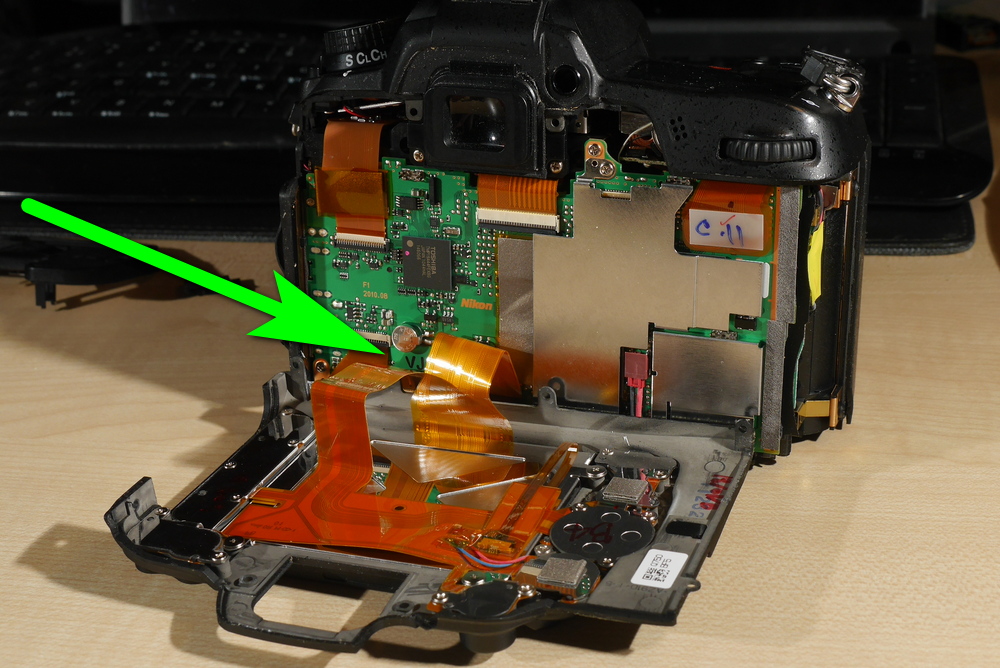
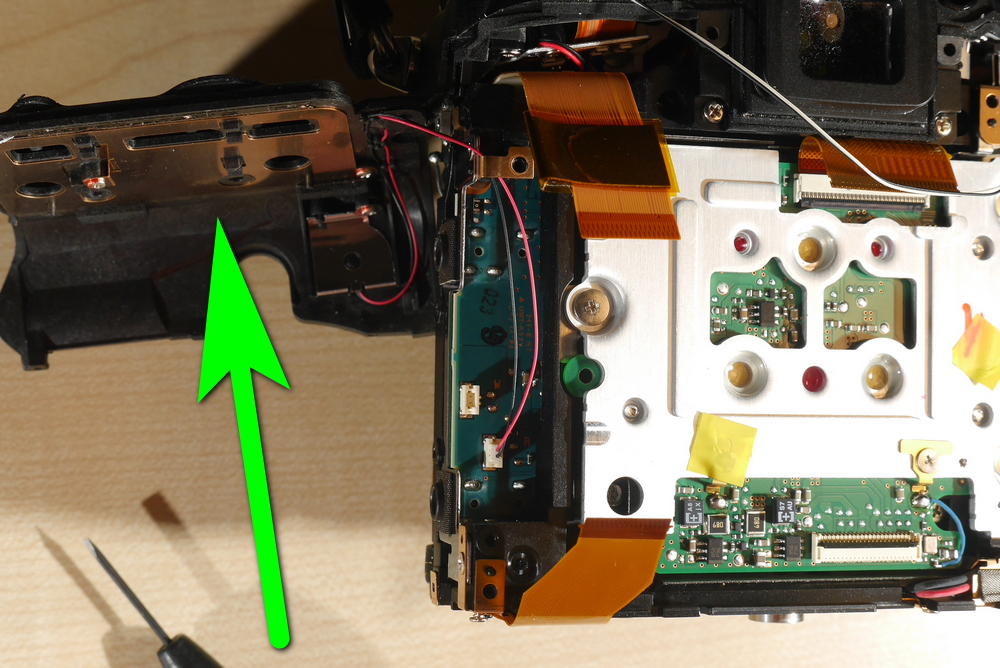
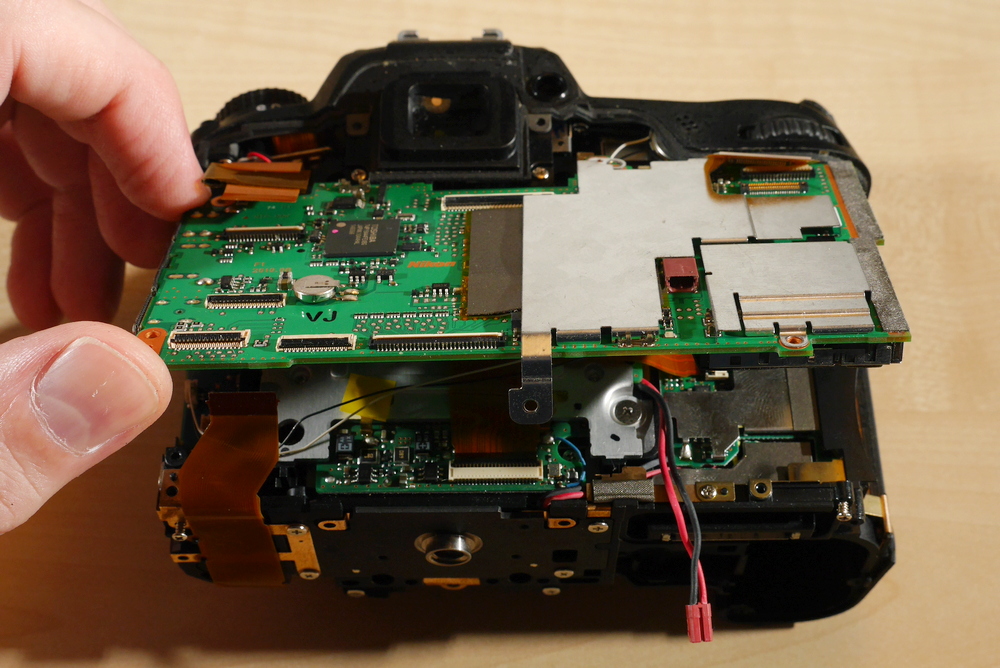
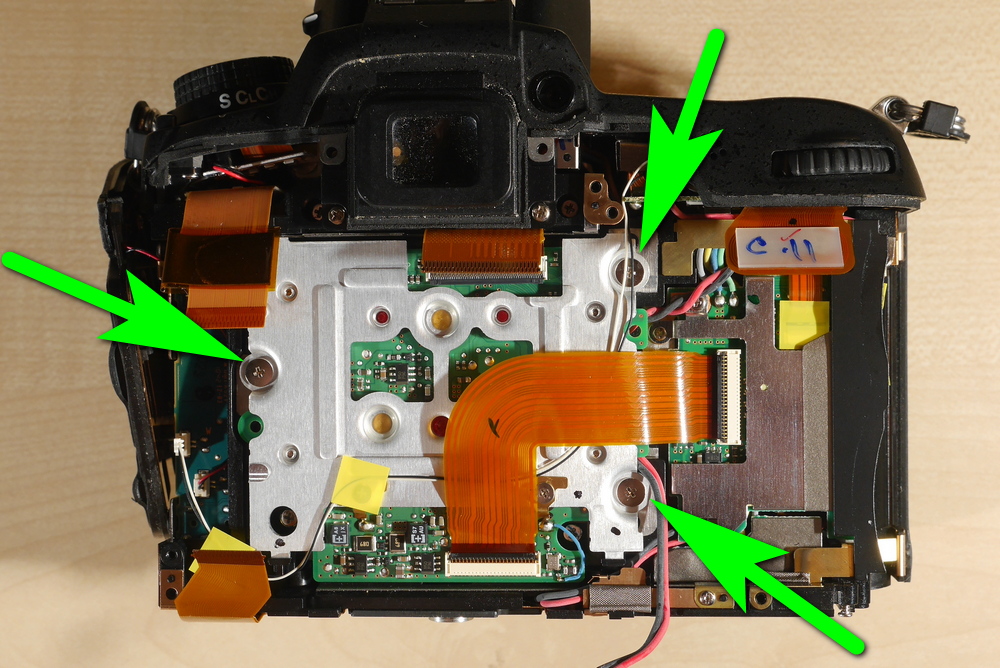
Take the logic board out.
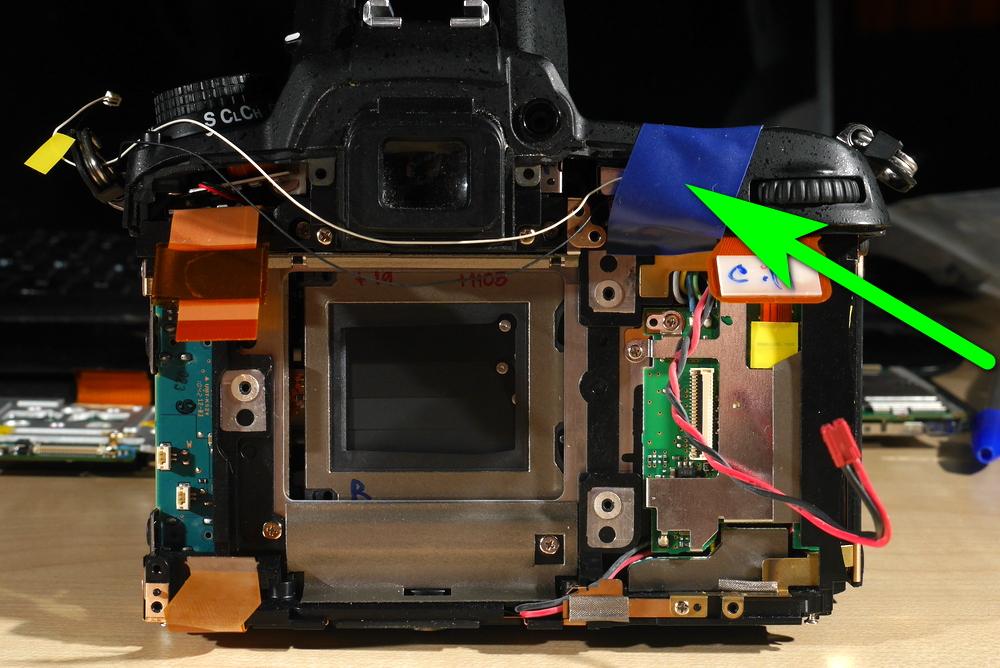
Get some electrical tape and place a piece over the two thick cables located near the thumb wheel. Those are flash capacitor cables and it will zap you or zap anything in the camera if you touch it.
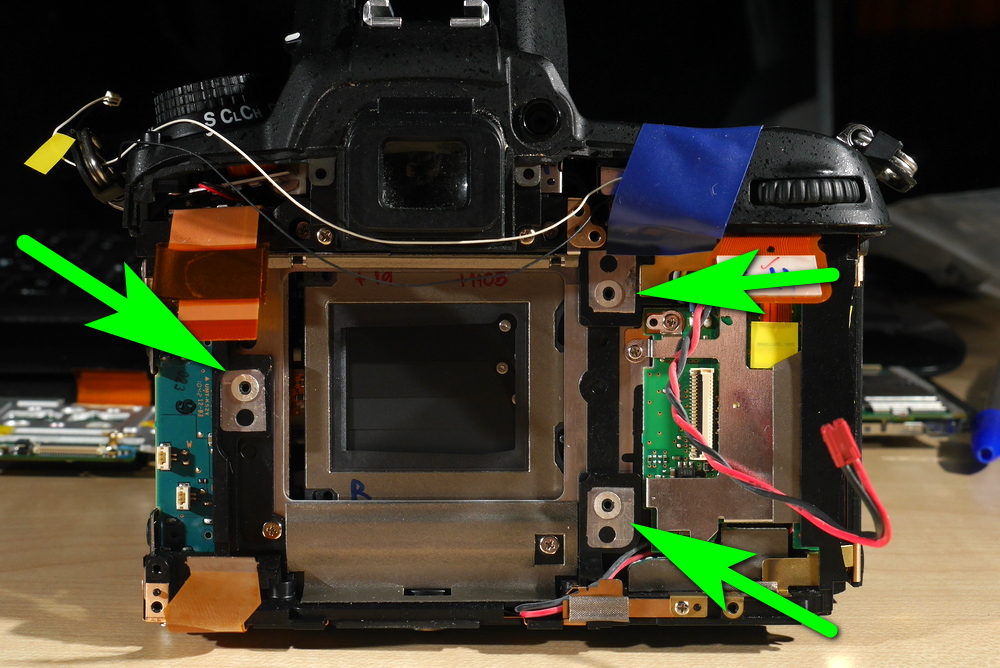
If you have a height-measuring tool, you can take sensor height measurements to adjust the sensor precisely later. Measure the height near the three sensor screws. There will be three numbers. Write them down on a paper. If those numbers differ for more than 0.1 mm you may need to level the sensor using shims or washers.
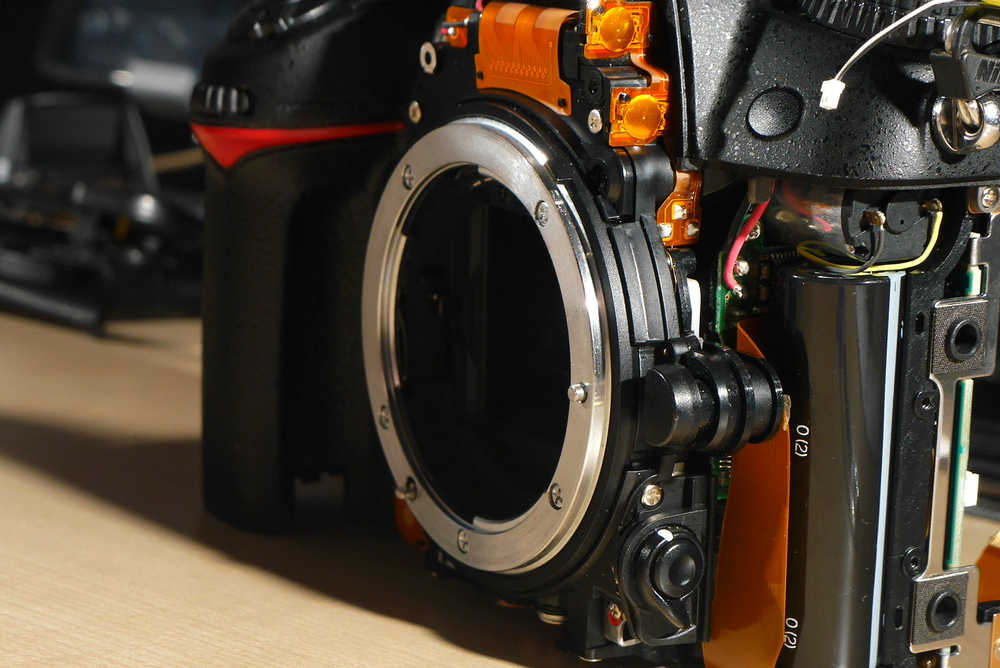
Now unscrew the three sensor screws. If there are any shims or washers, you need to remember which one goes where. Usually there will be no shims at all.
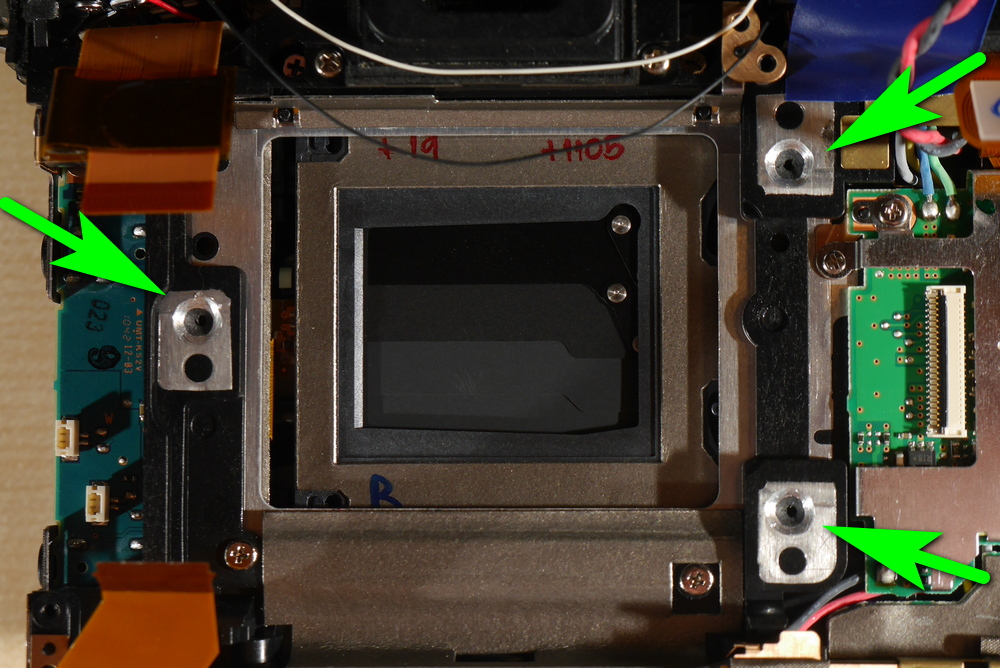
You will see three pads that the sensor rests on. These pads have a height of exactly 3 mm. This is the distance that we need to shift the sensor to the front.
Use a 6mm drill bit and a power drill to carefully drill into the pad until it is completely removed.
Take out the metal frame and filter from the sensor. De-solder the ultrasonic transducer. Alternatively, you can cut its ribbon cable.
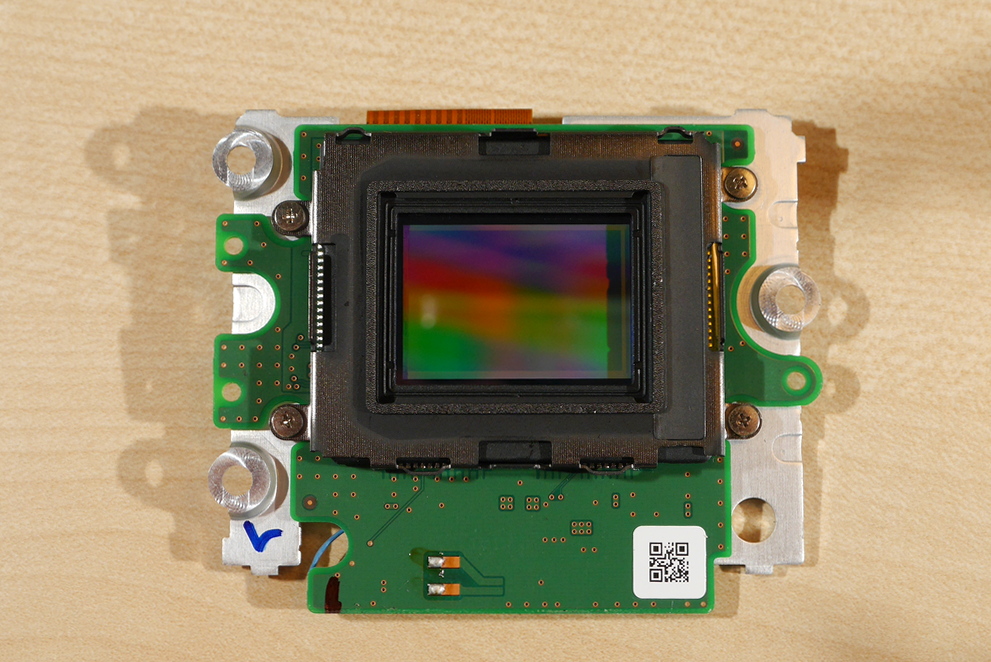
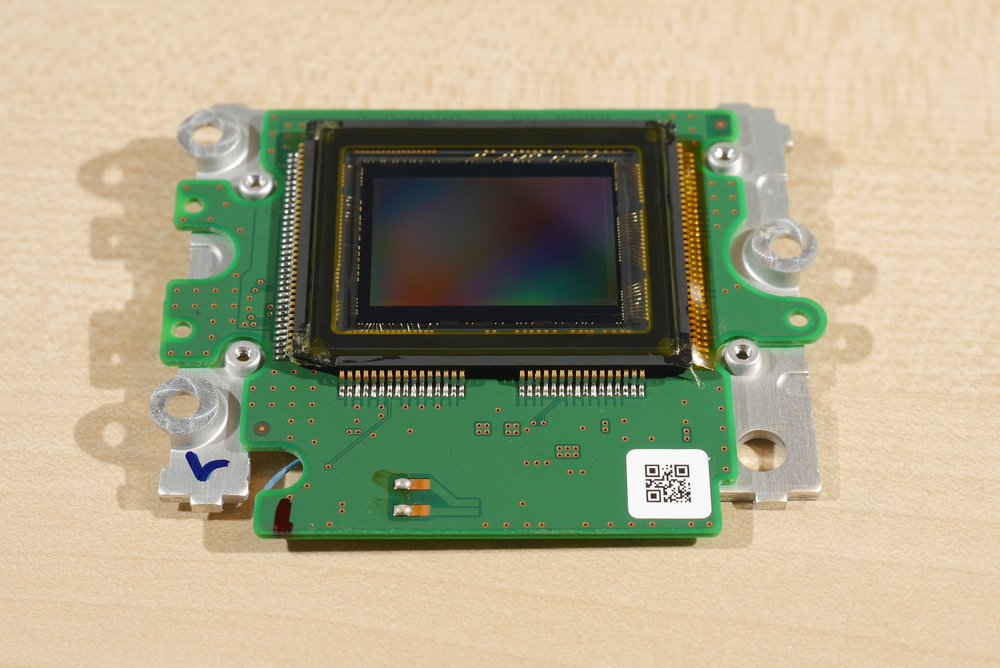
Note that some firmware can detect the absence of the ultrasonic transducer. In that case cut out the transducer from the filter and glue it to the sensor.
Put the sensor together. Screw in the three sensor screws. If you have a gauge measure sensor height. The height should be less by 3 mm compared to the number you have. If any side needs to be raised, use small shims to do so. You can get small M4 shims on AliExpress that are 0.1 mm or 0.2 mm thick. Use M4 shims here as smaller shims will not cover the hole we made with our drill.
If you do not have gauge just make those screws tight. For a full-spectrum camera, sensor leveling is not critical. However, for astro conversions the sensor should be leveled more precisely.
Put the camera together. Do not forget to be careful with the flash capacitor and flash capacitor cable that runs from the left camera side to the top part.
Download Our Infrared Photography Guide
- How to take infrared pictures with a digital camera
- What are infrared filters available
- How to process infrared images
- How to modify a digital camera for infrared photography
- How to modify a digital camera to a full spectrum
 Subscribe to our YouTube channel