Here we will convert our Canon 600D into a full spectrum camera.
If you don’t intend to use it for astro photography, then you can manage without a precise measuring tool.
Unscrew all external screws. Remove the rubber cover on the left side and the small cover on the back panel. Do not remove the rubber cover on the left hand grip. Unscrew the remaining screws.
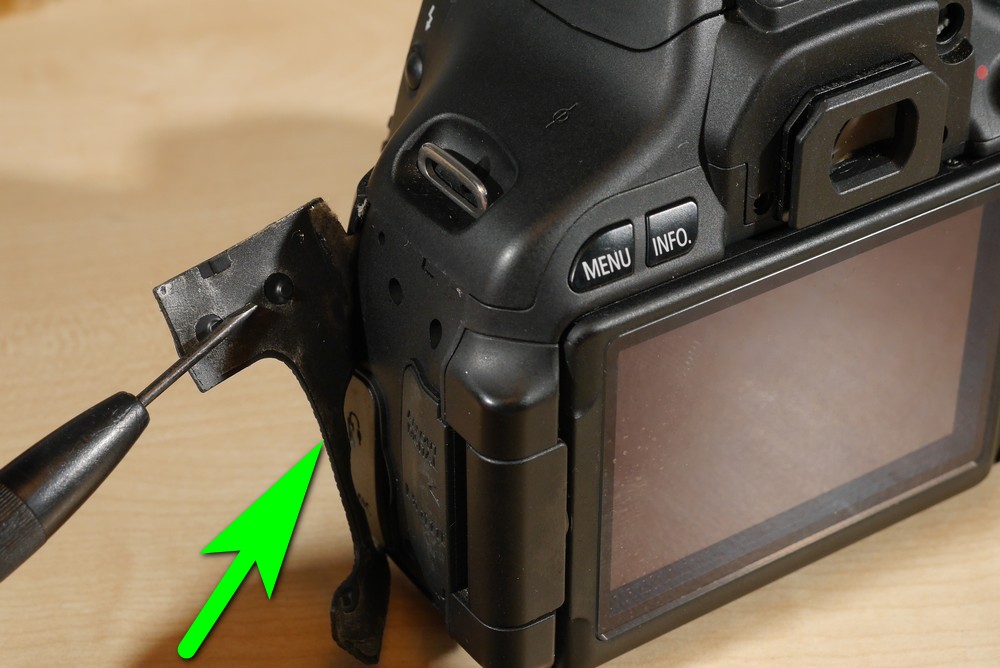
First take out the back panel. There will be a LCD cable that needs attention. It has a metal plug and to loose it we need to use a small flat screw driver. Start to loosen it from one side and then loose the other side. It’s a simple plug, but to disconnect it, we need to lift it first. If you pull it while holding onto the cable, there’s a chance that a small wire may snap.

Here is the inside view.
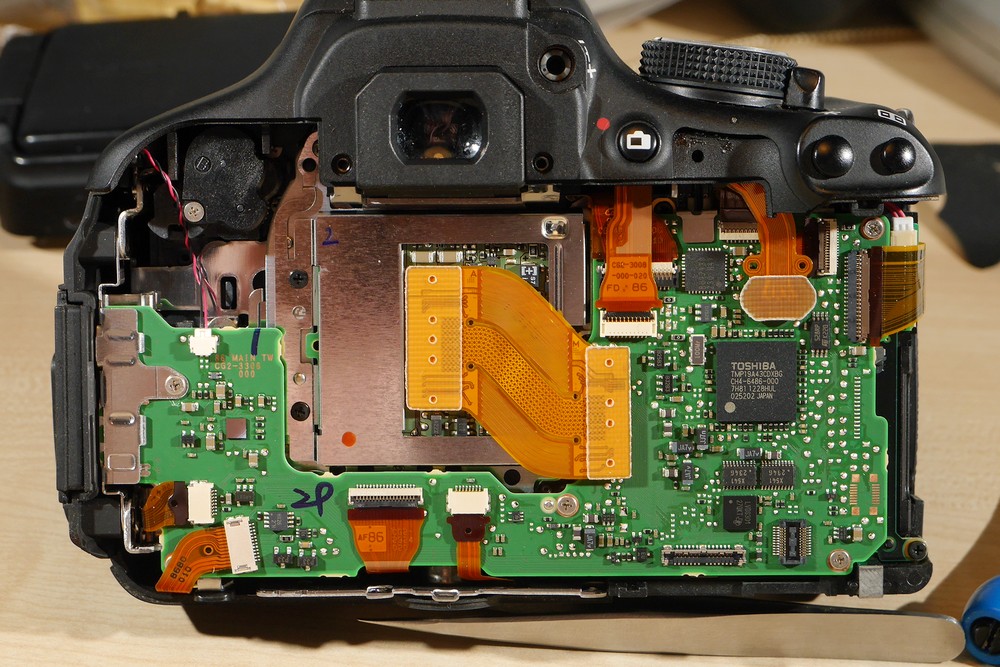
Disconnect all ribbon cables. Some have a small latch, while others are just pushed into sockets.
Take out the front panel.
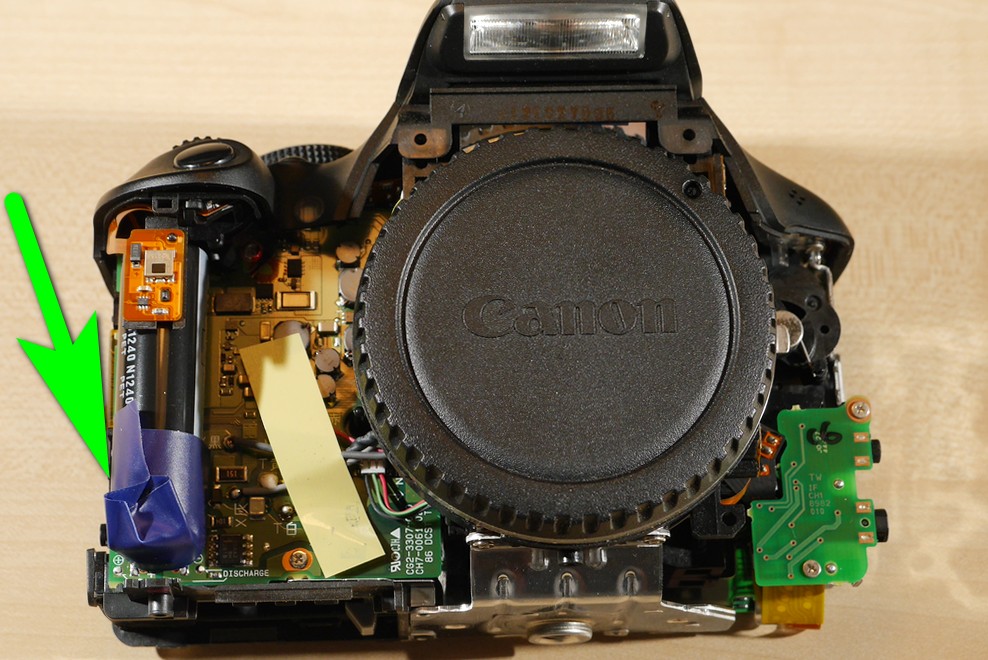
Use a piece of electrical insulation to cover the flash capacitor to prevent any accidental shocks.
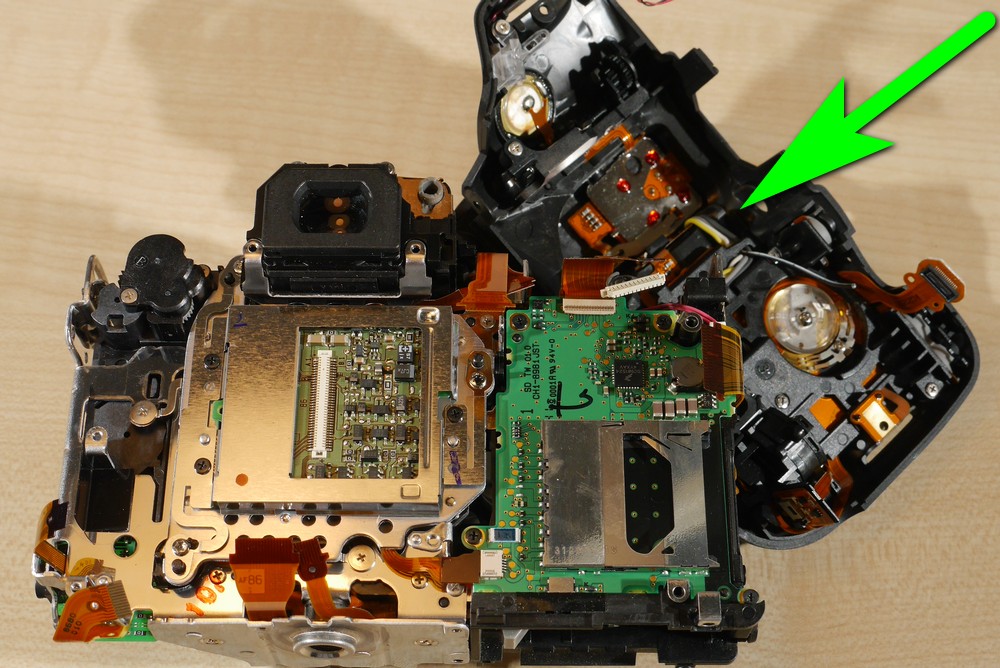
We can now separate the top part from the chassis.
We don’t need to disconnect those cables, but be careful and don’t put too much strain on them. There’s usually a piece of insulation that covers them. If it comes off, replace it with a fresh piece of electrical insulation.
Use a Philips screwdriver to unscrew the two sensor screws.
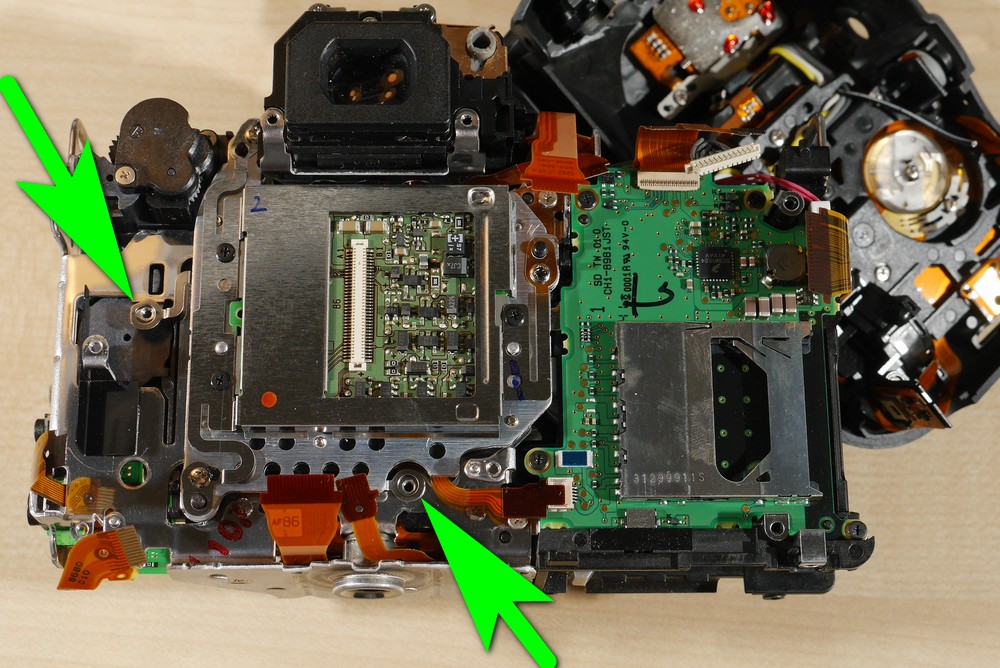
If we need the camera to be used for astro photography, we’ll use a gauge with a stand.
We will take three readings from three sensor screws and write them down on a paper.
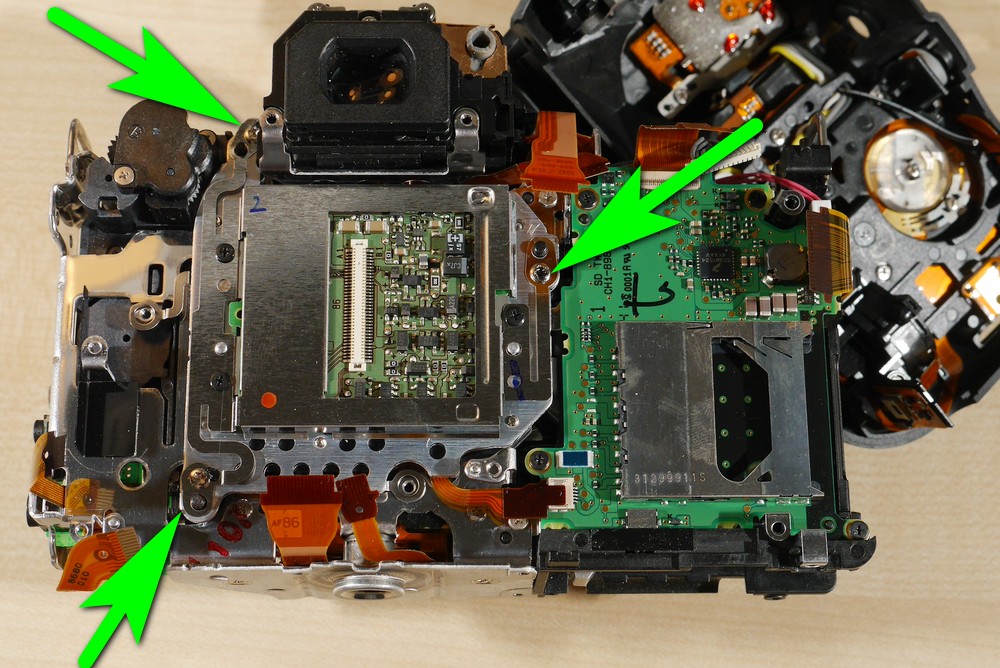
Unscrew those three screws and take the sensor out. Cover the camera with a plastic bag.
Now we will take out the two filters. The first filter has an ultrasonic transducer attached to it.
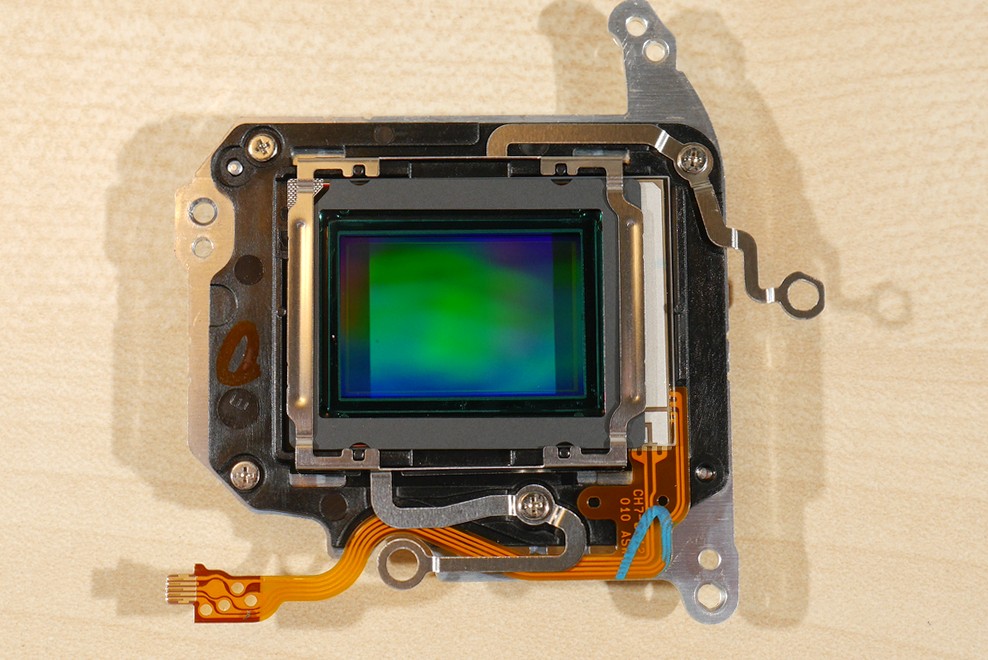
The separation of the first filter is simple. Unscrew the two screws and take out the thin metal frame. Now the filter will just fall out.
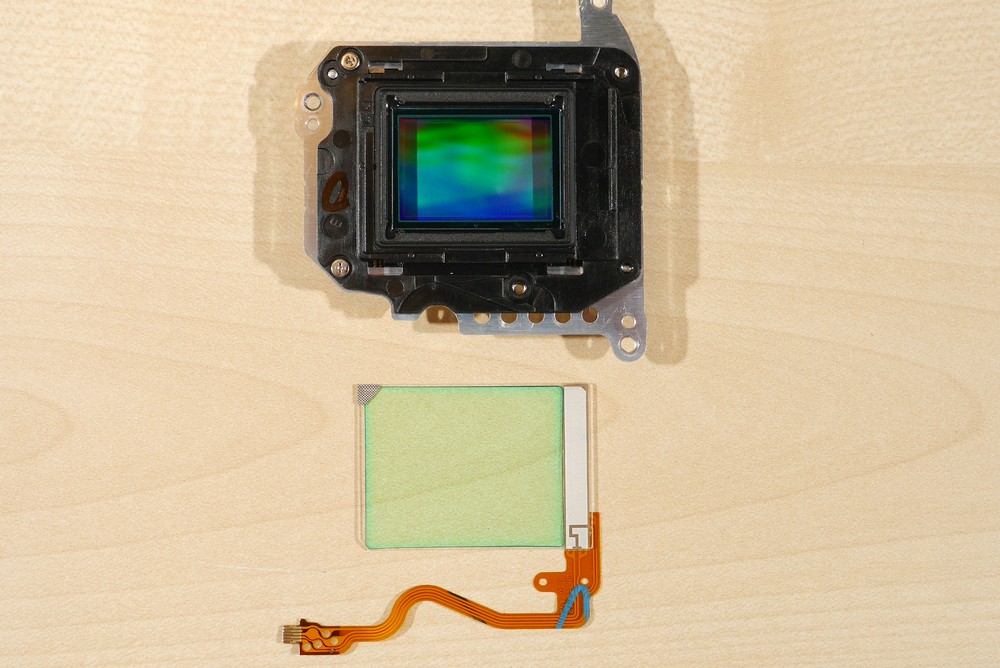
Now unscrew the two screws that left and separate the black plastic frame from the sensor.
Do not touch the sensor surface. Place the sensor back into the camera and cover with a plastic bag.
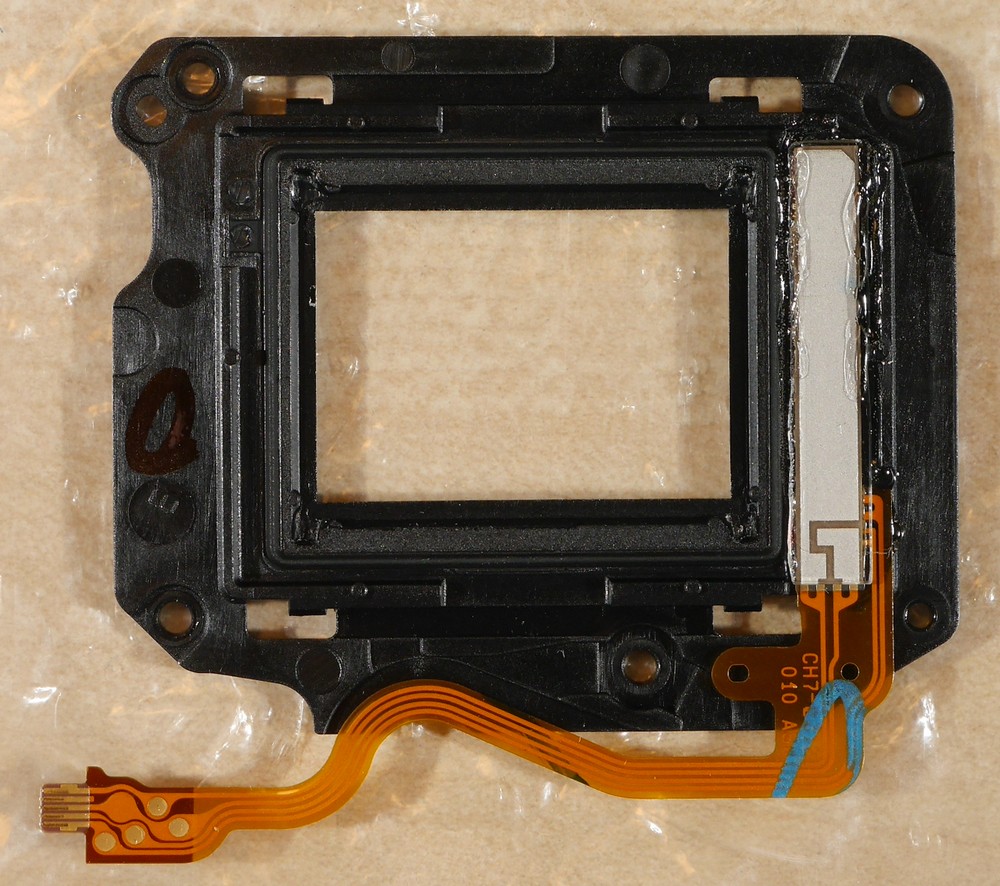
Use a hot air gun or hair dryer to slightly heat the black plastic frame.
Separate the filter from the frame. You can do that simply using a finger. Using gloves is not necessary as long as you do not touch surfaces too much. Try to hold all parts by corners.
Vinyl and silicone gloves do not necessary make the job easier. Gloves usually leave small vinyl or silicone particles and we need to clean up that stuff as well.
Now, you can cut out the ultrasonic transducer from the filter and glue it to the black frame. However, if you disable the automatic cleaning function in the camera, you can leave the transducer out.
Sometimes, updated firmware won’t be happy if it can’t find the transducer, so it’s better to have it in case you want to put it back into the camera.
Place the black frame on top of the sensor and apply glue to secure the transducer in place

Ensure the sensor is free of any dust particles by using an air blower.
Insert the sensor back into the camera and tighten the three screws.
Align the sensor with the gauge by subtracting 0.3 mm from the readings taken earlier. If a gauge is not available, simply tighten the three sensor screws as tightly as possible. Note that if astro images appear with one corner out of focus, it may indicate the need for a more precise sensor alignment using a tool.
Precision alignment of the sensor is not necessary for other purposes.
Download Our Infrared Photography Guide
- How to take infrared pictures with a digital camera
- What are the infrared filters available
- How to process infrared images
- How to modify a digital camera for infrared photography
- How to modify a digital camera to capture full spectrum images.
 Subscribe to our YouTube channel