Here we will convert Canon digital camera model 1200D to infrared 850nm.
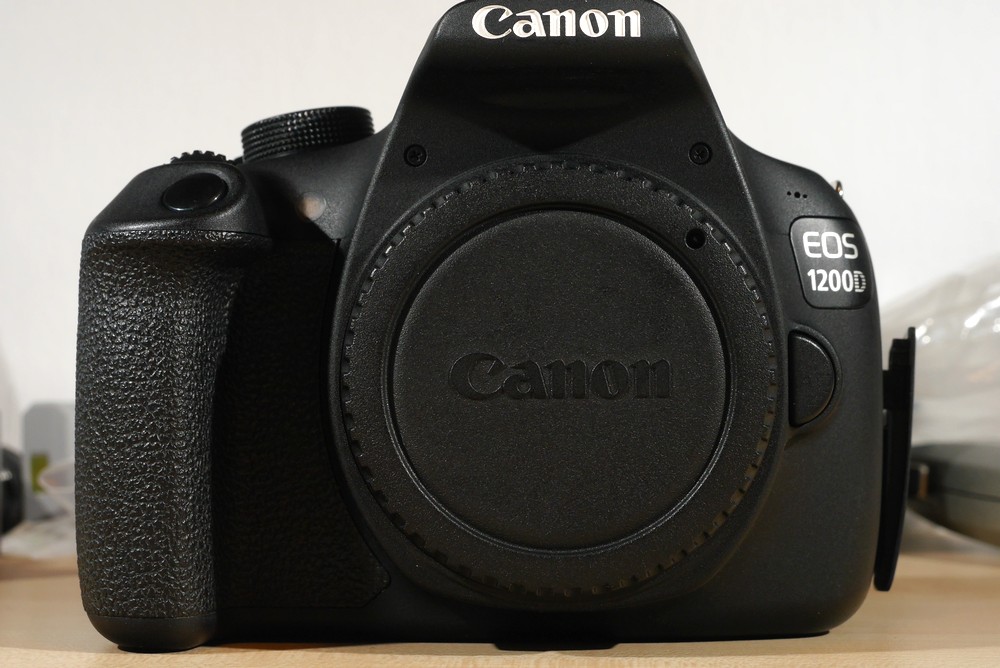
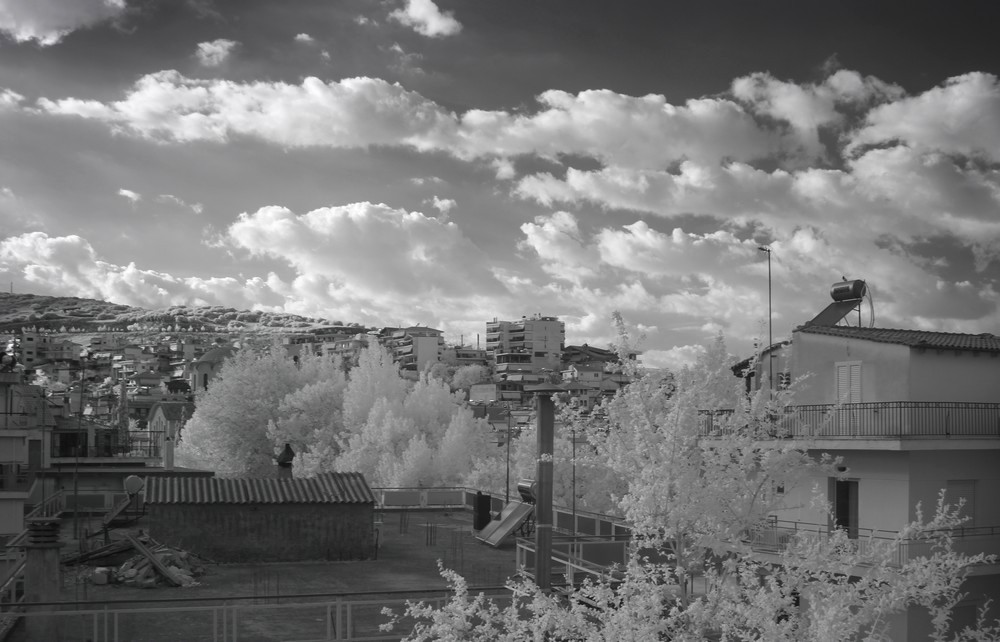
The infrared 850 nm wavelength is very simple for surreal black and white photography. We just need to set white balance in the camera and the camera itself produces black and white images.
Unscrew all screws located on the exterior of the camera. Take out the back panel with LCD. There will be one hidden screw that is underneath the right hand grip rubber. You must slightly pull out the rubber to reveal the screw located near the shutter button.
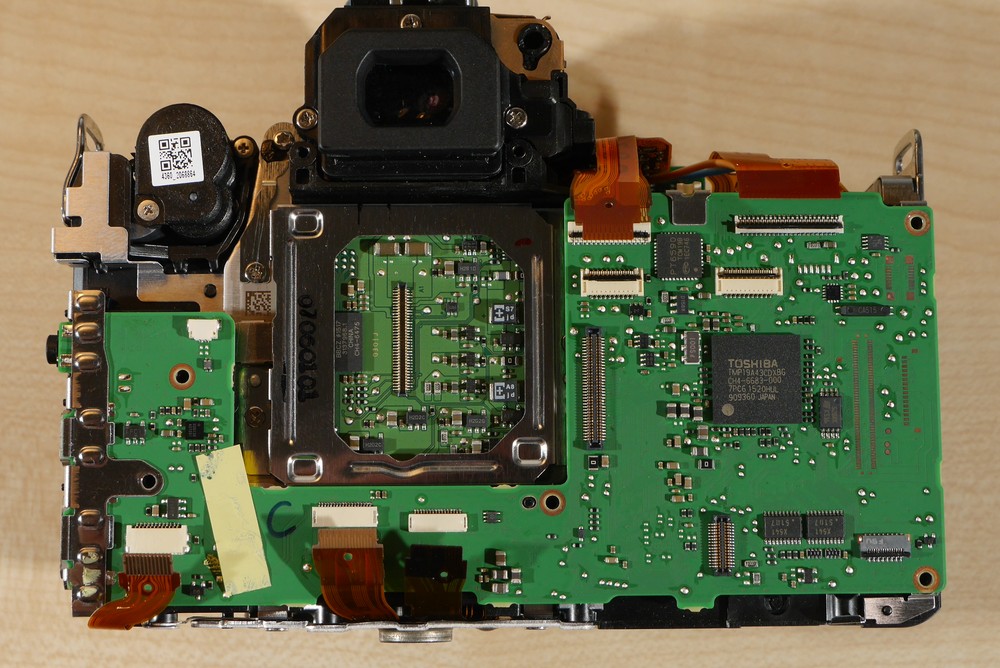
The screws in this camera are all almost the same size except the hidden screw. We do not need to remember which one goes where.
Take a piece of electric insulation and cover up the flash capacitor.
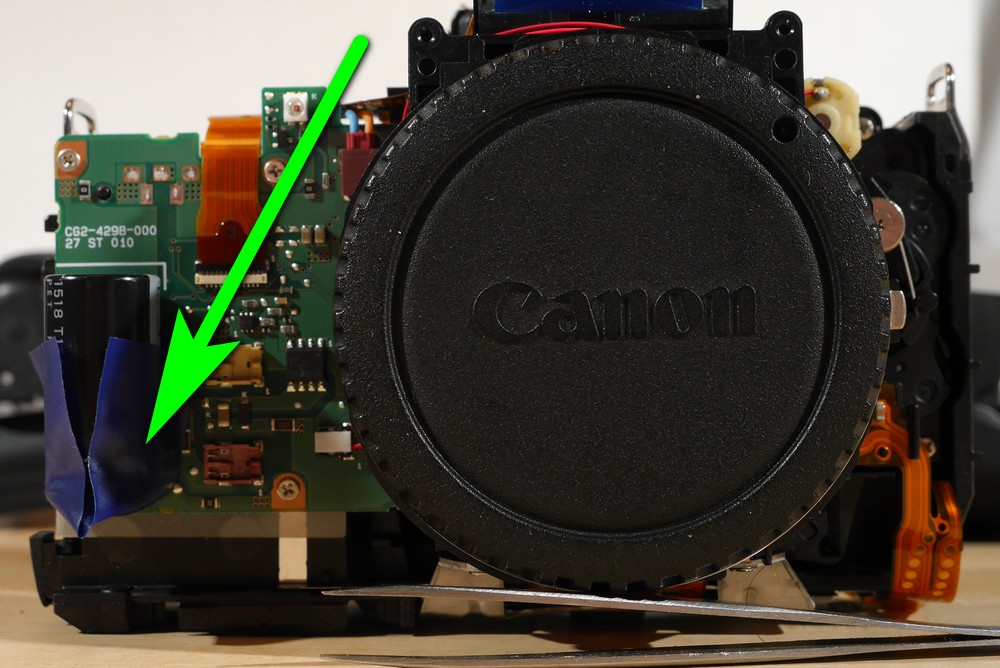
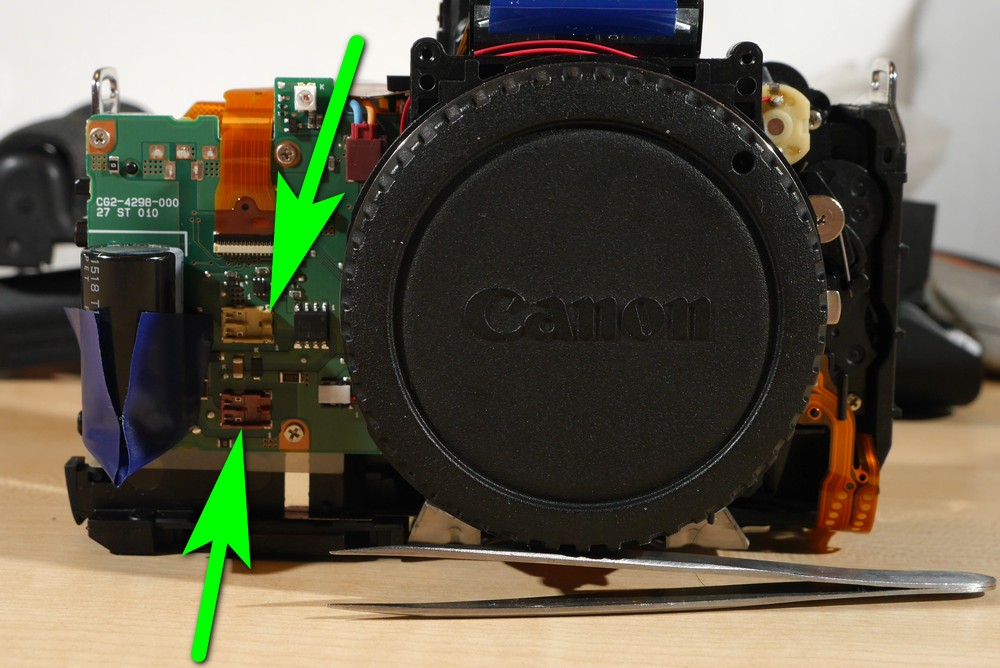
Disconnect the two wires on the front. Be careful as those wires go to the flash. For disconnecting use a small piece of plastic and just lift those two plugs.
Take out the top. Unscrew logic board screws and take it out also. There will be many ribbon cables. Some of them are just pushed into sockets. Others have a small latch which we need to open before we pull out the cable.
Be cautious to not tear any ribbon cables. Most likely you would need to replace the whole cable if broken.
The sensor screws are torx screws and there are three of them. Use some measuring tool to get three readings near those three screws. These readings represent the distance of the sensor from the camera’s body. We will need to shift the sensor to the back so we will add 0,5 mm to each number.
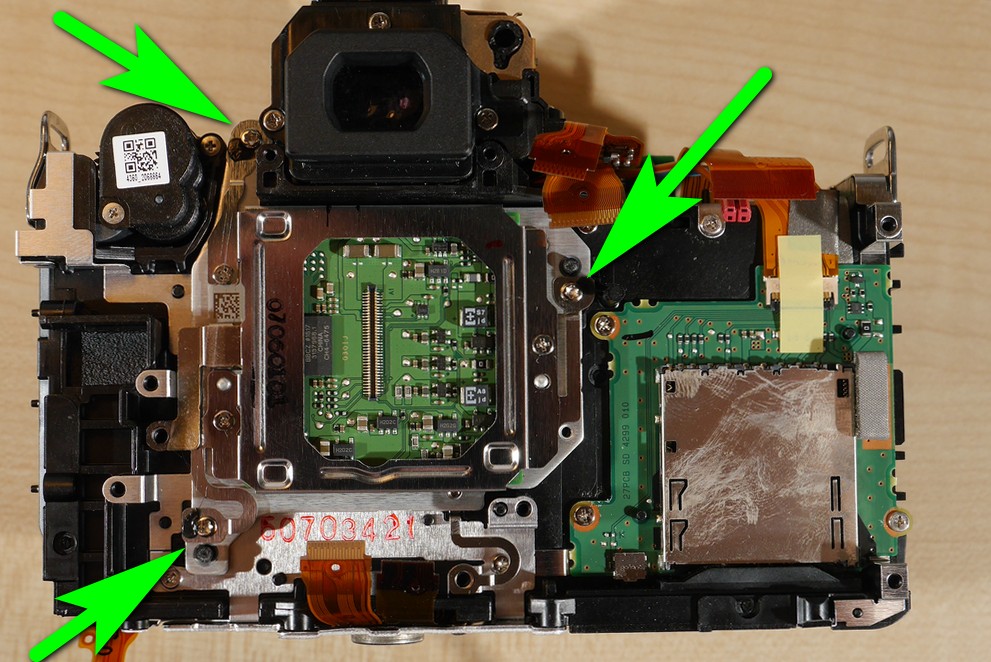
You can use a caliper if you do not have a gauge with a stand. Important is to measure all the time in the same places.
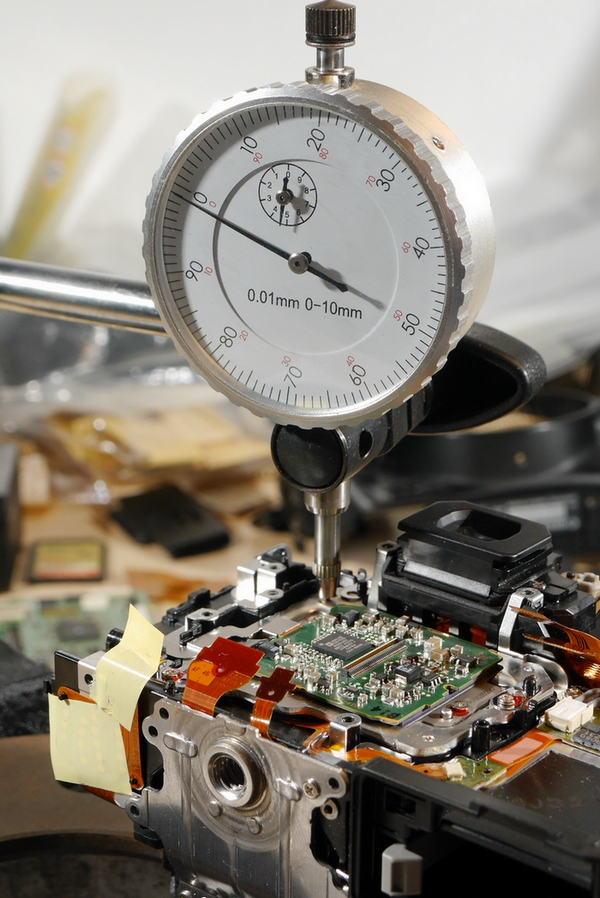
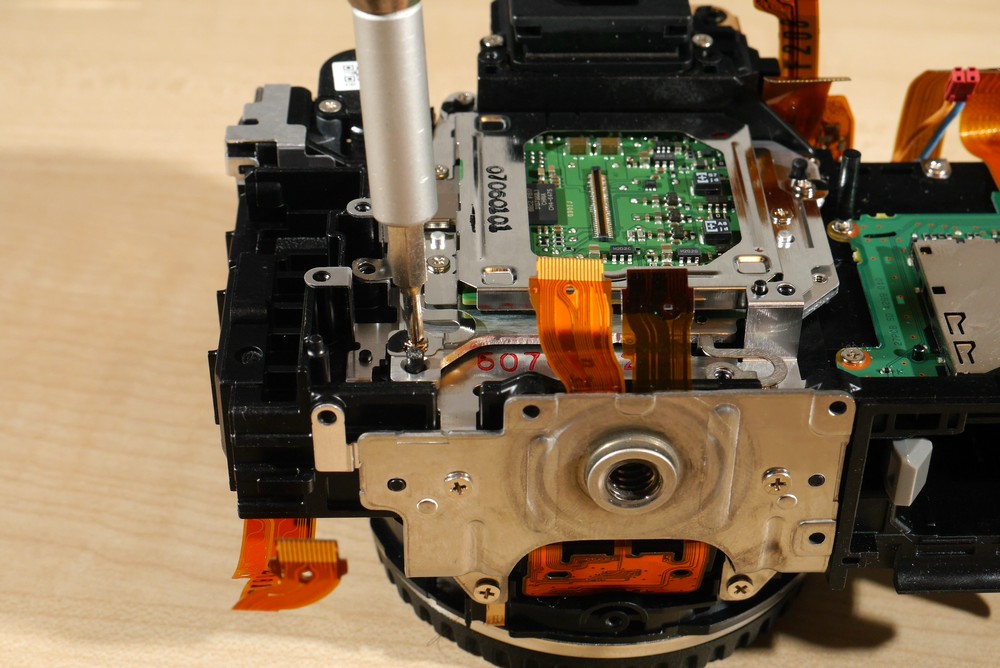
Unscrew sensor screws and take the sensor out.
Depending what size of the filter you have you can put the filter into the black frame or you can stick the IR filter directly onto the sensor.
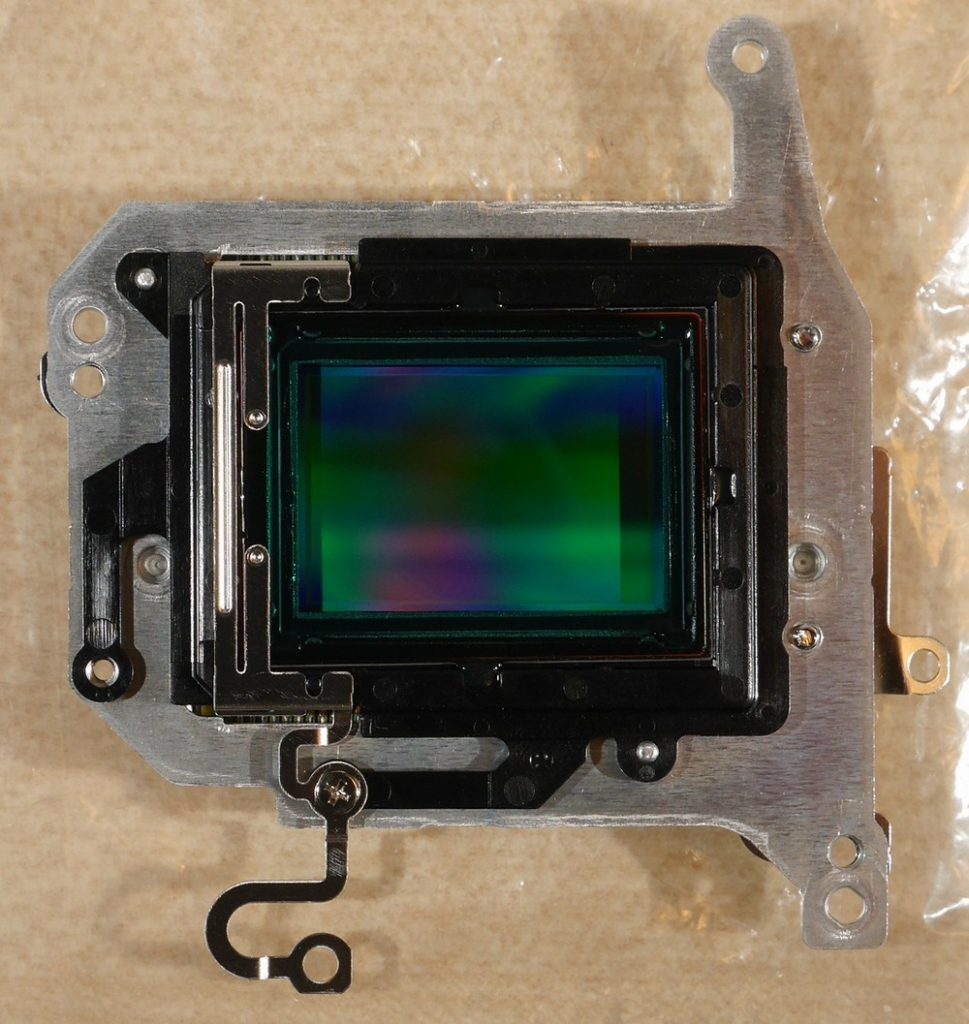
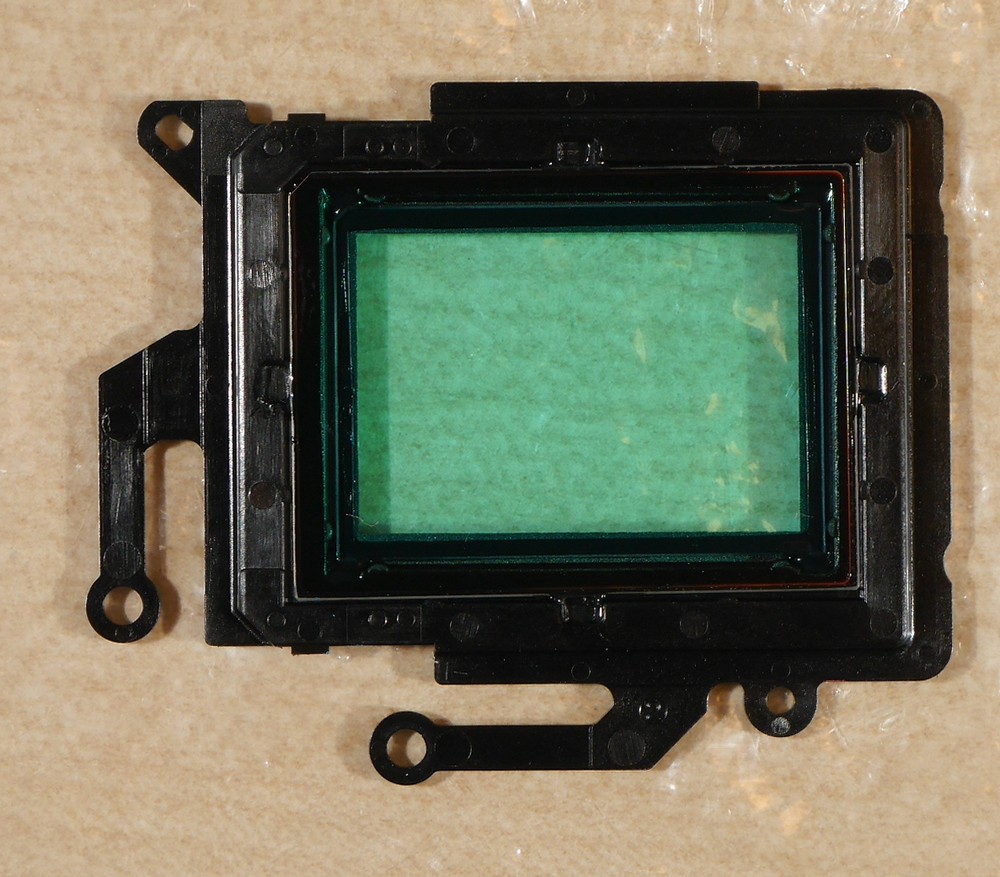
I have here an IR filter that goes into the black frame.
Separate the black frame from the sensor and put the sensor back in the camera.
Place the black frame on a small clean plastic piece. Unscrew the one screw. Take out the thin metal piece that is on the left side.
Using a hot air gun or a hair dryer preheat a little the first filter. With a small flat screw driver separate the filter. Start from the corner where you see a small cut out on the filter. Stick the screw driver underneath and lift the filter. The filter will slowly separate from the frame.
Now preheat the second filter and separate it from the frame using your fingers.
Use a double sided tape from 3M. Cut a small piece of about 2 mm in width and 27 mm in length. Cut two pieces this dimension.
Place those pieces into the frame.
Now cut another two pieces with dimensions 2 mm width and 16.5 mm length.
Place them to the shorter sides.
Take the IR filter and clean it with a small micro fiber cloth. Take a sensor swab and a LED flash light. In a dark room clean one side of the IR filter and make sure it has no dust. Use the flash light to find any dust and clean it with sensor swab.
Place the IR filter in the frame. Ensure the IR filter adheres to the tape.
Take the sensor and make sure it is clean. Handle the sensor by the sides and do not touch sensor surface.
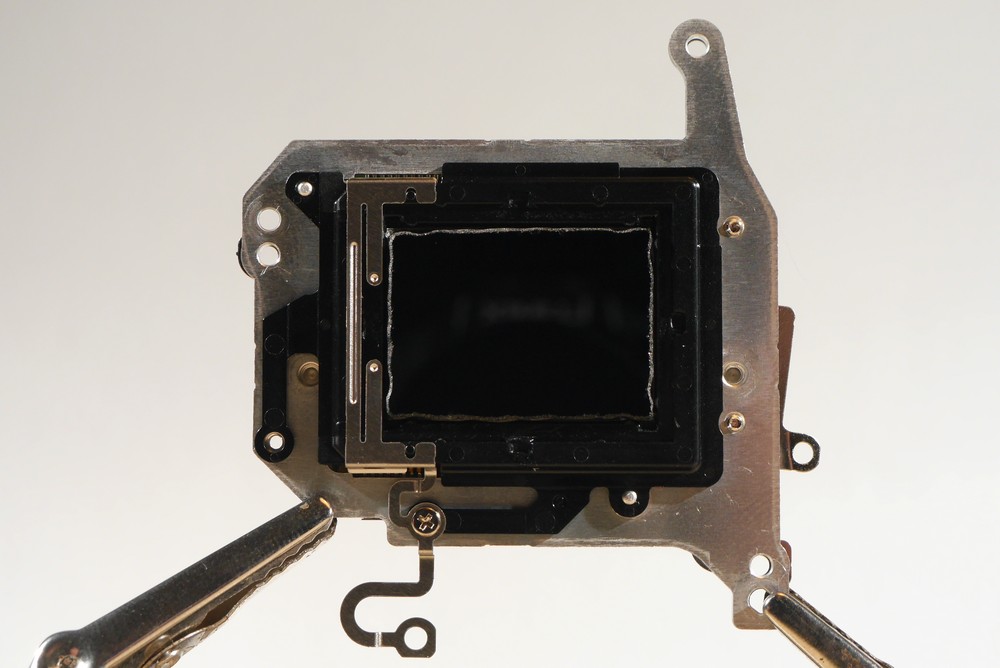
Make sure there is no dust in the plastic frame and on the sensor. Place the plastic frame on the sensor. Attach the thin metal piece and screw in the screw.
Check that the IR filter is clean; give a few streaks with sensor swab. Place the sensor assembly in the camera.
Screw in the three sensor screws. Add 0.5 mm to each sensor distance reading and adjust the sensor distance accordingly. This will ensure accurate quick focus and restore the camera’s ability to focus on nearby objects.
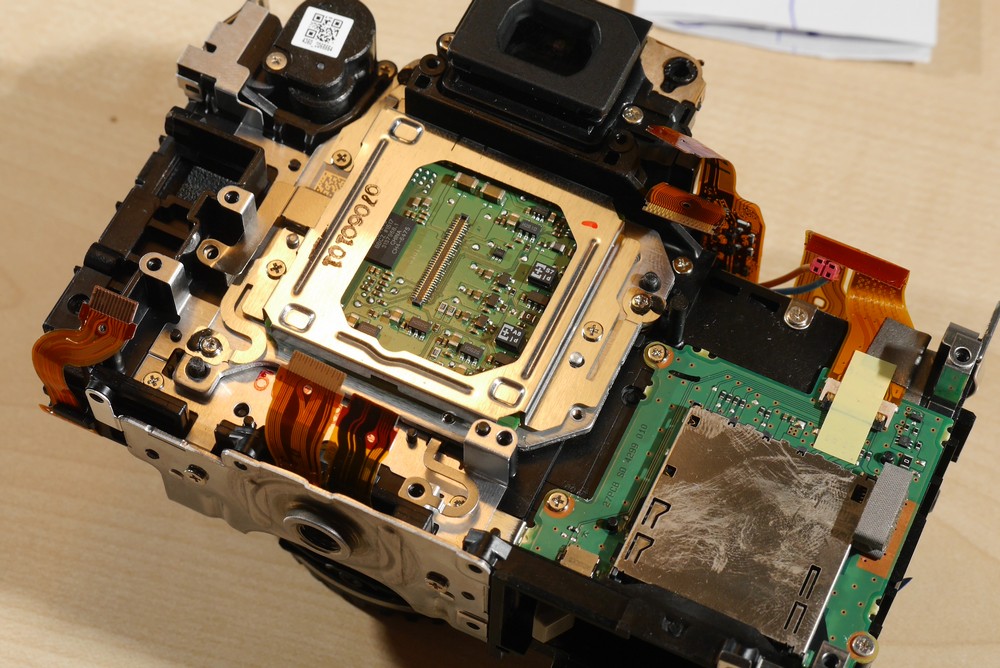
Put some glue on the three sensor screws. This will prevent them from moving and from changing sensor distance.
Assemble the camera.
Download Our Infrared Photography Guide
- How to take infrared pictures with a digital camera
- What are the infrared filters available
- How to process infrared images
- How to modify a digital camera for infrared photography
- How to modify a digital camera to capture full spectrum images.

 Subscribe to our YouTube channel