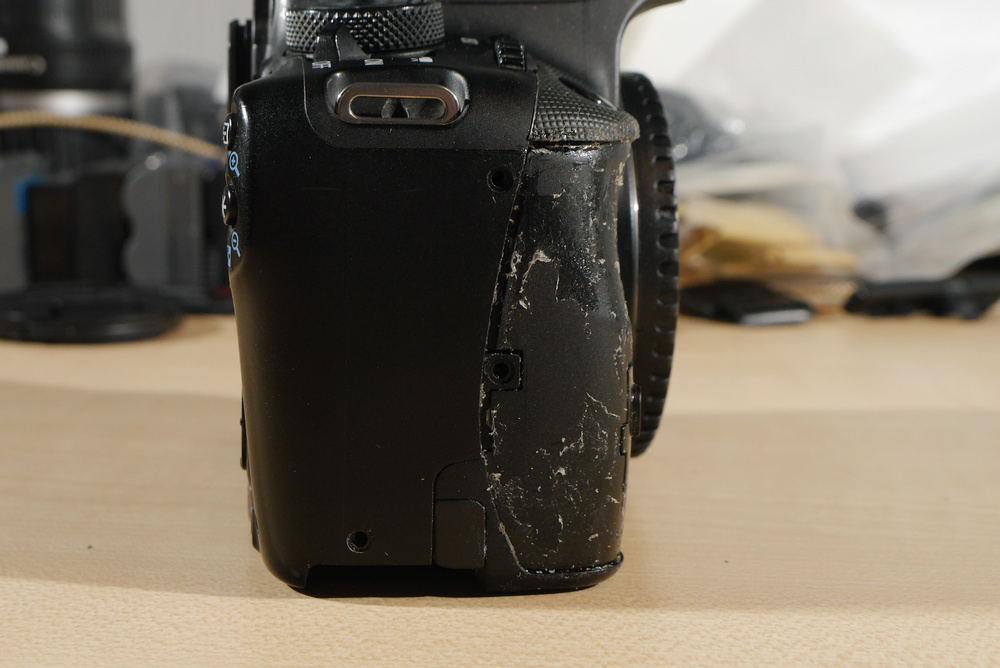
Modifying any camera for astrophotography can be challenging. The tool needed is a measuring gauge, caliper or other precise instrument to measure sensor’s distance from the camera chassis.
However, on some cameras we can just screw in tight the three sensor screws and the sensor most likely will be leveled. We might lose the ability to focus on close objects, but that’s not important since we’re using the camera for sky pictures. We will use the camera to take sky pictures after all.
So let’s begin to tear the camera apart and see what’s inside.
Unscrew all the outside screws. There will be one hidden screw beneath the grip rubber.
Take out the back panel.
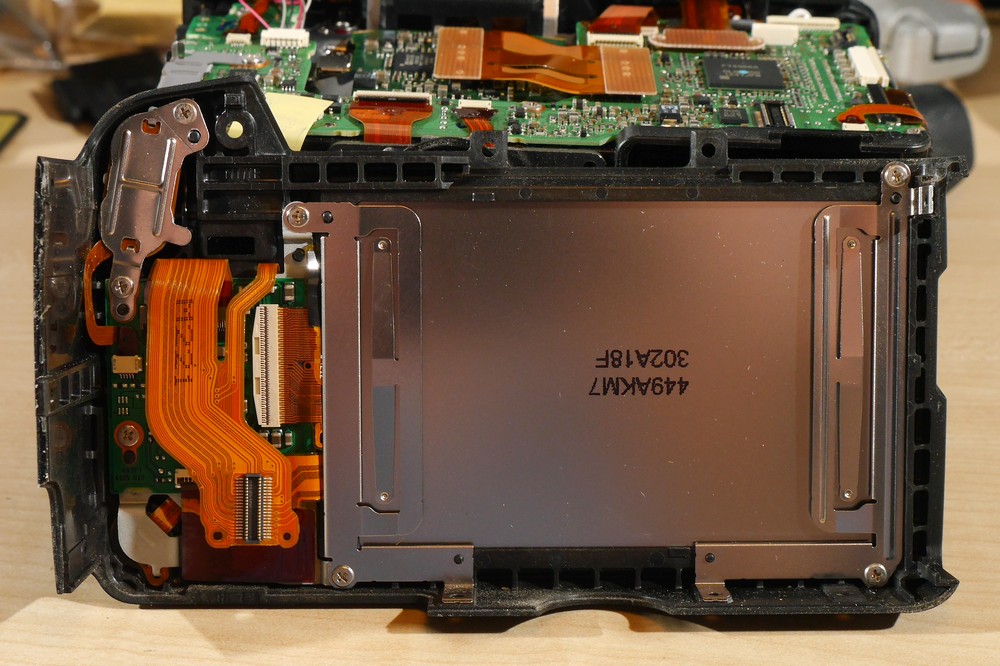
Disconnect all the ribbon cables. There will be some cables that are just pushed into the sockets. The other sockets will have small levers which you will need to open before pulling the cable out.
Separate the front panel by separating the bottom part of the panel, as shown in the picture. It will continue to separate until you easily take it out.

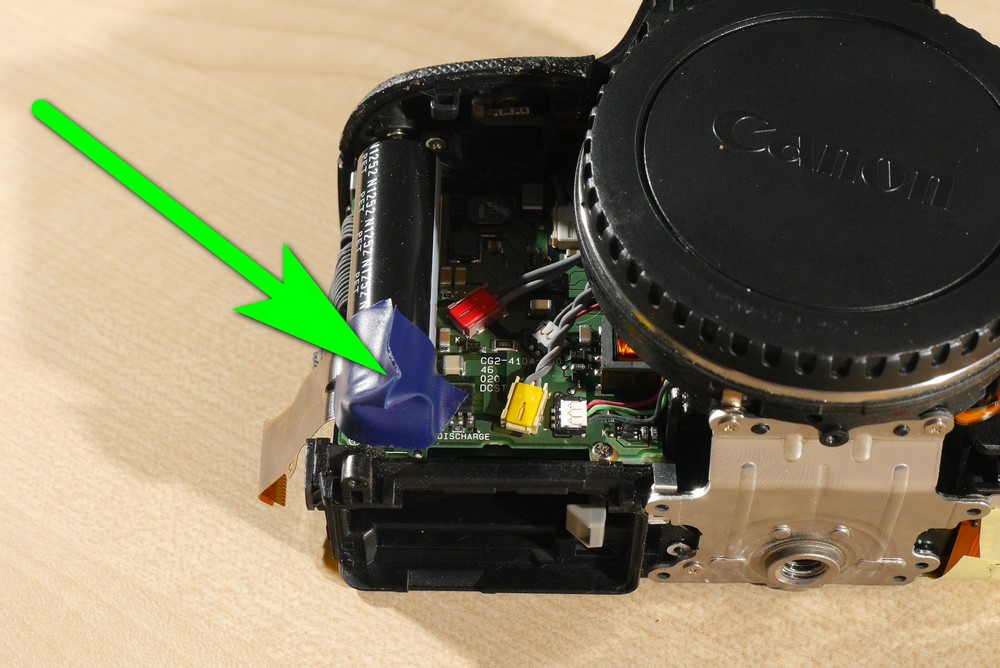
Take a piece of electric insulation and place it on the capacitor as shown. Better to be sure than sorry and get zapped.
There will be two flash cables. You can disconnect them using a small piece of plastic. Please be careful as that connection may still have charge and it could zap you.
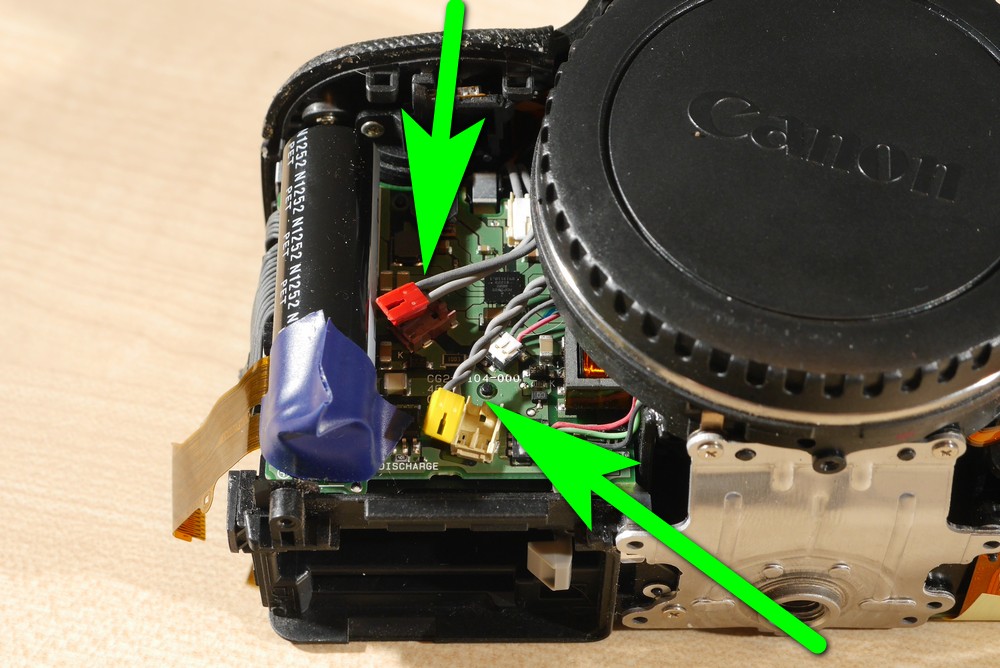
Remember, the yellow plug must be connected to the yellow socket and the red plug must be connected to the brown (red) socket. If mixed up there can appear a black smoke and the power board may get damaged.
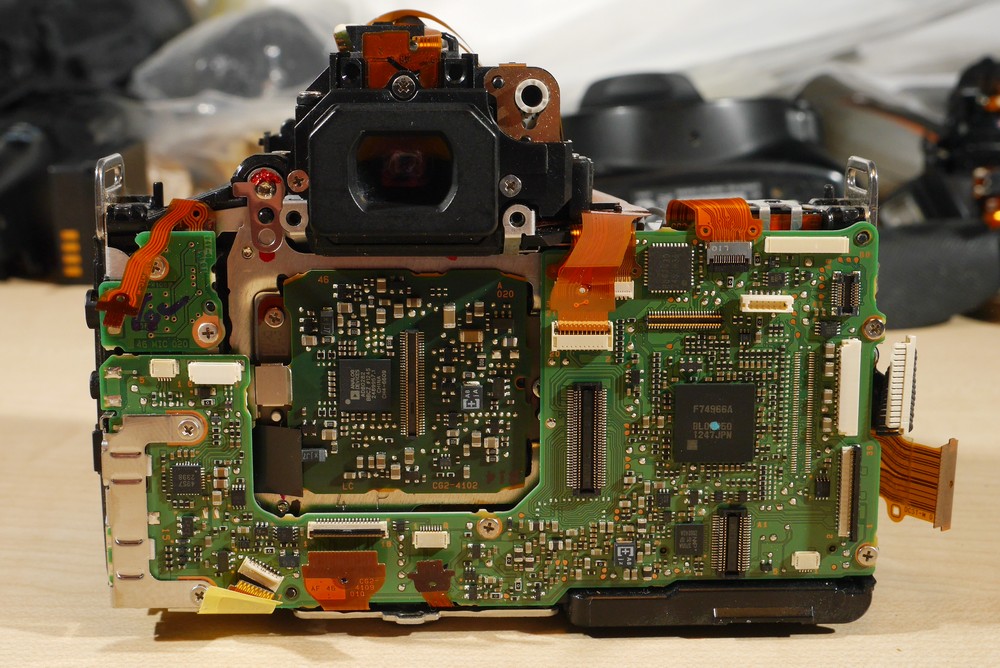
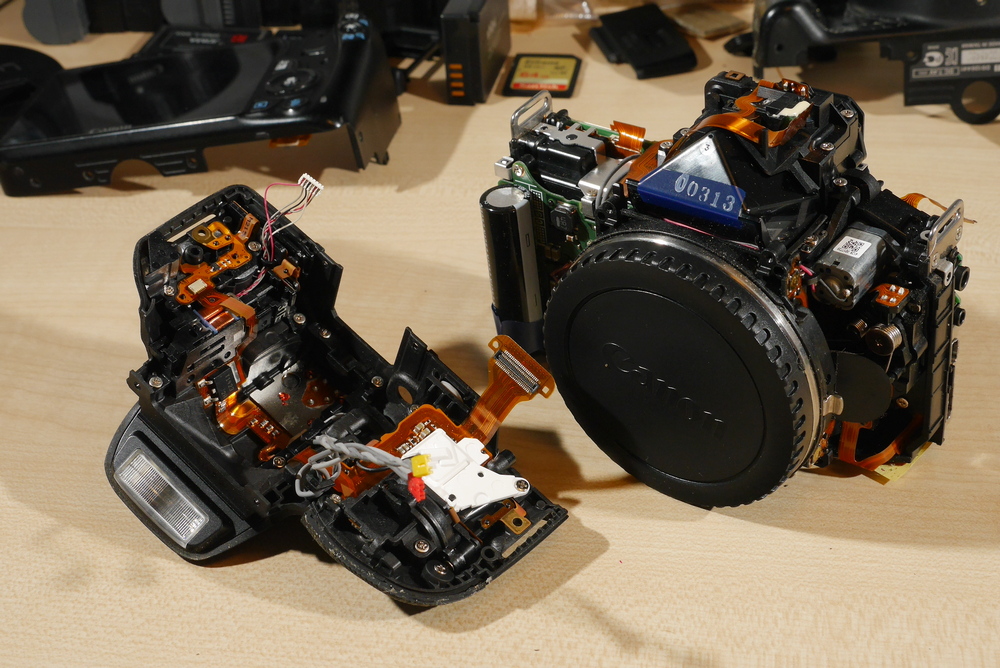
Separate the top part from the camera.
Now there may be some ribbon cables that need to be disconnected. Also pay attention to the ribbon cable on the left bottom side. It is covered with insulation tape. Carefully separate one side of the tape and disconnect the socket. You will need to open a very small lever to do that.
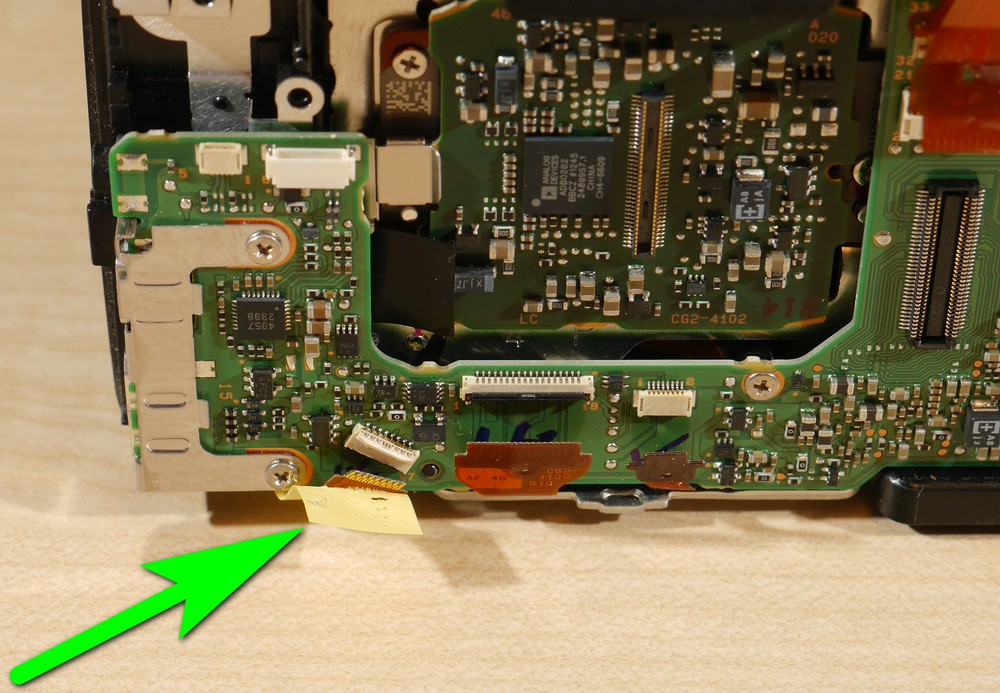
If you accidentally pulled out the cable and the lever is still closed, do not worry. Just open the lever. It still should work.
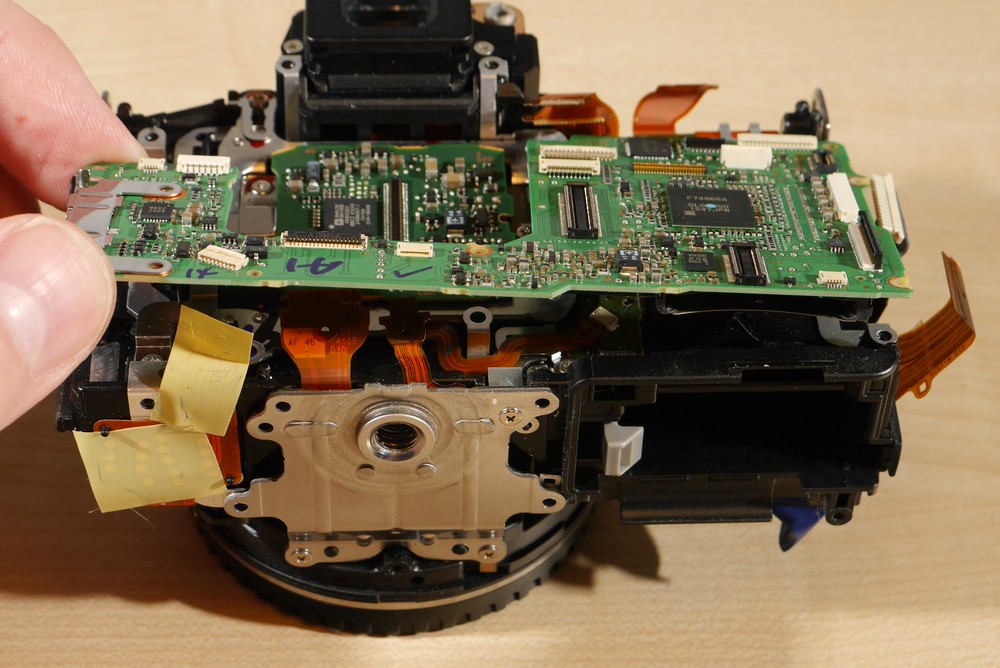
Unscrew logic board screws and take it out.
Now it’s time to take sensor distance measurements. If you don’t have a tool, you can take the risk and unscrew the sensor screws without measuring anything.
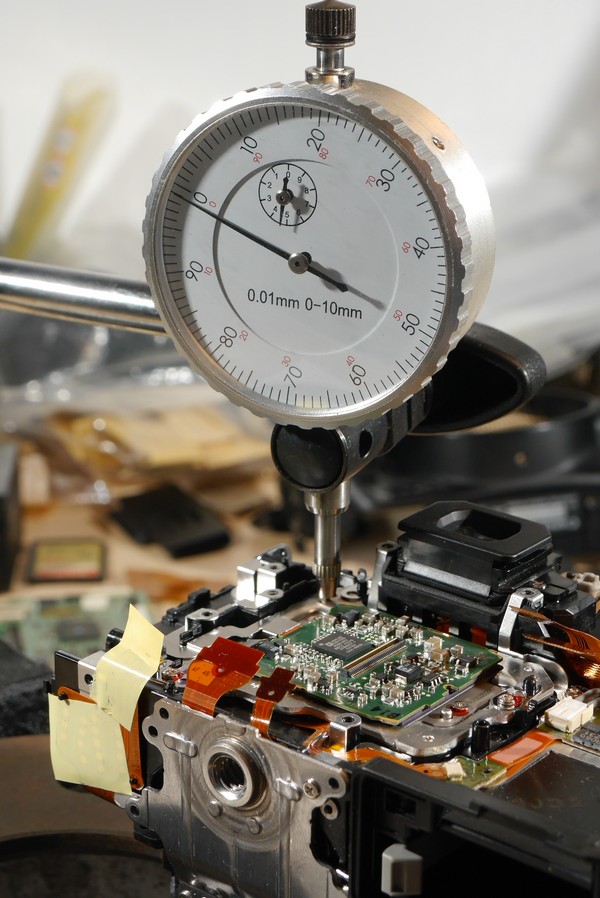
Take the measuring tool that you have and measure the sensor distances near the three sensor screws. The reading may look like 3.35, 3.36, 3.34. These three numbers should be similar. Usually I get them differ no more than 0.07 mm.
Remember where it’s measured. I usually make a small graph on a piece of paper and write the numbers on it.
Now we have the numbers and are ready for the next step.
We will need a hot air gun. The idea is to take out the second filter from the sensor and leave the first filter as it is.
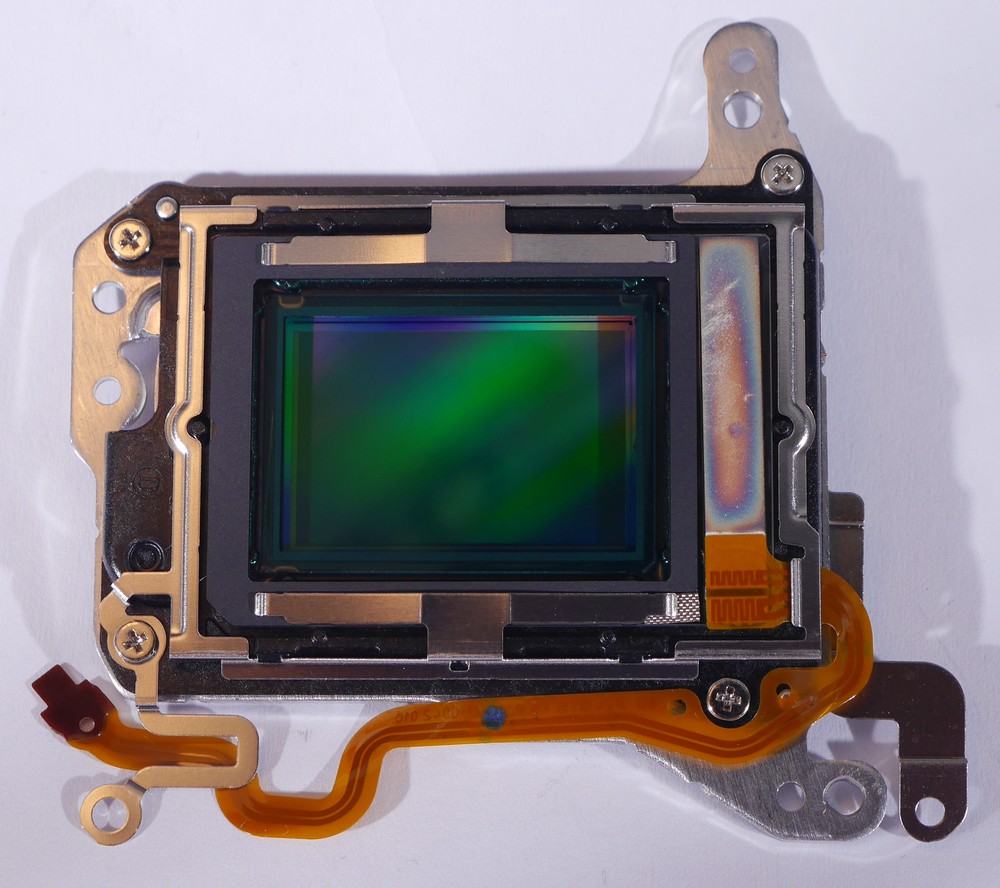
For that purpose, we will separate the plastic frame from the sensor. I usually place the frame on a small plastic bag. Separate the frame and place the sensor back into the camera and the black plastic frame place on a plastic bag.
Unscrew the screws that holding the slim metal frame. This frame holds the first filter in place. Separate this metal frame from the plastic frame. There are two clips on each side. Use a small screw driver to push the frame away from those clips.
Place it into a small plastic bag. Carefully lift the first filter. I usually use very small screw driver for this purpose. Place the filter into a small cylindrical container. Do not touch its surface with fingers. This way we will not need to clean the inner part of the filter.
Now preheat the black frame with hot air gun. Check if the second filter is separating. If it does not move heat it a bit longer.
Now that the second filter is gone, place the first filter back into the frame.
Carefully take the filter, check it for dust using a flash light and place it into the frame. Make sure you placed it correctly. Take the slim metal frame and place it on the filter. Push it down till you hear two clicks. That means the frame is secured into the place.
Now use a flashlight to check if the sensor is clean. If it has some dust blow it with a small air blower. Those blowers are made to clean camera sensors.
Also check with the LED flash light the filter’s side that will go onto the sensor. If it’s clean place the black frame back onto the sensor.
Screw in the screws. Using flash light and sensor cleaning swab clean the filter. Usually it has some dirt.
Now we are ready to place it into camera and start aligning. We had these numbers: 3.35, 3.36, 3.34. Now we need to subtract 0.2 mm from these numbers, so the new distances will be 3.15, 3.16 and 3.14 mm.
After adjusting the three screws according to the numbers, secure the screws by applying a drop of glue. Impact glue or other universal glue will work. I never used superglue because sometimes we need to take out the sensor and the strong super glue is difficult to remove.
Download Our Infrared Photography Guide

- How to take infrared pictures with a digital camera
- What are the infrared filters available
- How to process infrared images
- How to modify a digital camera for infrared photography
- How to modify a digital camera to capture full spectrum images.
 Subscribe to our YouTube channel