Here we will turn our Canon 100D (SL1) into a full spectrum camera. The Canon 100D (SL1) is one of the smallest DSLRs available.. With a small lens, it is not bigger than a modern mirrorless camera.
We will need here a small Philips screw driver, hot air gun, some glue, a flash light.
Unscrew all the screws visible on the camera casing. There will be three screws covered with caps. Remove the grip rubber as there is one screw beneath it.
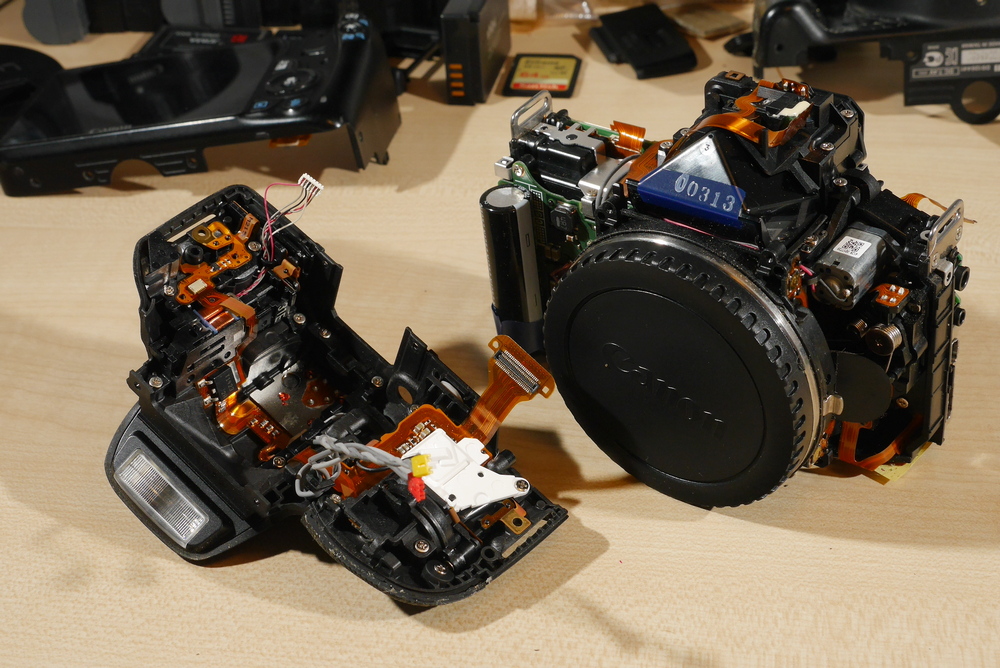
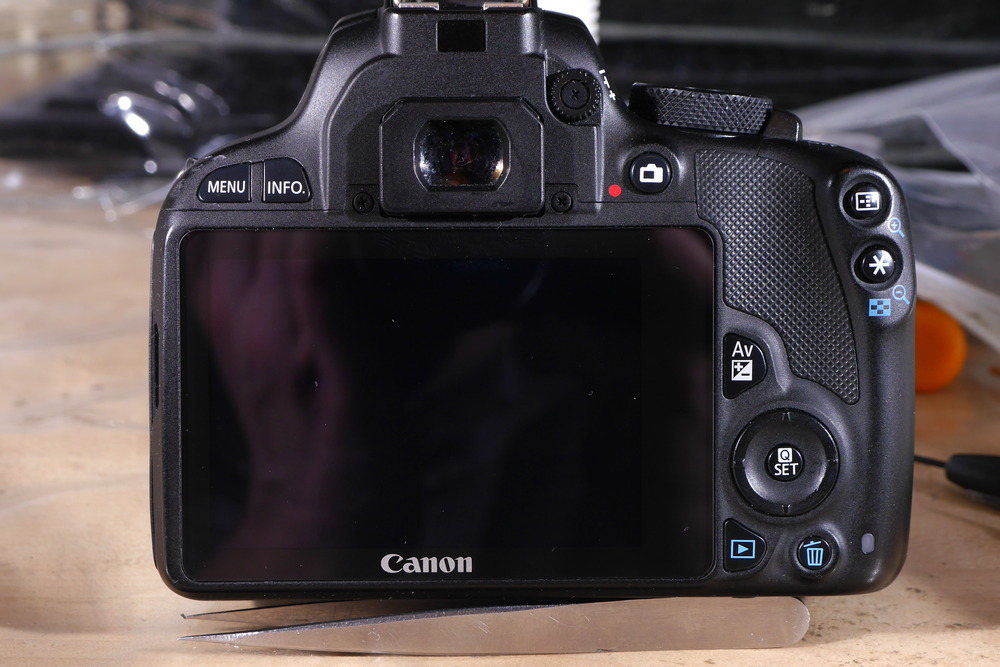
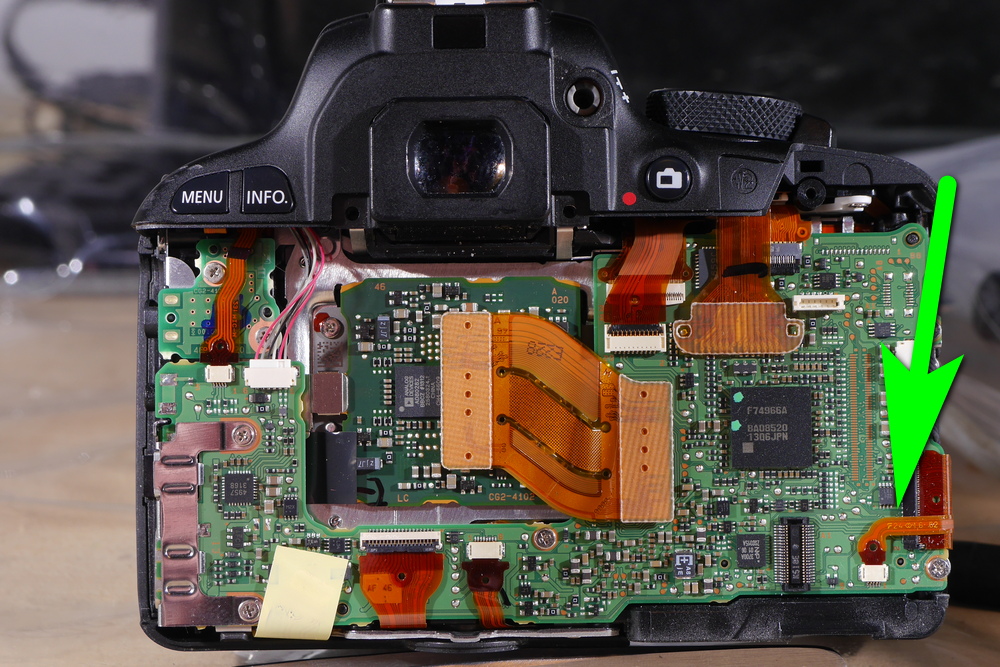
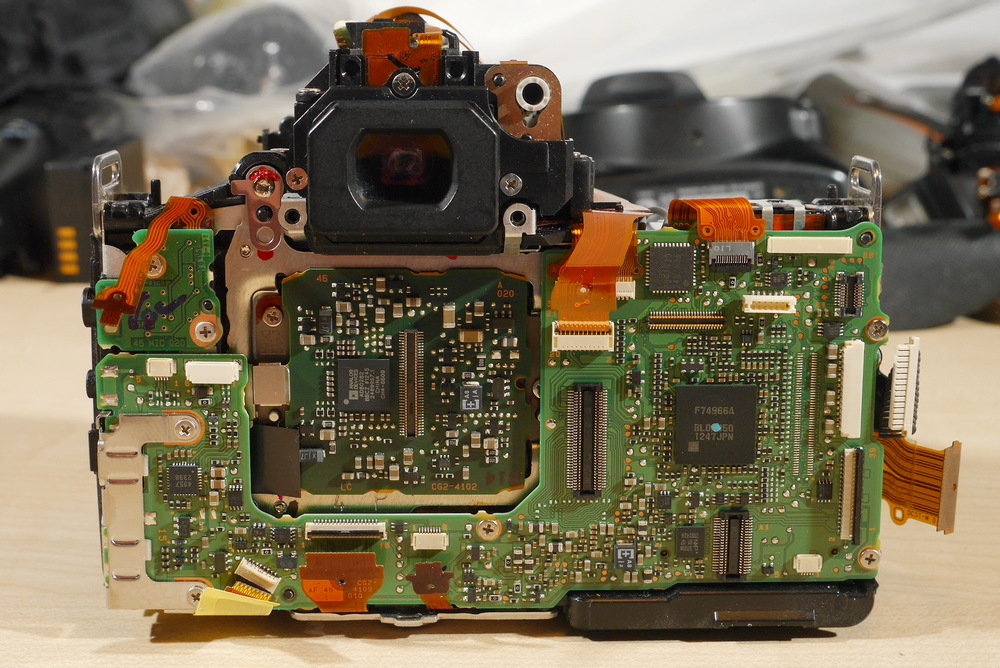
Take out the back cover. Inside you will see the logic board and many ribbon cables.

Please note the ribbon cable on the right lower side. Make sure to disconnect the ribbon cable on the right lower side, as it connects to the front cover and may be damaged when you remove it.
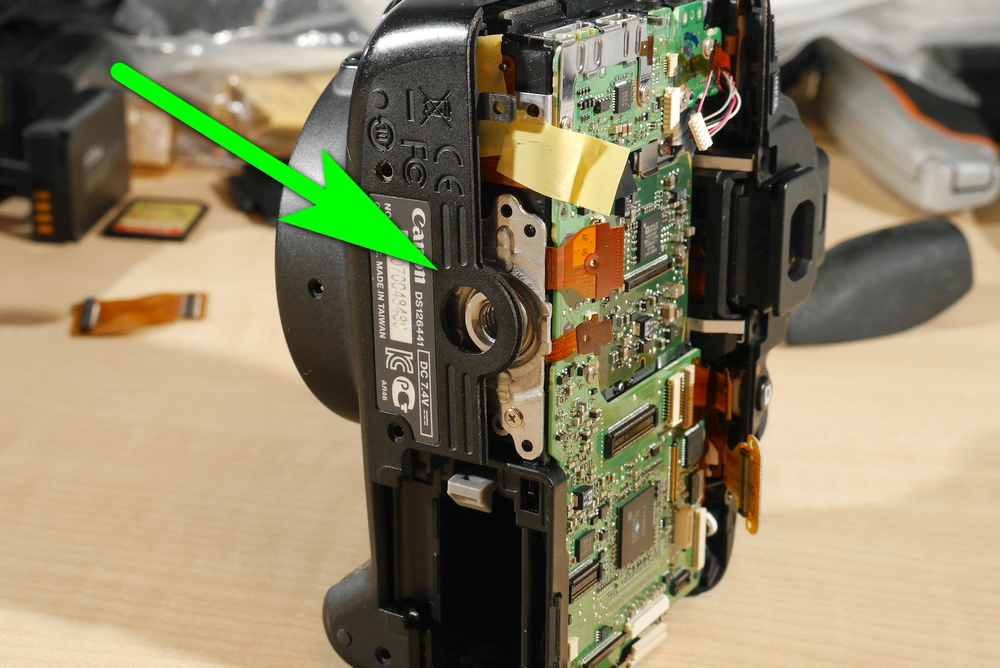
Begin separating the front cover from the bottom. There is a tripod connection. We simply separate the plastic from the metal. Then the front cover easily separates from the camera.
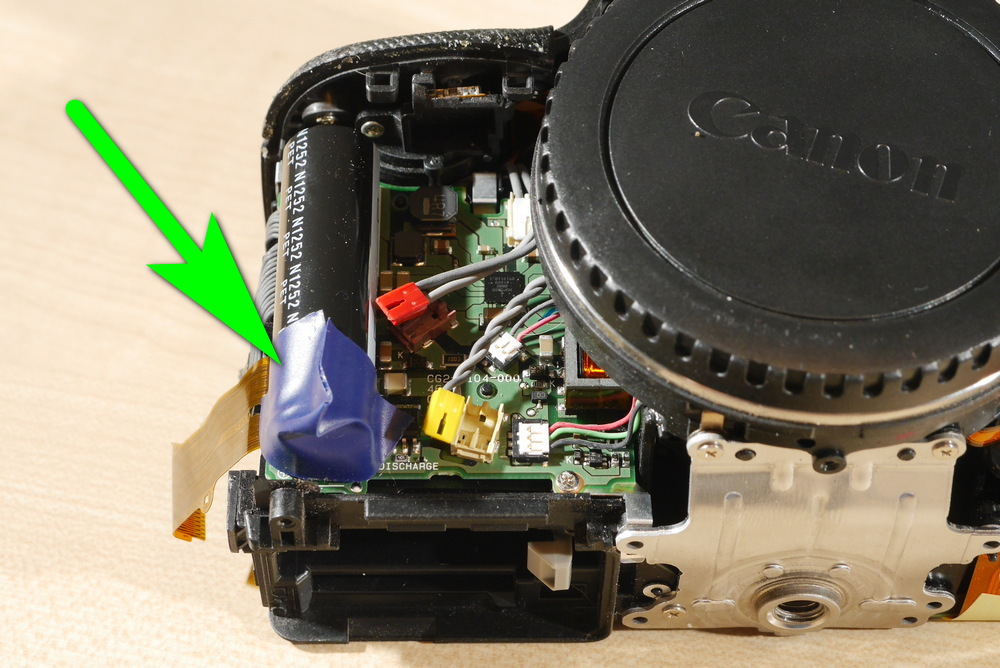
Now we will put some electrical insulation on flash capacitor. This will prevent from accidental zaps by high voltage. Trust me, it is worth doing.
There are two cables that we need to disconnect. These are the flash cables. The most convenient and straightforward method is to use a small plastic stick to lift the plug. These are push in connectors so we just lift the plug and it pops out.
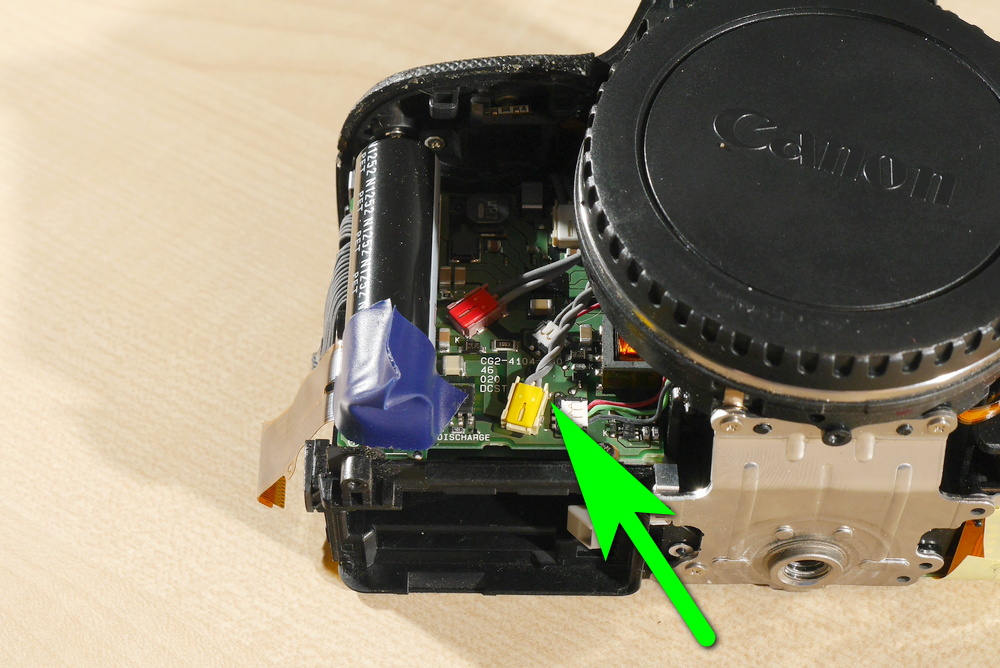
Do not mix the colors. The yellow plug should be inserted into the yellow socket and the red plug into the brown socket. If mixed the power board can be damaged.
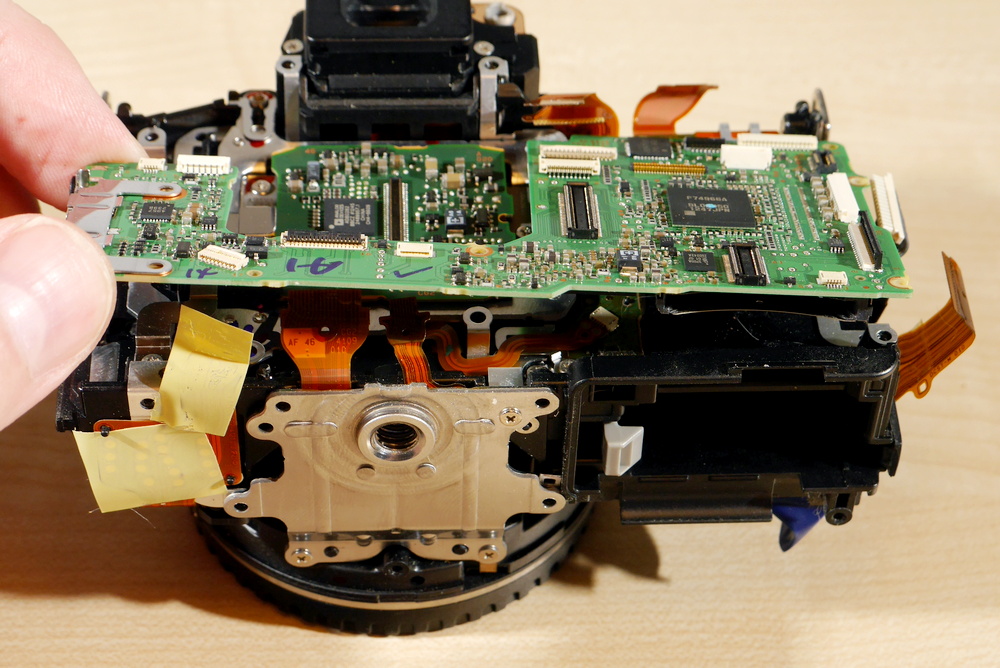
Now we can separate the top assembly from the camera.
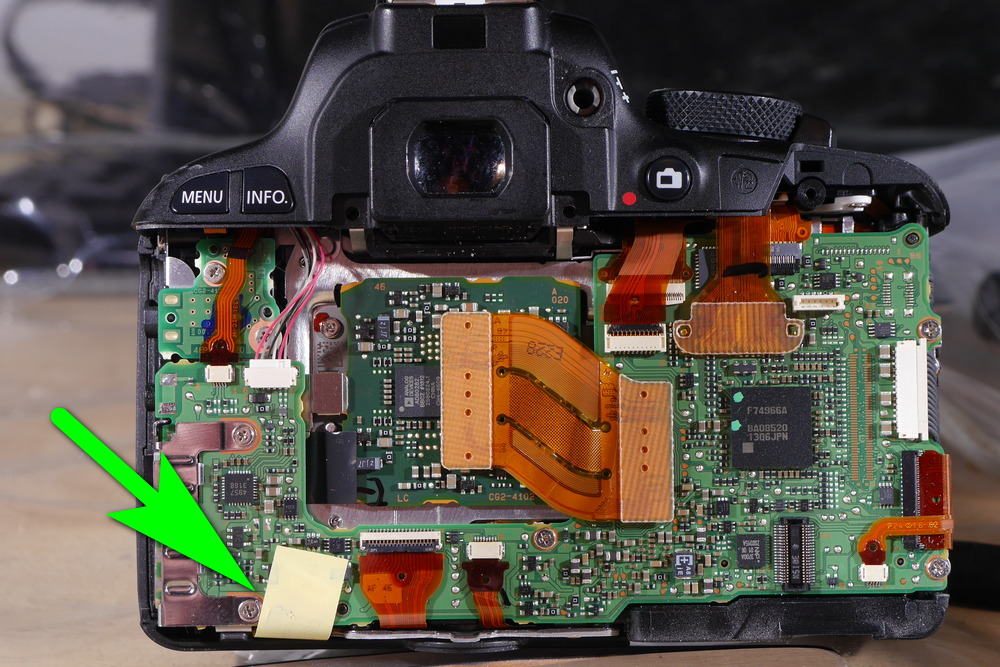
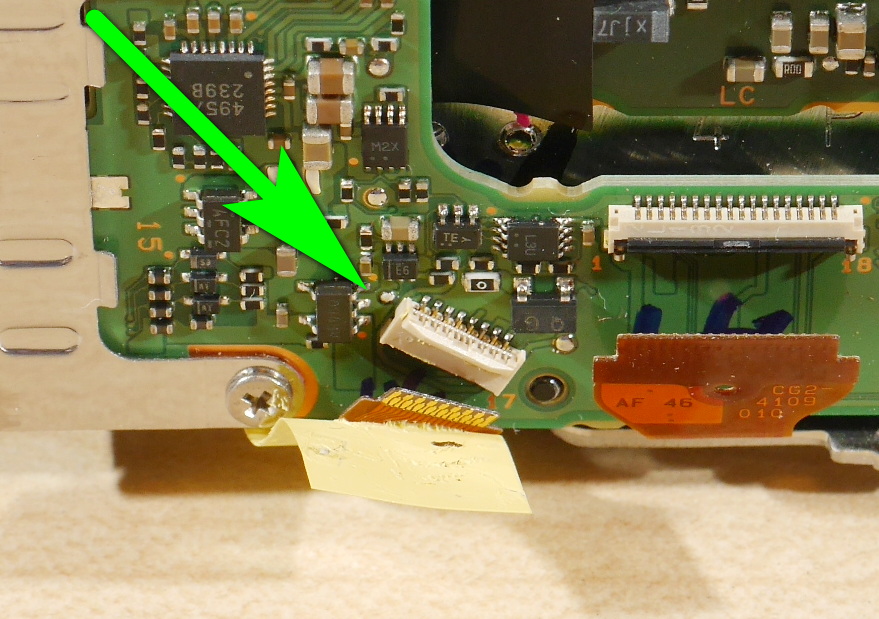
There will be a few ribbon cables to disconnect. Note the ribbon cable on the left lower side. It has insulation sticker. Carefully lift the sticker and disconnect the cable.
Typically, these ribbon cables have two types of connectors. One needs to close a small lever to properly connect the cable and the other needs just to push in the cable.
We can now take out the logic board.
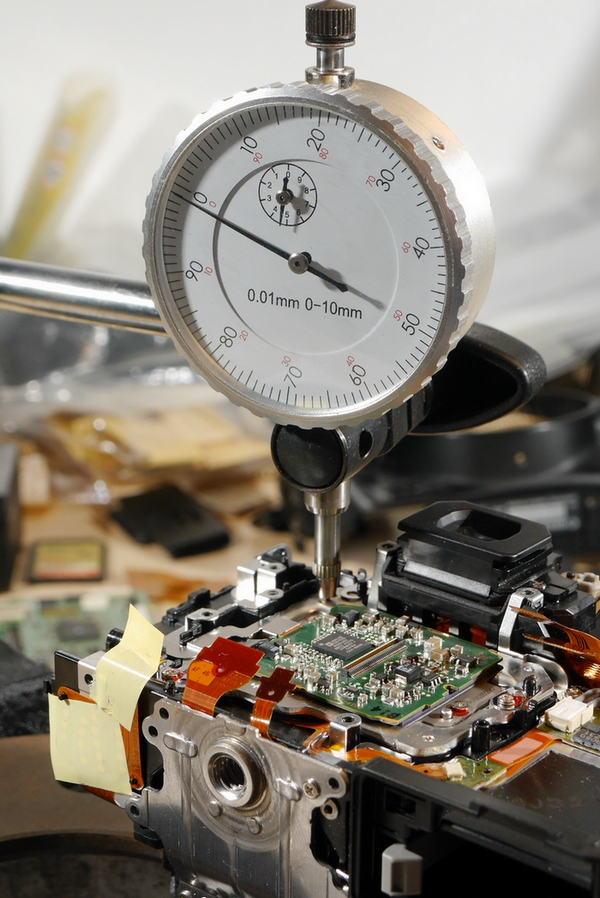
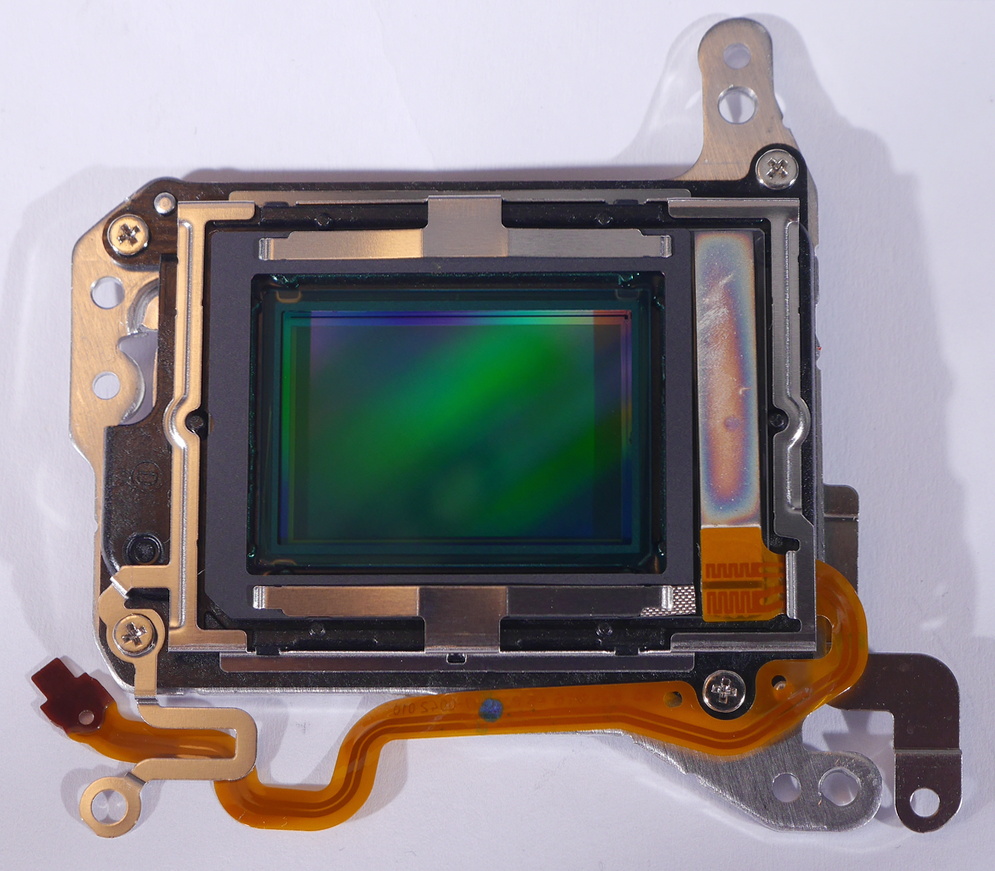
For the full spectrum conversion, the sensor needs to be moved 0.3 mm towards the front.
These readings are taken next to the sensor screws. Most of the time there will be three readings.
For a full spectrum conversion, we need to take all the filters from the sensor. This camera also has an ultrasonic cleaning system. We can just cut out the ultrasonic transducer and glue it to the black frame and leave it in the camera.
Alternatively, you can disconnect the transducer and disable the ultrasonic cleaning function in the camera menu. However, doing so may sometimes result in an error indicating a defect.
There is a small PCB that we need to take care off. It is located next to the sensor and we have already unscrewed one screw from it. If we do a full spectrum conversion, there is no metal piece going to it. However, we still need to put a screw in there and tight it up as the PCB still needs to make electrical contact.
Download Our Infrared Photography Guide

- How to take infrared pictures with a digital camera
- What are the infrared filters available
- How to process infrared images
- How to modify a digital camera for infrared photography
- How to modify a digital camera to capture full spectrum images.
 Subscribe to our YouTube channel