Here we will do Canon camera infrared conversion. Before starting, I recommend using a hair net, nitrile gloves and ESD bracelet.
Some dust will not be visible even if it gets on the sensor or filter, but human hair will always be visible. We also will need a micro fiber cleaning cloth, an LED light 250lm strong.
It is very important to never ever spray anything directly on the filter. This will damage the surface and leave circular marks. Or the best solution is to spray it on a cloth, put in a bag and use the cloth the next day.
We will also use DSLR sensor cleaning pads. They come from Amazon with a liquid. I do not use the liquid, but the pads are good. Though, they do not last long as they start to lose synthetic hairs.
Those filters we use are not coated, and if the spray gets on them, then marks can be seen if checked during daylight and while taking a picture. There are also coated filters, but we rarely use them. As one source says, the coating will reduce infrared light.
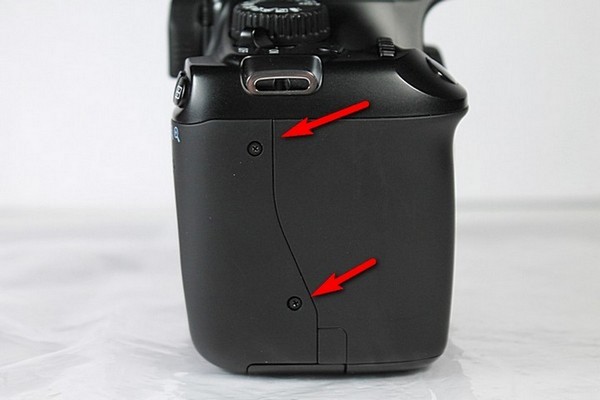
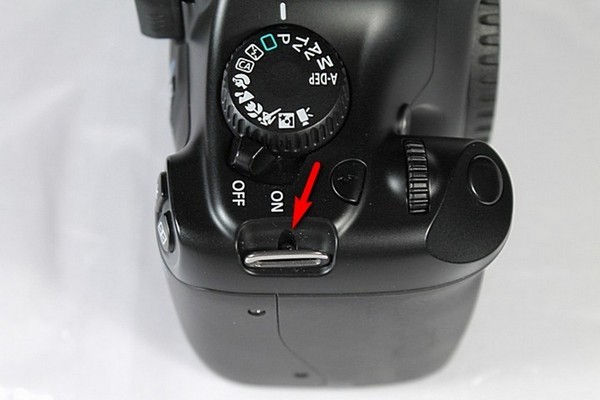
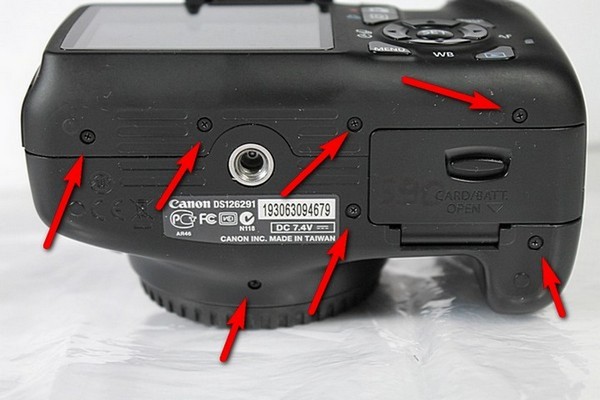
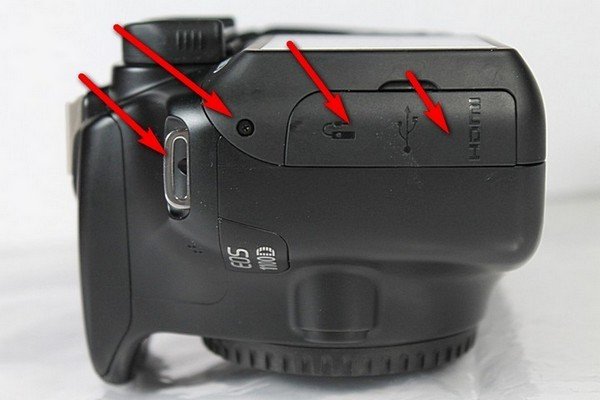
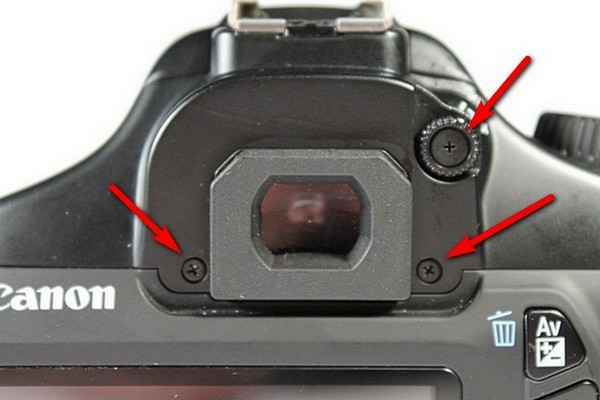
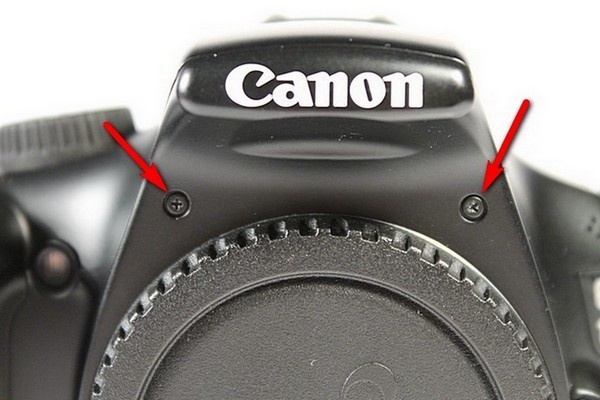
Let’s remove all the outer screws. The screws are different length we must remember what length goes where. I sometimes stick them to the A4 paper sheet with tape.
Contents
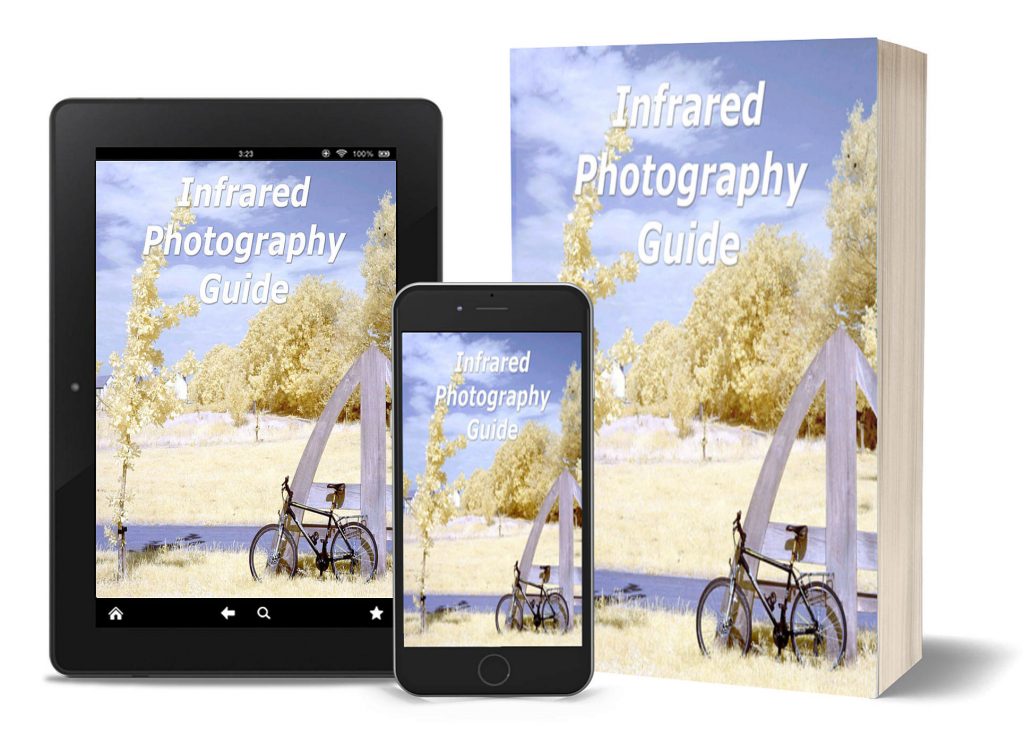
Download Our Infrared Photography Guide
Let’s Get Started With This Infrared Conversion

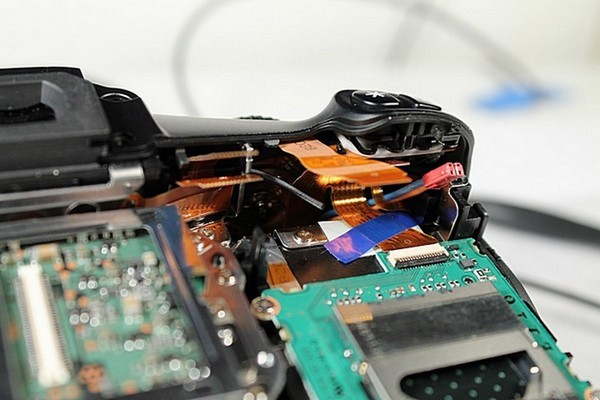
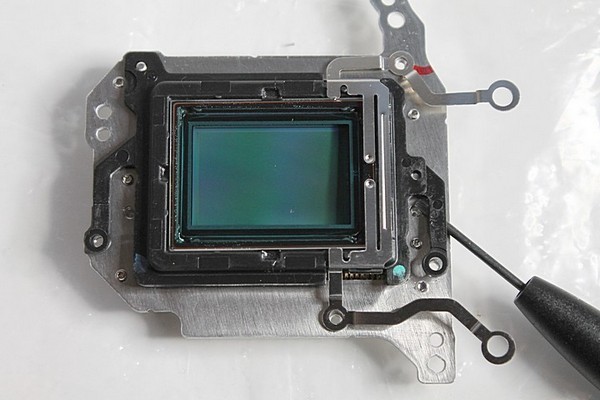
We will disconnect a few ribbon cables.
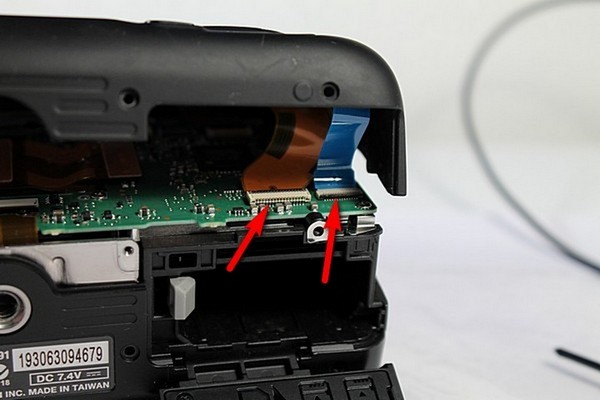
Every ribbon cable we are going to disconnect.
The best way to deal with those ribbon cables is to use a wooden cocktail stick. Some ribbon cables are just pushed to the connectors so to pull them out, some force is needed, and wooden sticks are perfect for that.
If we use a screwdriver to pull the ribbon cables out we can damage the logic board. There will be a few screws to unscrew, and the sensor ribbon cable must be taken out.
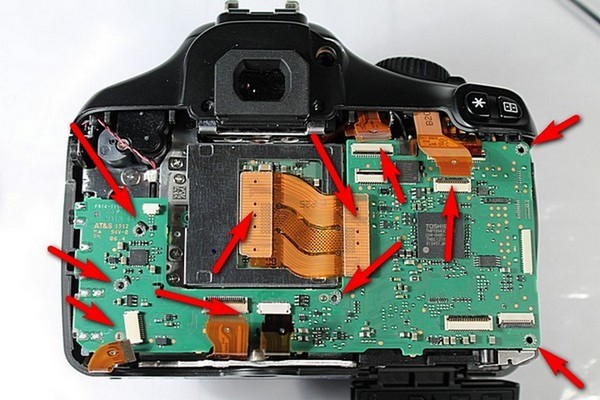
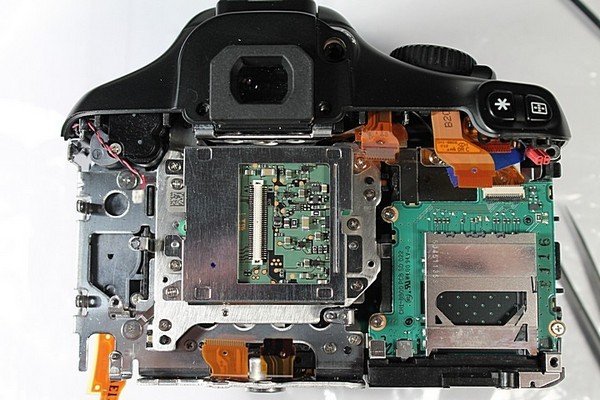
Slide the top a little bit to access the sensor screws.

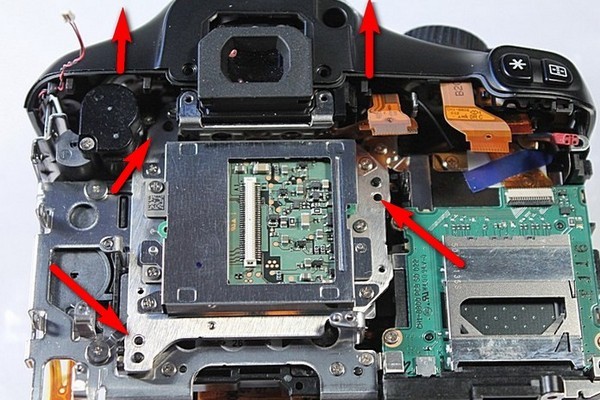
Take out the sensor.
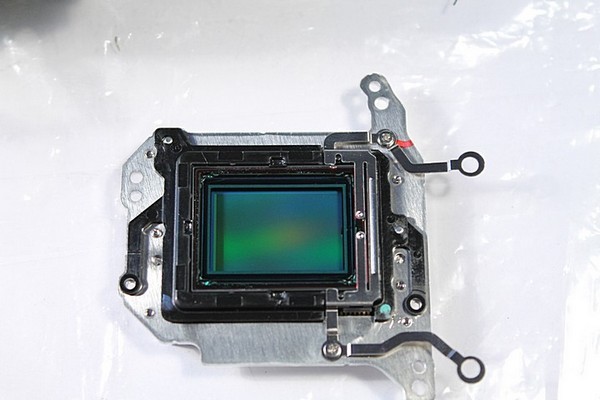
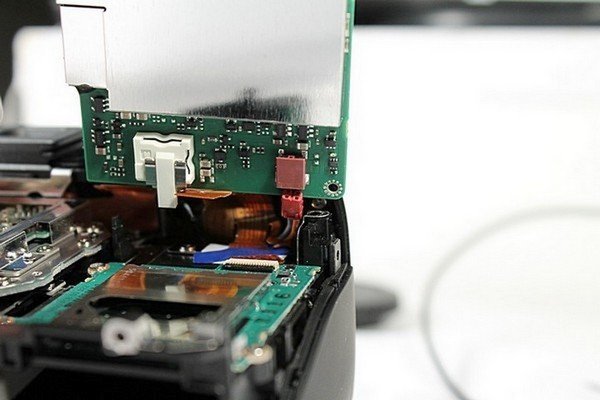
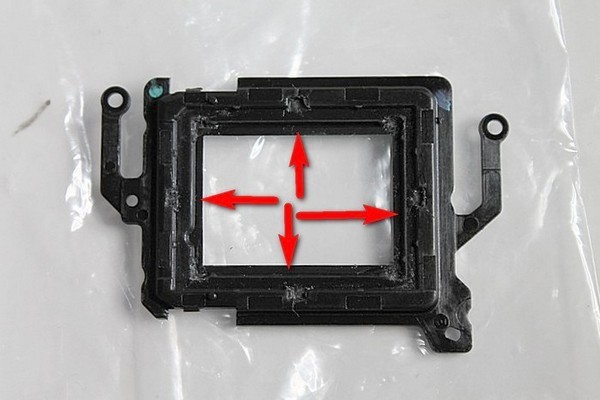
Separate the aluminum part from the plastic part. We will work on the black plastic part.
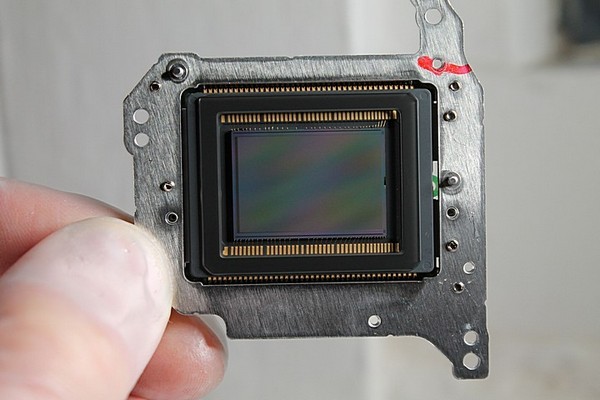
The sensor assembly is best to place back into the camera, where it less likely to gather dust.
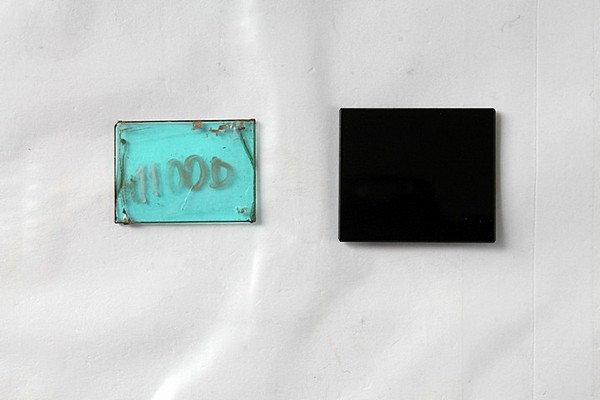
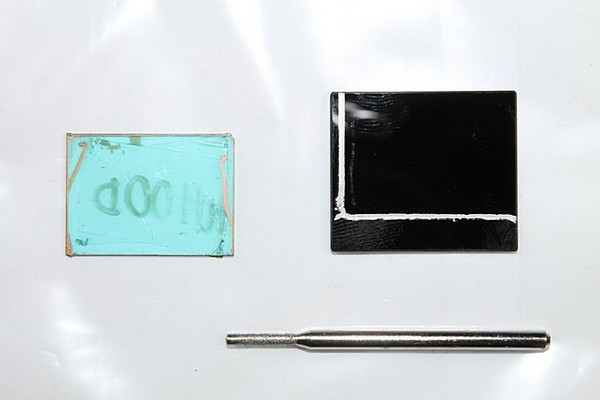
Why do we need to work on a plastic part when we can just stick the infrared filter with double-sided tape? There are good (supposedly) SCHOTT infrared filters that you can get inexpensively, but they come with 25mm by 29mm dimensions. This makes them impossible to just stick to the sensor. Though, if you have a Hoya filter, you can cut it to the size and stick to the sensor with black double-sided tape.
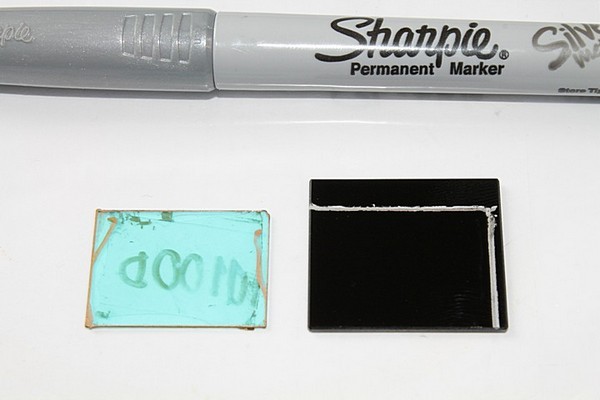
I use one of the removed filters as a form to draw cutting lines on the SHOTT infrared filters. Sharpie Permanent Marker works best for this purpose. After that, we cut the filter with Dremel using diamond bits.
Stick a narrow piece of double-sided tape to the black frame. 3M double sided tape is perfect for this purpose.
Clean the infrared filter and make sure there are no dust particles. Place it on the frame.
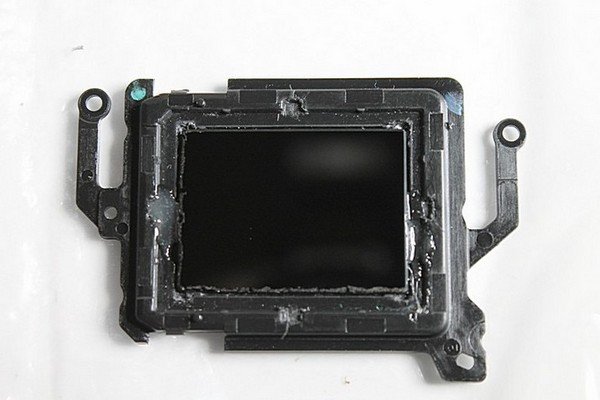
Make sure there are no dust particles on the infrared filter or the sensor. If there are any contaminants, clean it with a careful strike of a sensor cleaning pad. Those pads should come from a clean room environment and not contain any dust particles. Use a LED 250lm light to find any dust that left.
Re-calibration
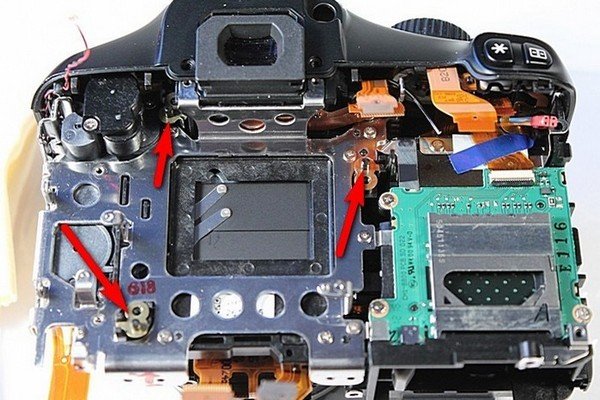
Before assembling, we must re-calibrate the camera for 50mm focal length. For this purpose, we will use 2mm x 4.5mm x 0.4mm Circle Metal Washers which we purchased online. Use a little contact adhesive to stick them in the place.
This makes the sensor shift a little to the back which makes the camera focus correctly on 50mm focal length using any lens. This is for a Quick Focus. Live View is not affected by this sensor shift and will focus correctly all the time with any lens.
Full Spectrum Conversion
Full Spectrum Conversion will have the same steps, but instead of an infrared filter, we would use a Borosilicate Window (Borofloat) or B270 which are equivalent. If we need more UV Ultraviolet, we would use Spectrosil 2000 Fused Silica.
The camera also will not need the sensor to be shifted back. Instead, we would shift the sensor to the front by 0.15mm.
Assemble the camera and check is there any spots in images with the aperture set to 20. If there are small spots, do not worry they will not be seen when the aperture is set to 5 or 7. It is difficult to get a good filter that has no spots. In particular, the 850nm filters are very spotty.
That’s basically it with this Canon camera infrared conversion.
Please visit our shop.
I recommend checking Mark Hilliard’s blog for mind blowing infrared images.
 Subscribe to our YouTube channel