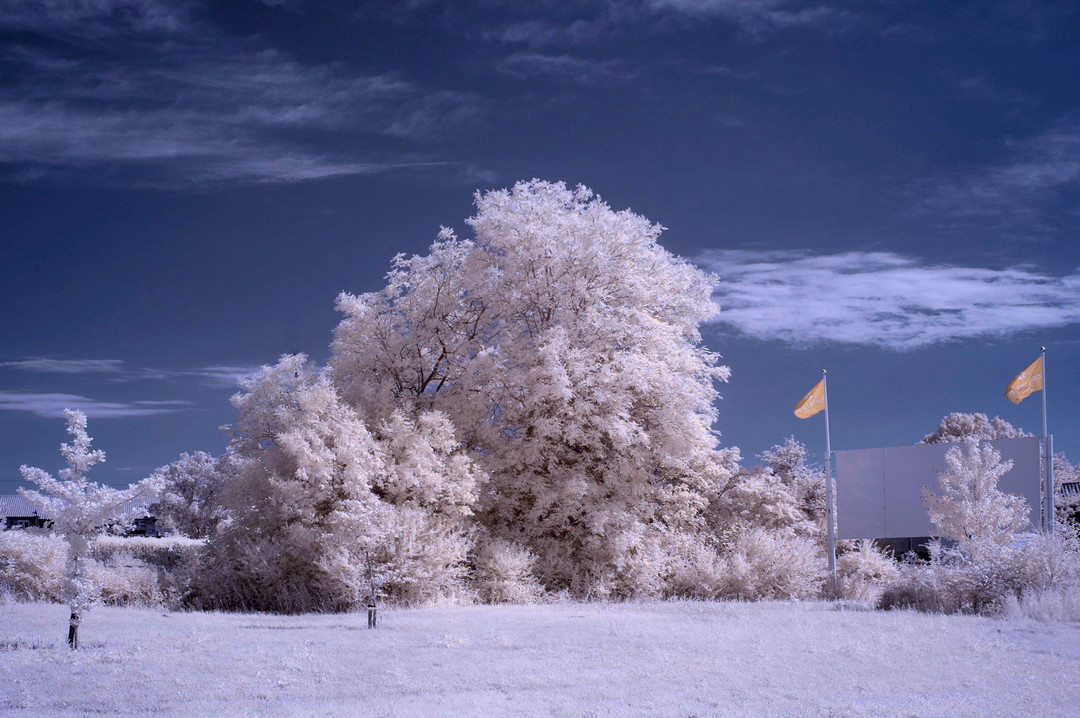
Here I will show you how to process infrared images with gimp. It’s free software.
We will open our image as a layer.
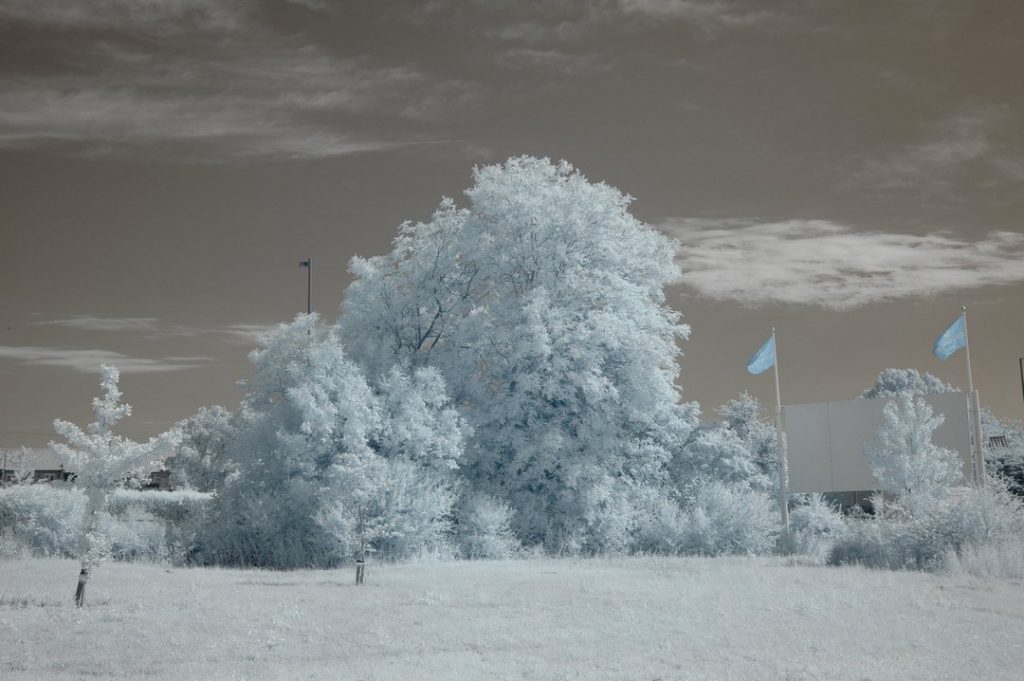
Gimp does not understand RAW images so that you need to convert them to jpg or better tif formats.
Ask us a question
Hit Ctrl + Shift +J to fill the working screen with the image.
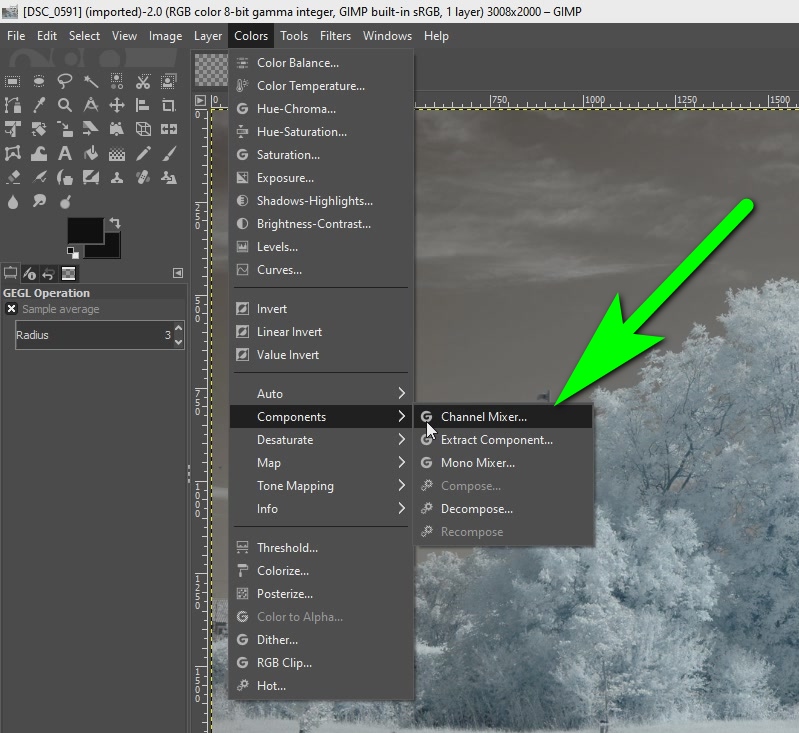
Click Colors, Components, Channel Mixer.
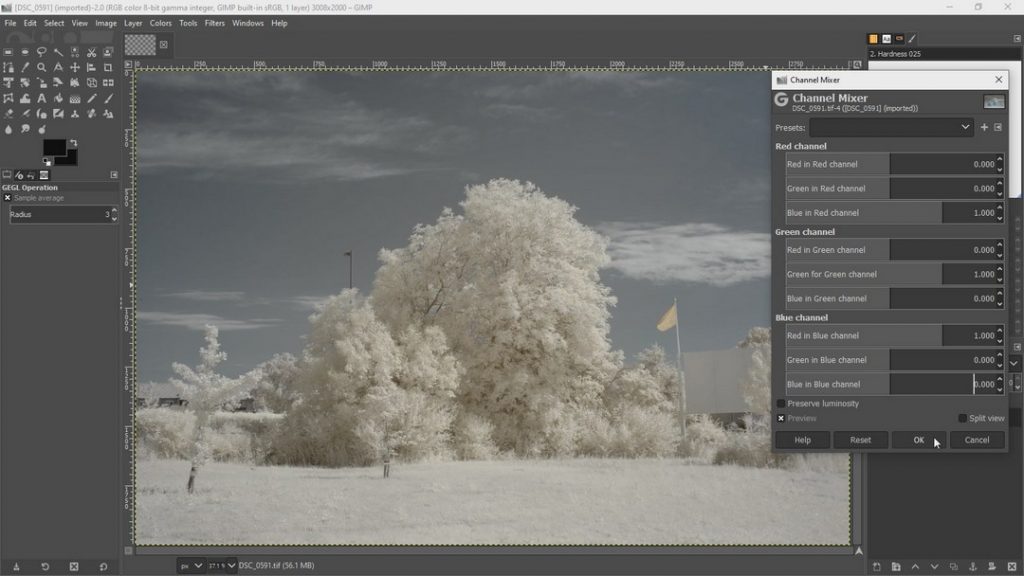
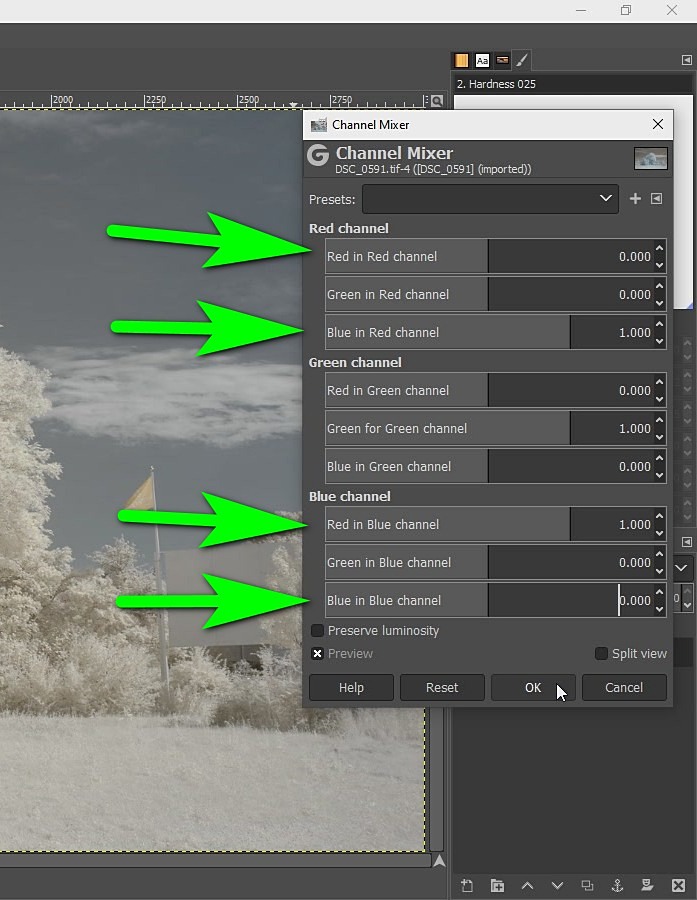
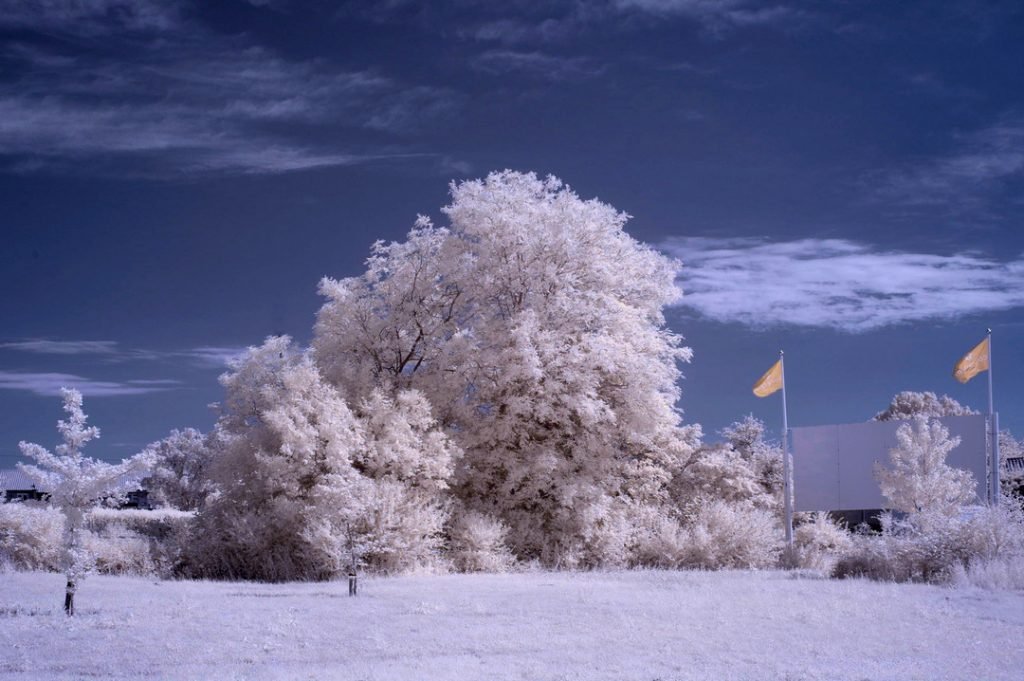
Set Red in Red channel to zero, Blue in Red channel to one, Red in Blue channel to one and Blue in Blue channel to zero. Click OK.
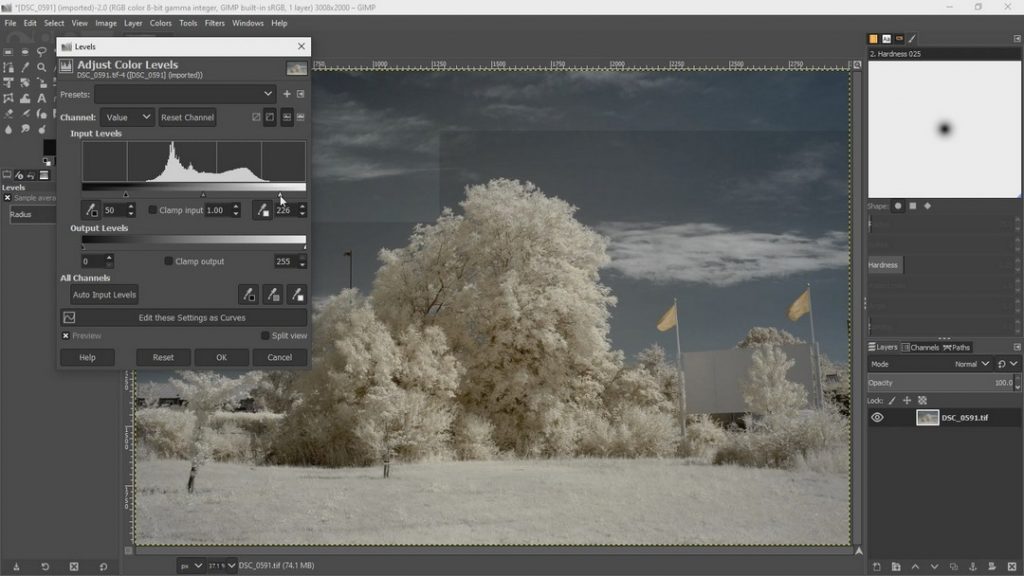
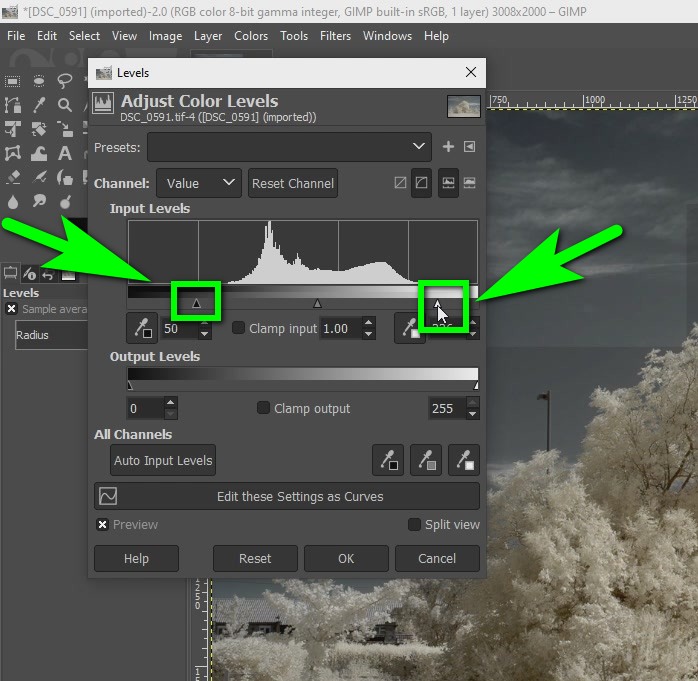
Click Colors, Levels. Drag those two markers closer to the curve. This will make the image look better. If those markers are close to the curve you may just leave it as it is.
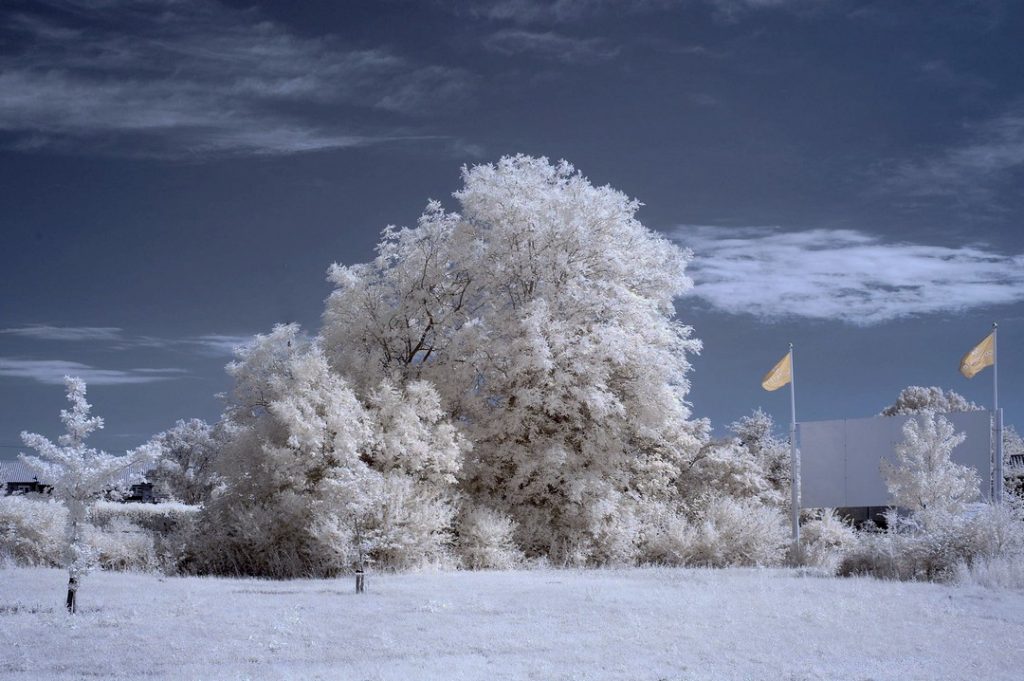
Go to Color, Color Balance. Now slide the yellow/blue slider to the right to about twenty. Do this for shadows, mid-tones and highlights. This is probably a bit confusing at first, but this is how Gimp handles color balance.
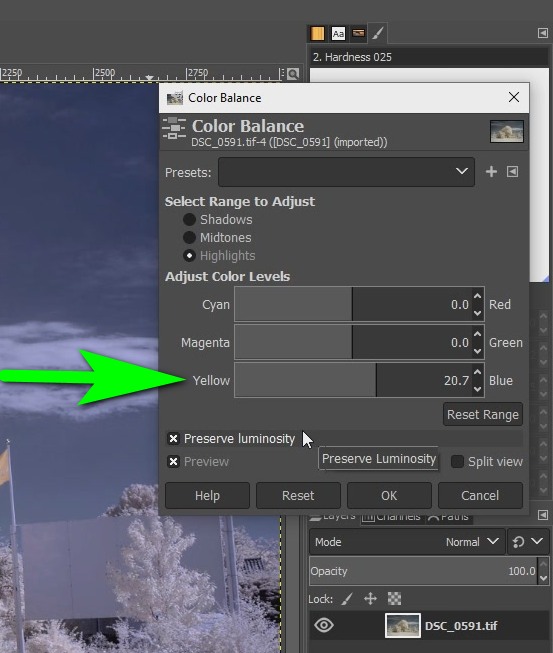
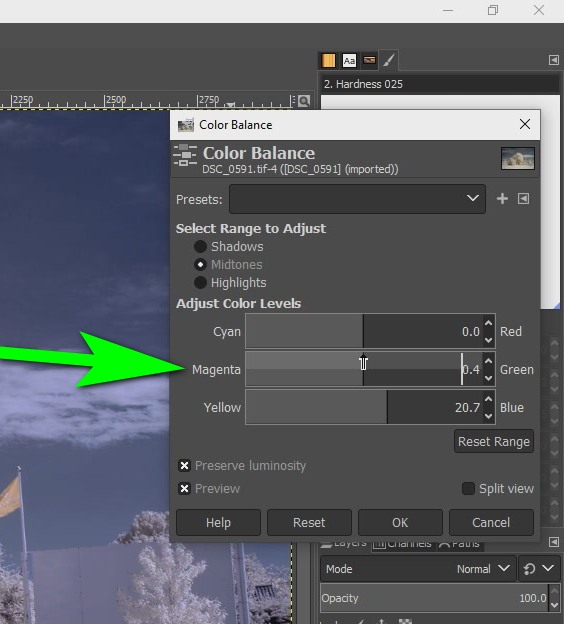
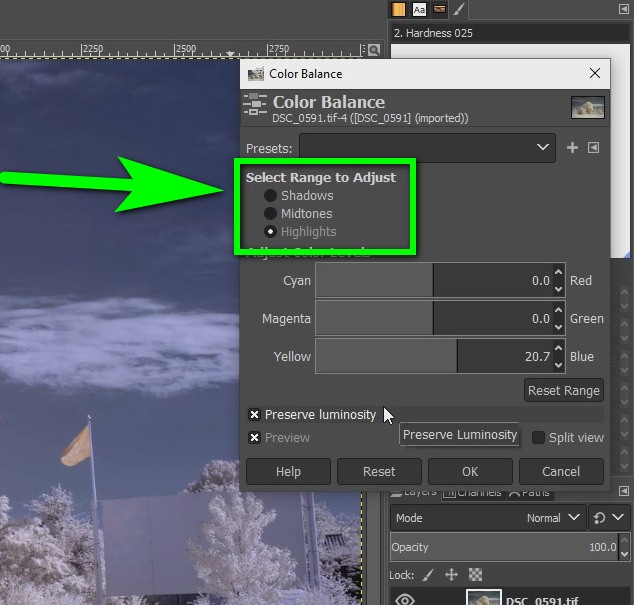
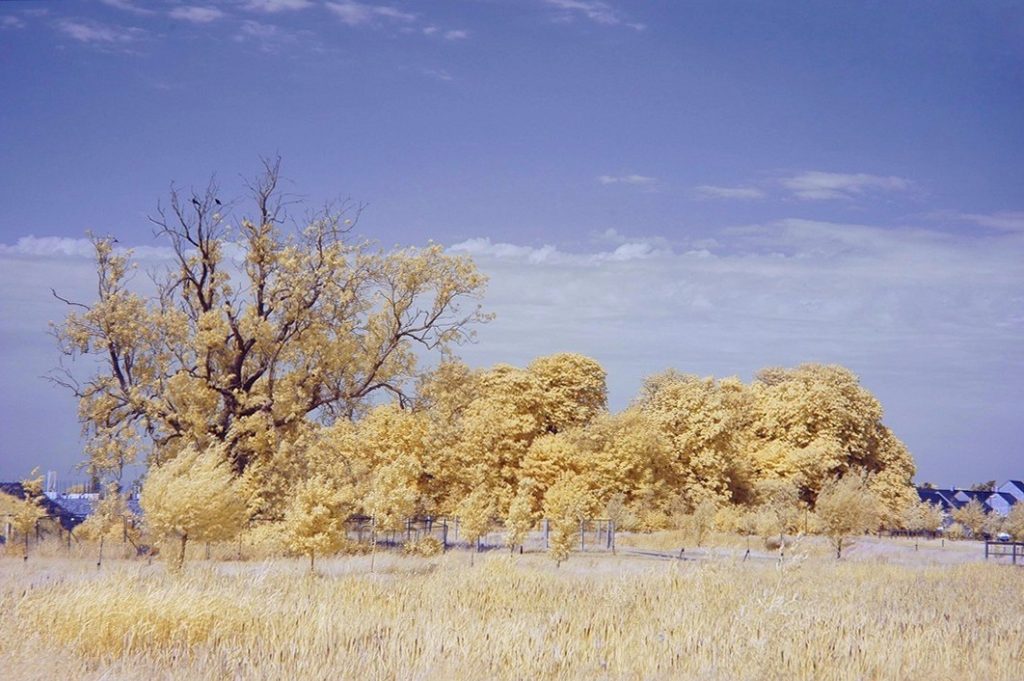
Make the sky look blue or the leaves look white. The green color also may be adjusted very slightly. Usually, the red color does not need adjusting. Sometimes you may need to decrease the red color, as said this is rarely needed.
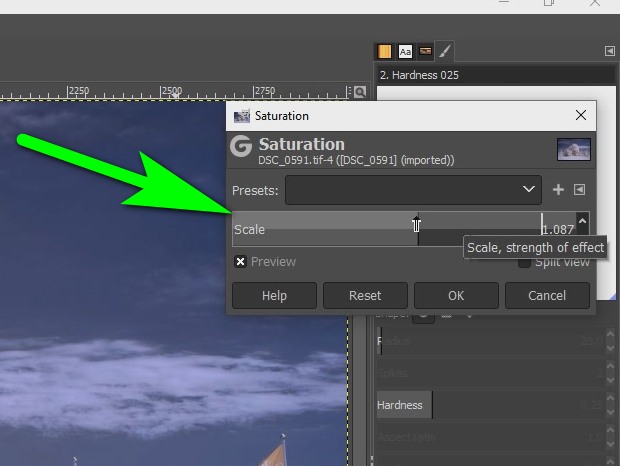
Go to Color, Saturation and increase the saturation slightly until the sky has a proper color.
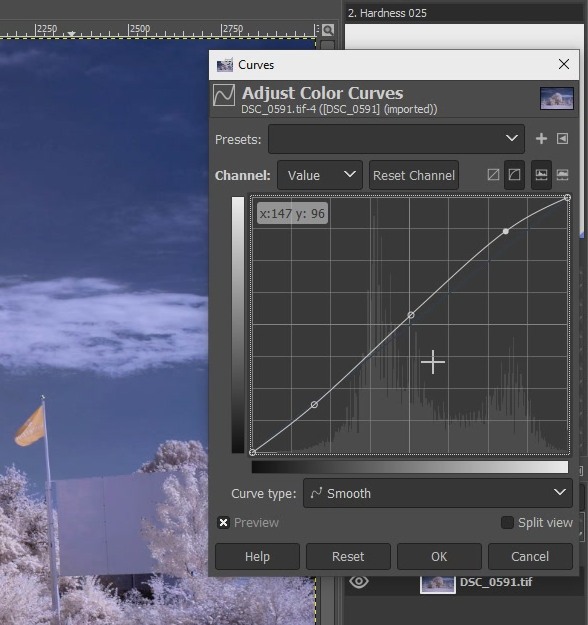
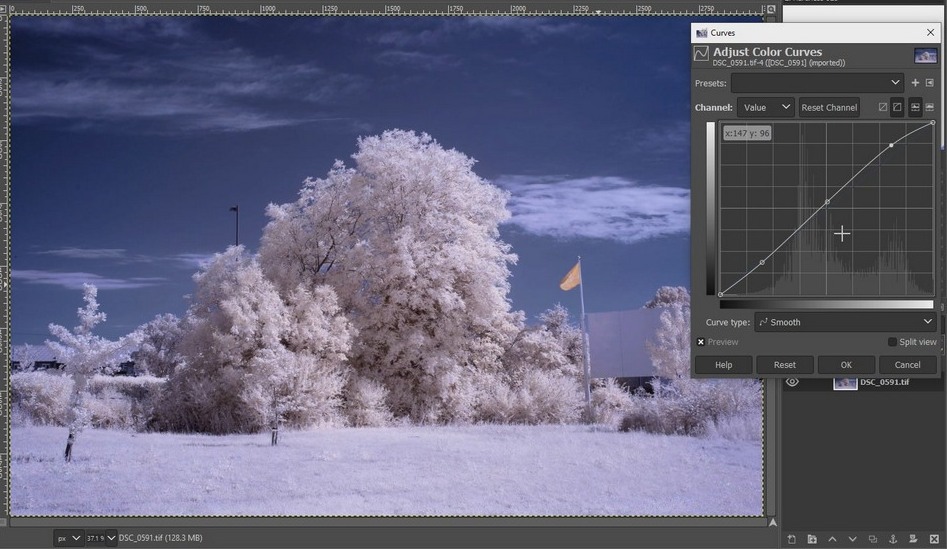
Go to Colors, Curves and make very tiny adjustments to the curve. The stretched S curve will give a cinematic look. If you do not want to do that just skip this step.
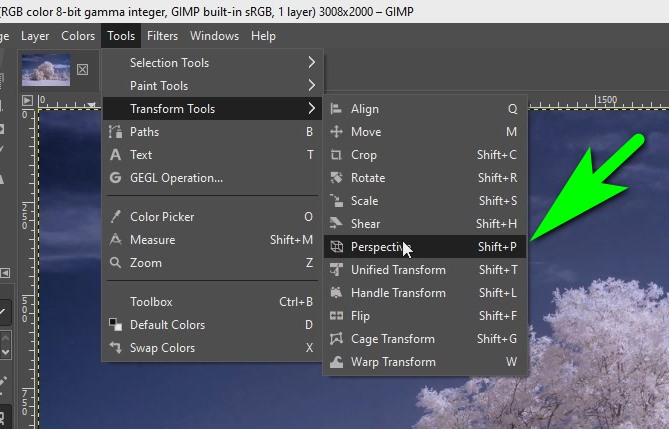
Go to Tools, Transform Tools, Perspective. Usually, the photo has a perspective distortion which is most noticeable in a picture from a zoom lens. If you have a prime lens you may skip this step.
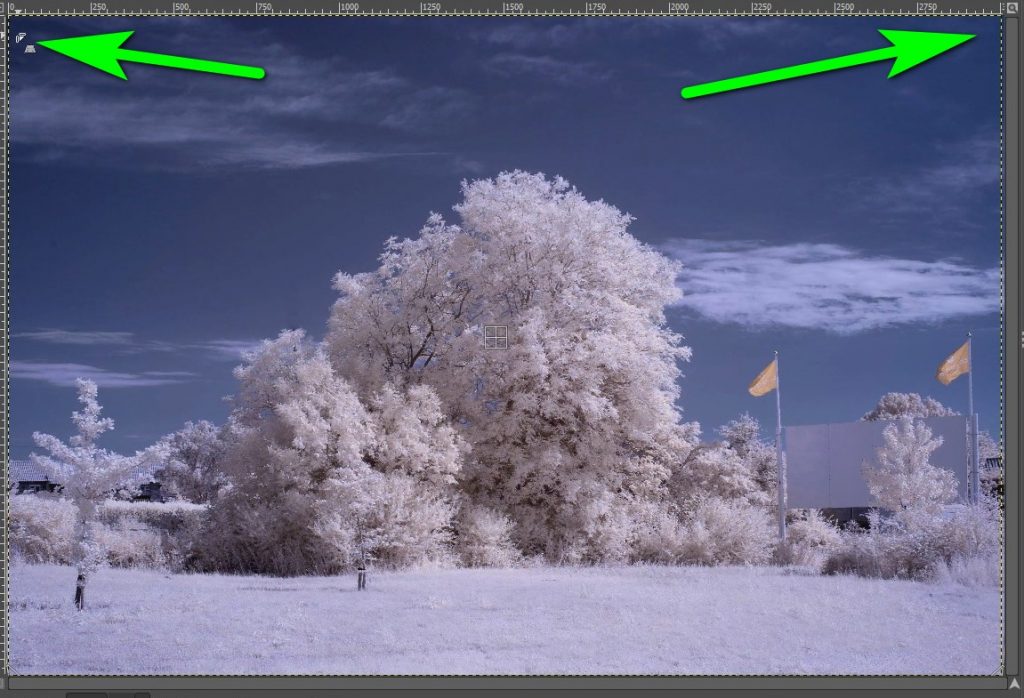
Grab each top corner of the picture and pull it to the sides. You will notice how vertical lines are improving.
This is it. A touch of contrast or sharpness can be added depending on how the image looks.
Download Our Infrared Photography Guide

 Subscribe to our YouTube channel