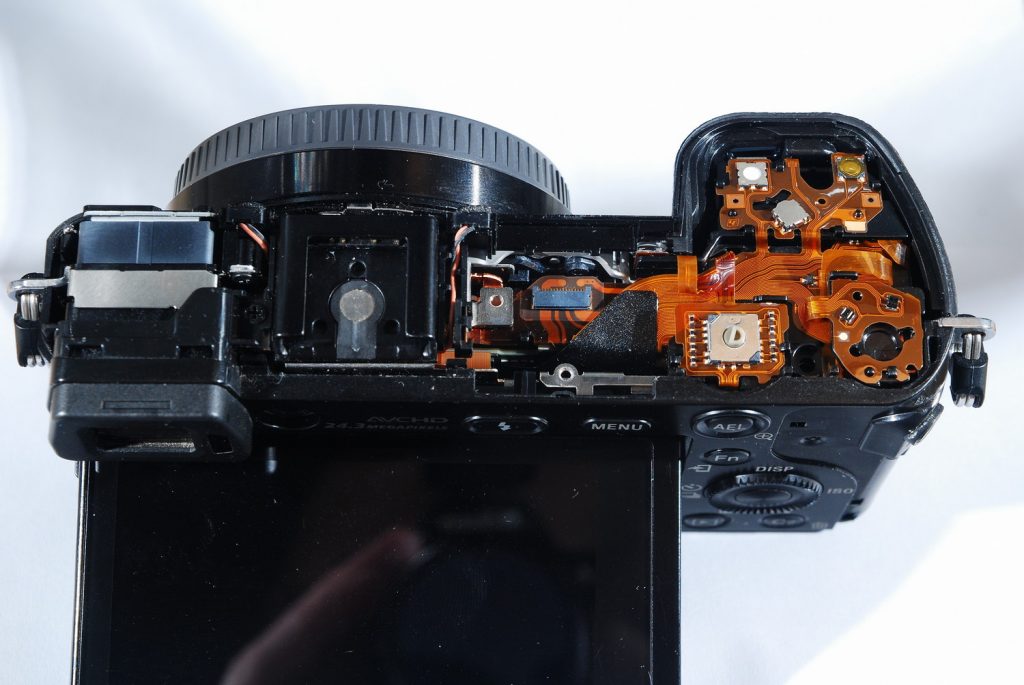
This camera has a gazillion of ribbon cables. If you managed to save all of them from damaging – congratulations and you deserve cold beer and chips.
Let’s disassemble. This camera has the most anti “that makes sense” disassembly way.
Please unscrew all the screws that you will find on the outside. Now take a piece of plastic and stick it into the left side to separate the top from the camera. Those pieces of plastic are specially made for plastic part disassembly. You can find them on AliExpress or just use a debit card.
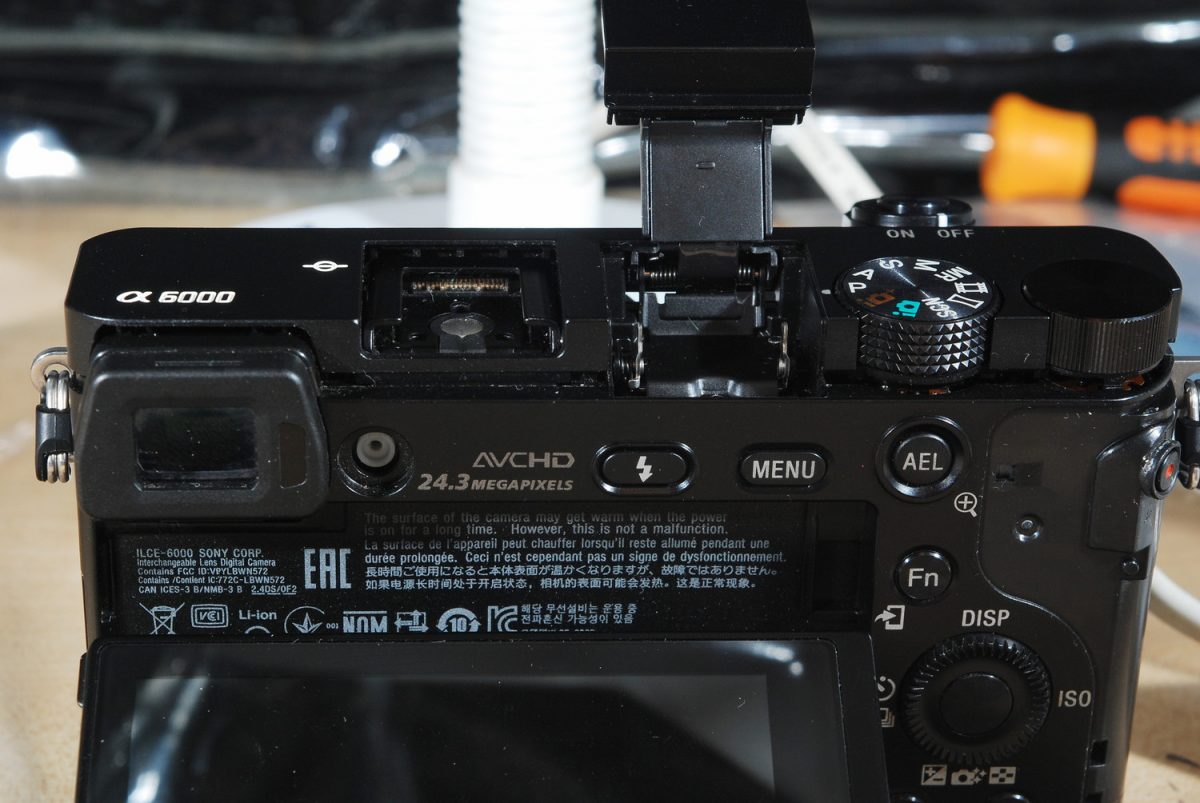
The top is the part where the flash sits and we need to take it out first. There will be two screws in the flash compartment.
Be very careful as if you pull this piece with a force the flash cable will tear apart.
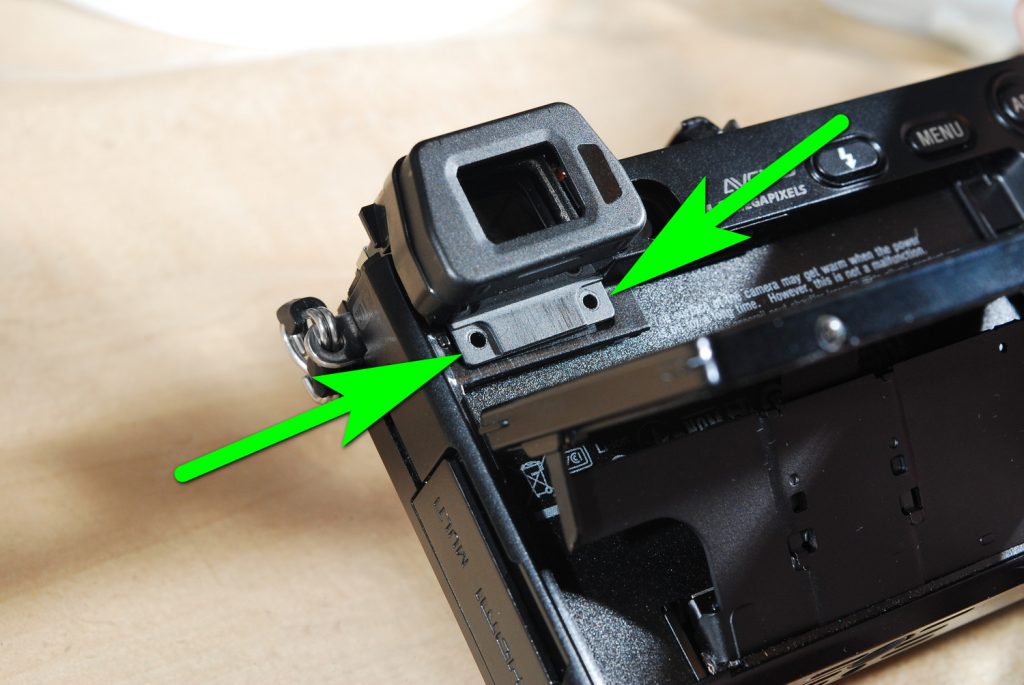
The best way is to separate it a bit on the left side and then separate it completely using our plastic piece near the microphones.
Disconnect the flash cable. Do not simply pull it as it can snap. Use a small screwdriver or use something like a cocktail stick.
Unscrew the two screws holding camera eye piece. Unscrew also the eyepiece focusing screw. It is hidden beneath a black round sticker.
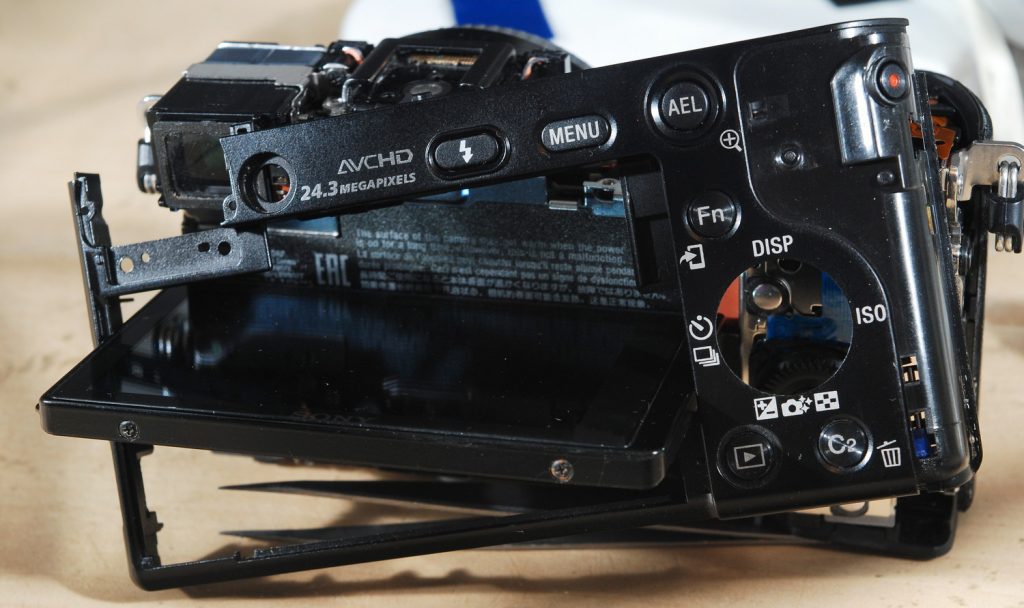
Take out button frame and see how this is done in the image. Surprisingly this piece of plastic is complicated to take out.
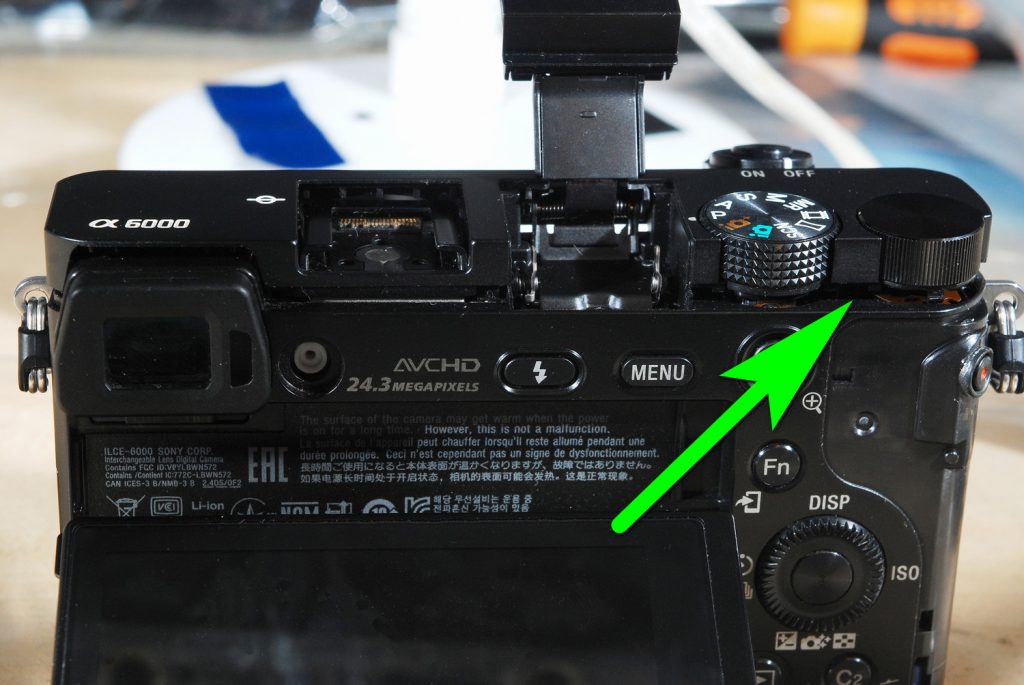
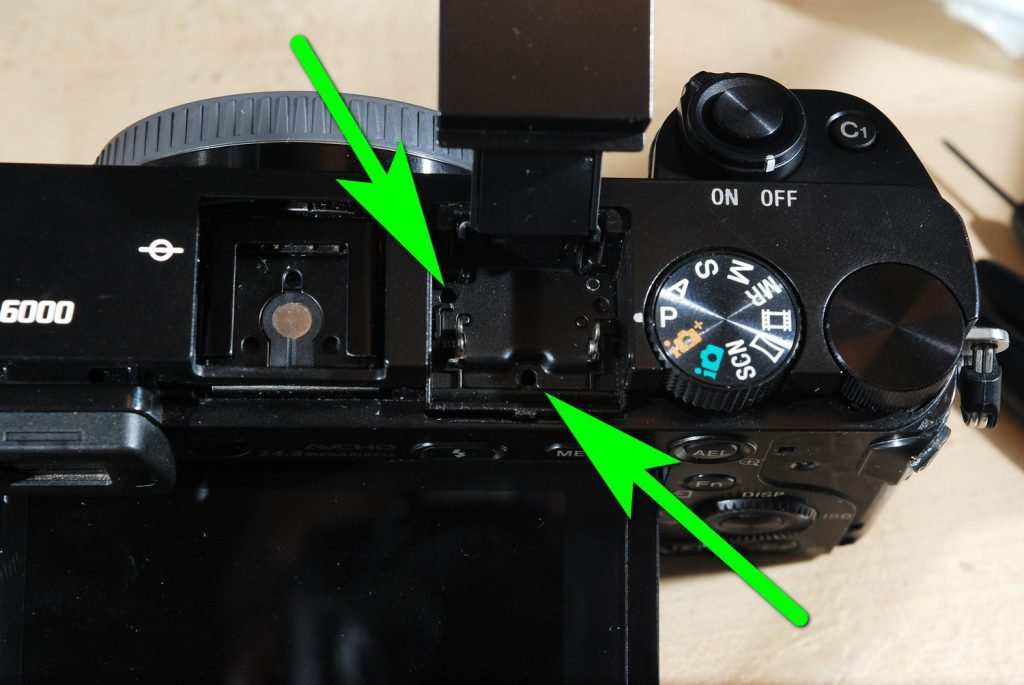
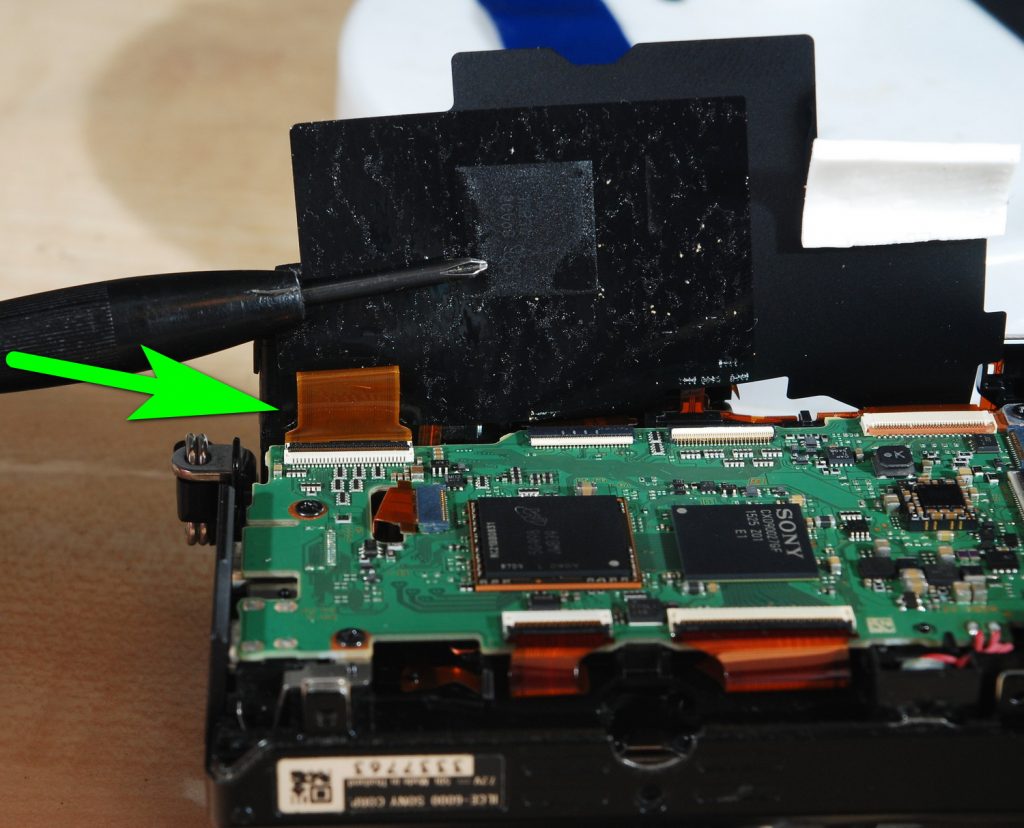
Unscrew the two screws near to the hot shoe connector. Separate a ribbon cable that is on the right upper side. Unscrew the three screws on the right side. Remember which screw goes here. The easiest way is to put the screws on the table the way they are in the camera.
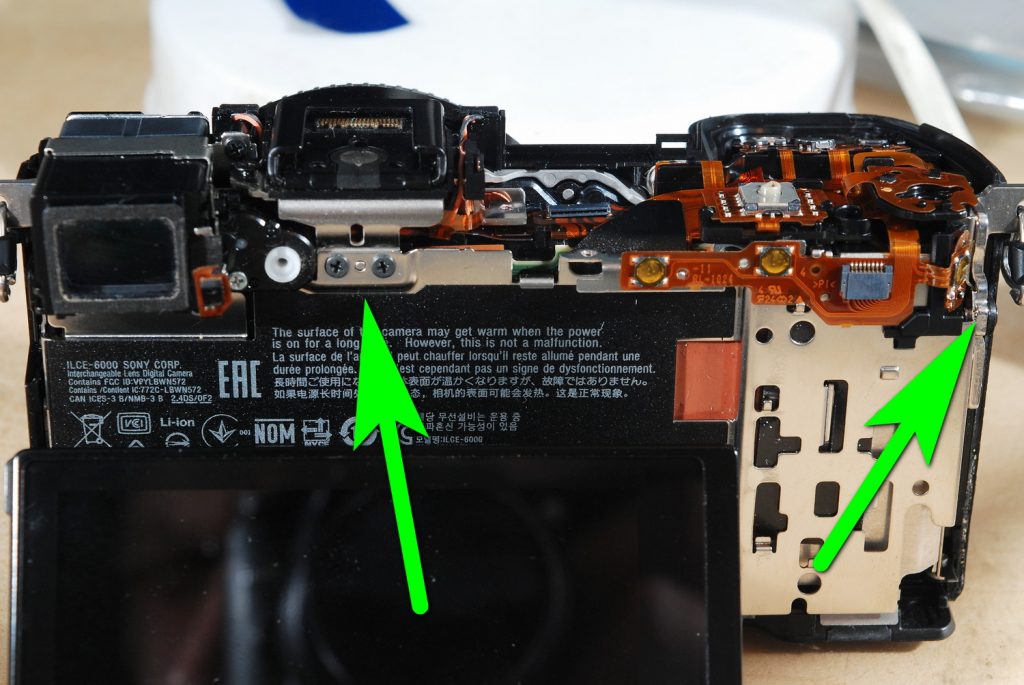
Carefully separate that metal plate from the camera. There will be one ribbon cable to disconnect.
Separate the black piece of insulation. The left upper side of insulation covers a ribbon cable.
Now the eye piece will have a slim ribbon cable attached to it. The easiest way to separate it is to unscrew eyepiece holding screw and take it out. Now the ribbon cable should slide out easily. Disconnect the wide ribbon cable.
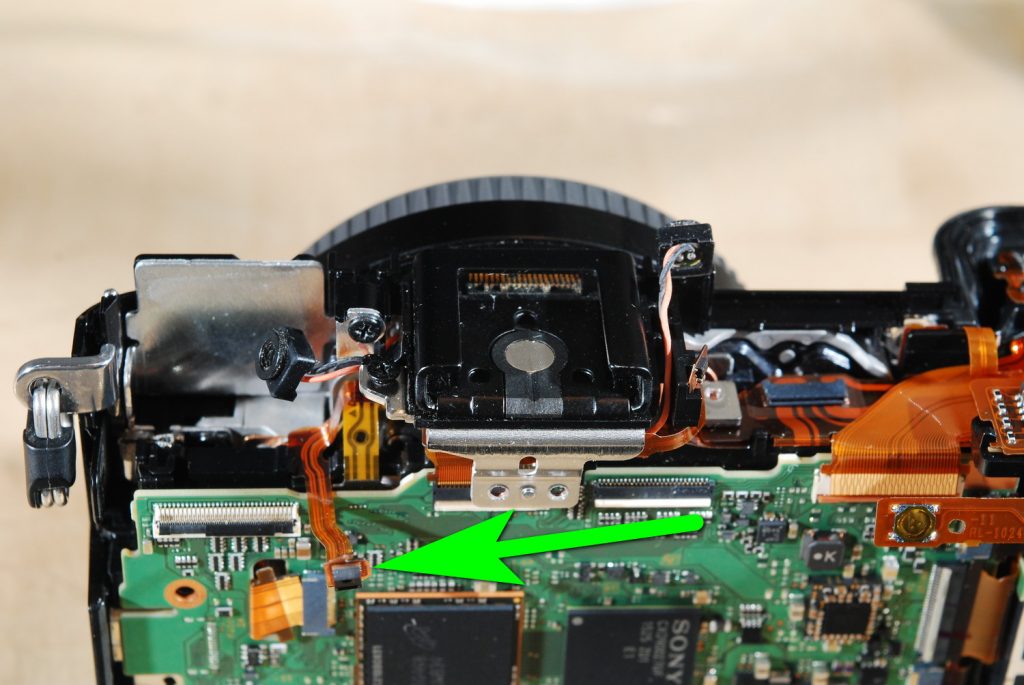
Now separate every cable from the hot shoe. There will be one screw holding it which is on the left side. The screw that you may see on the right side is for the sensor; do not touch it now. Disconnect the ribbon cable.
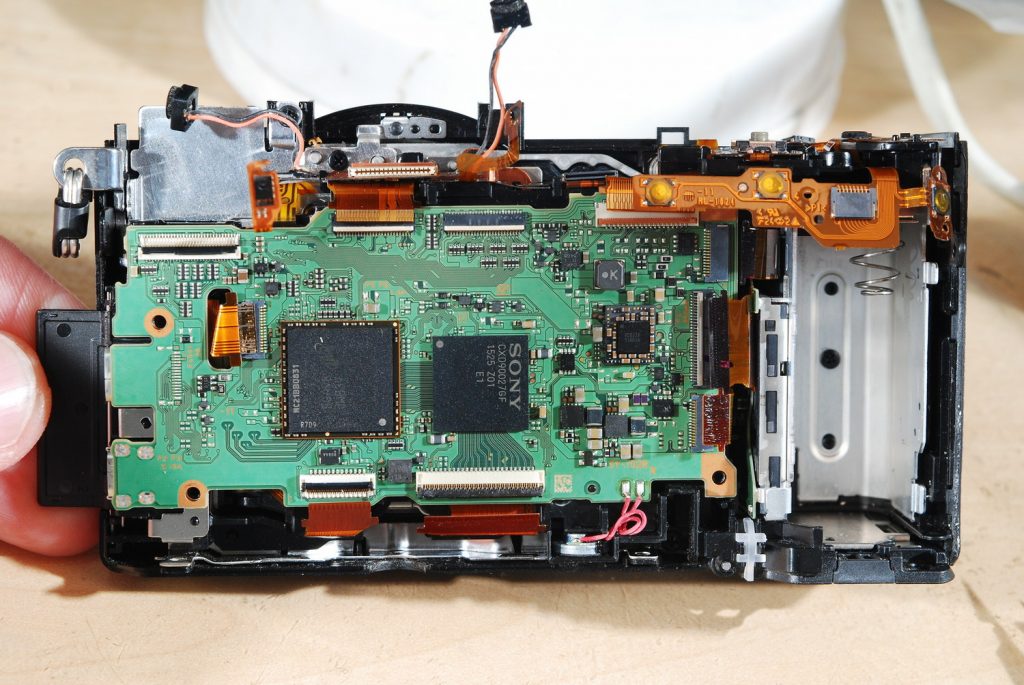
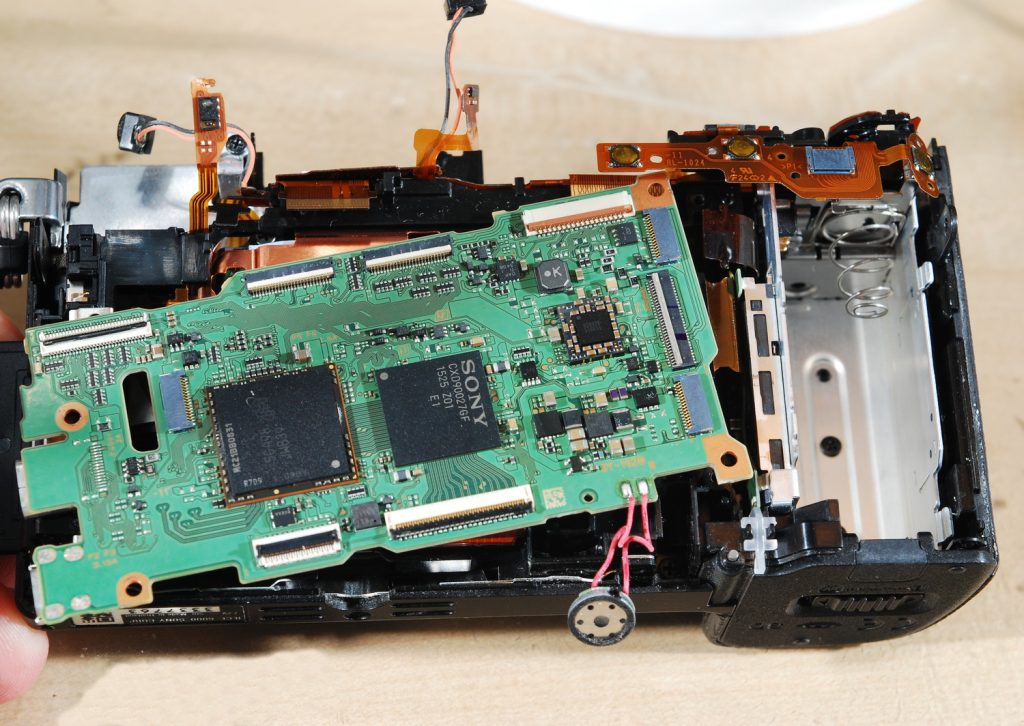
Now unscrew logic board holding screws on the right side. Take out the metal casing. Separate all the cables from the logic board. Take out the logic board.
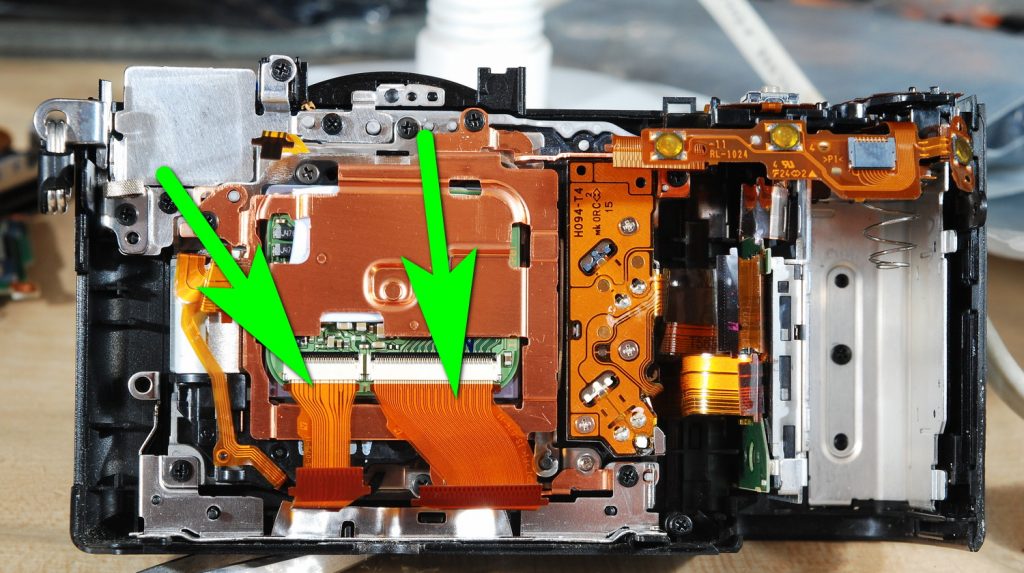
Disconnect the two ribbon cables from the sensor. Unscrew one screw that is on the lower right side.
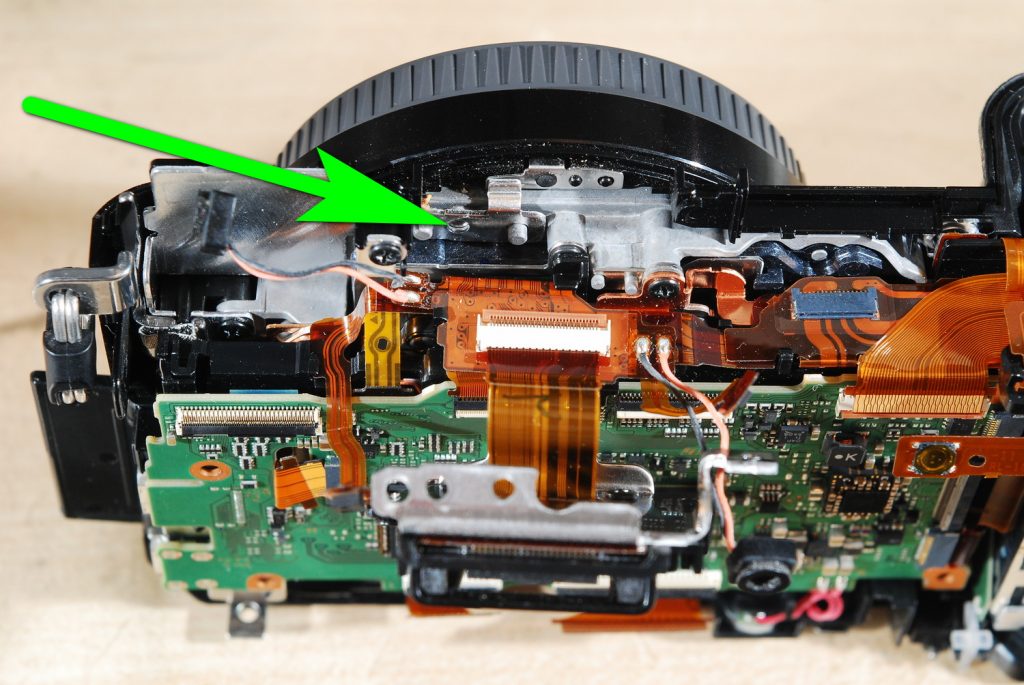
Take out the flash capacitor assembly by carefully holding it by the battery door. Do not touch on the top of this frame as you will get zapped.
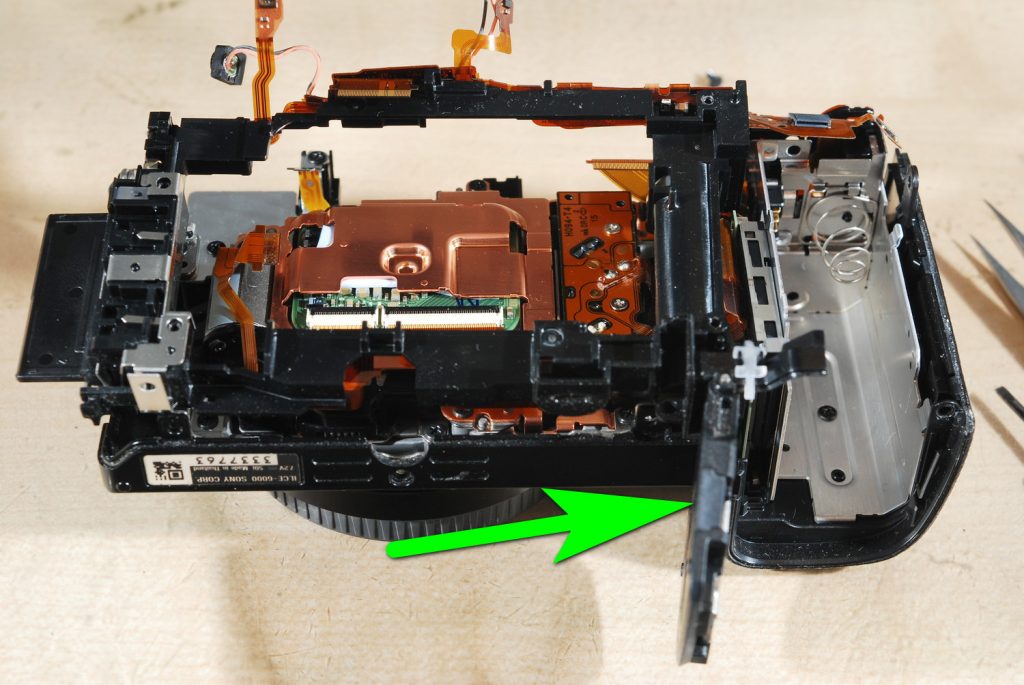
Unscrew the two screws that are at the bottom and take out that silver bracket.
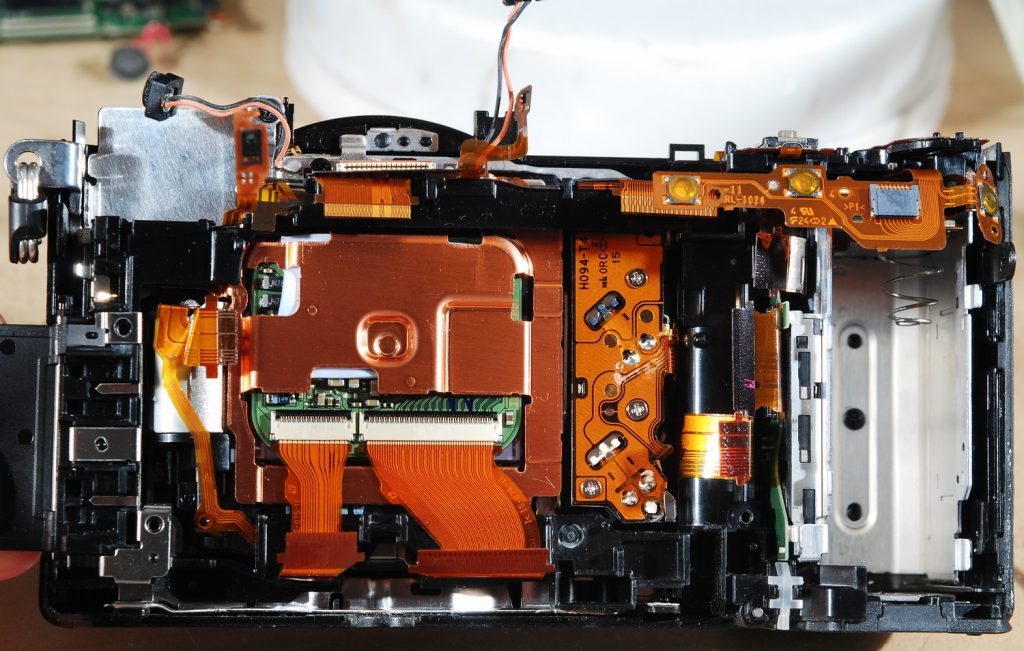
Unscrew the four screws and take out the sensor assembly. Separate the sensor from the copper plate.
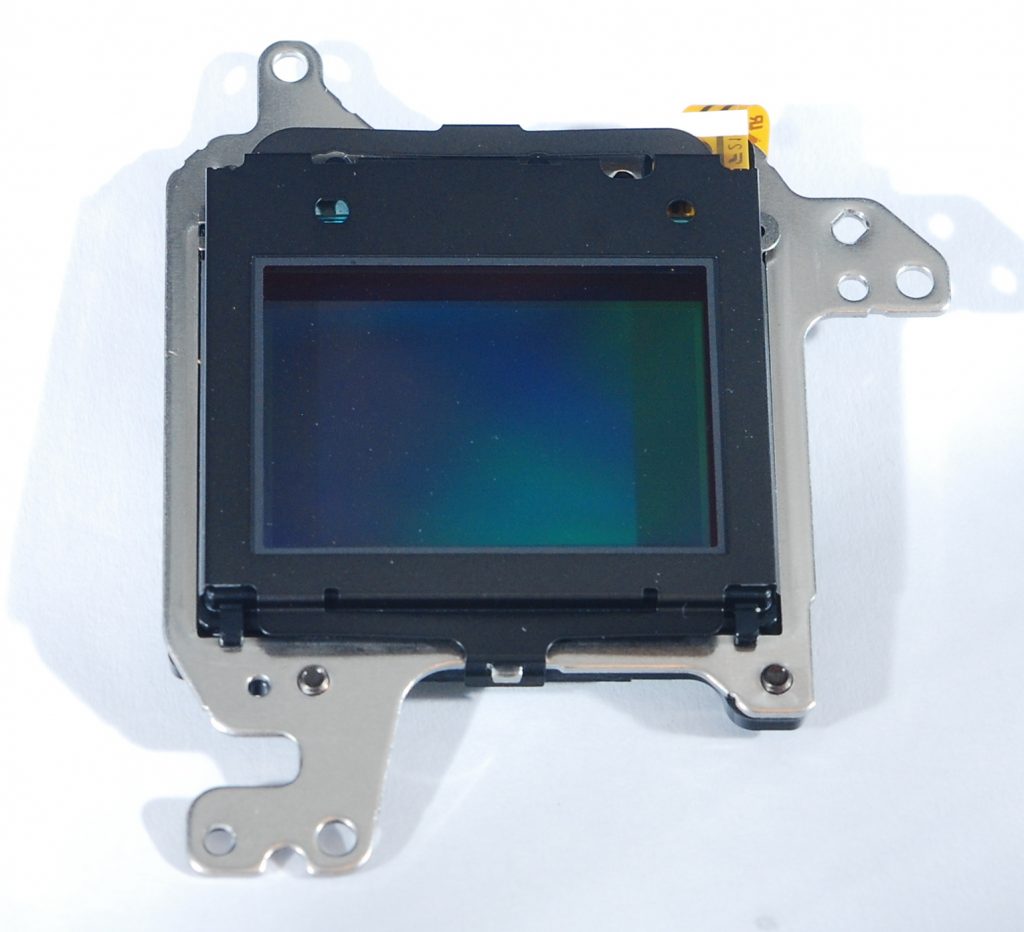
Separate the black metal frame from the sensor. There will be two clips that are holding it.
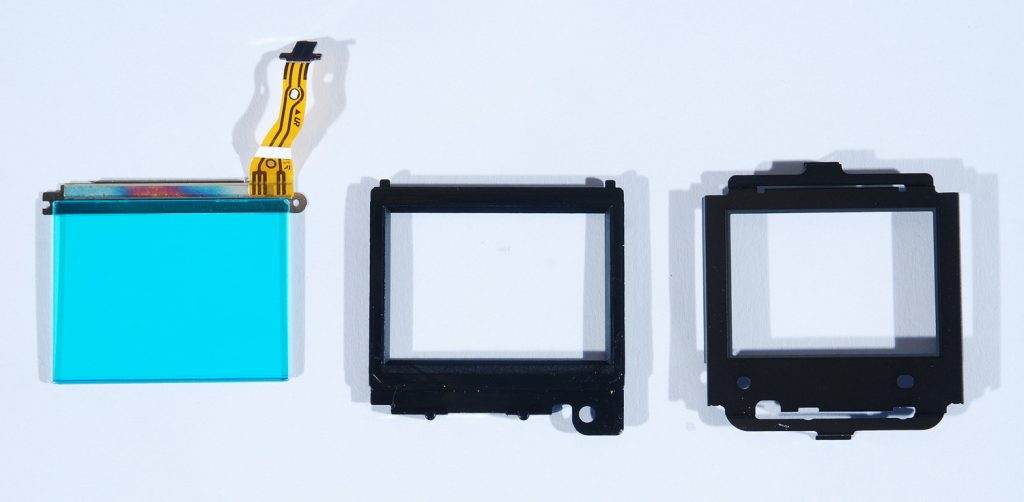
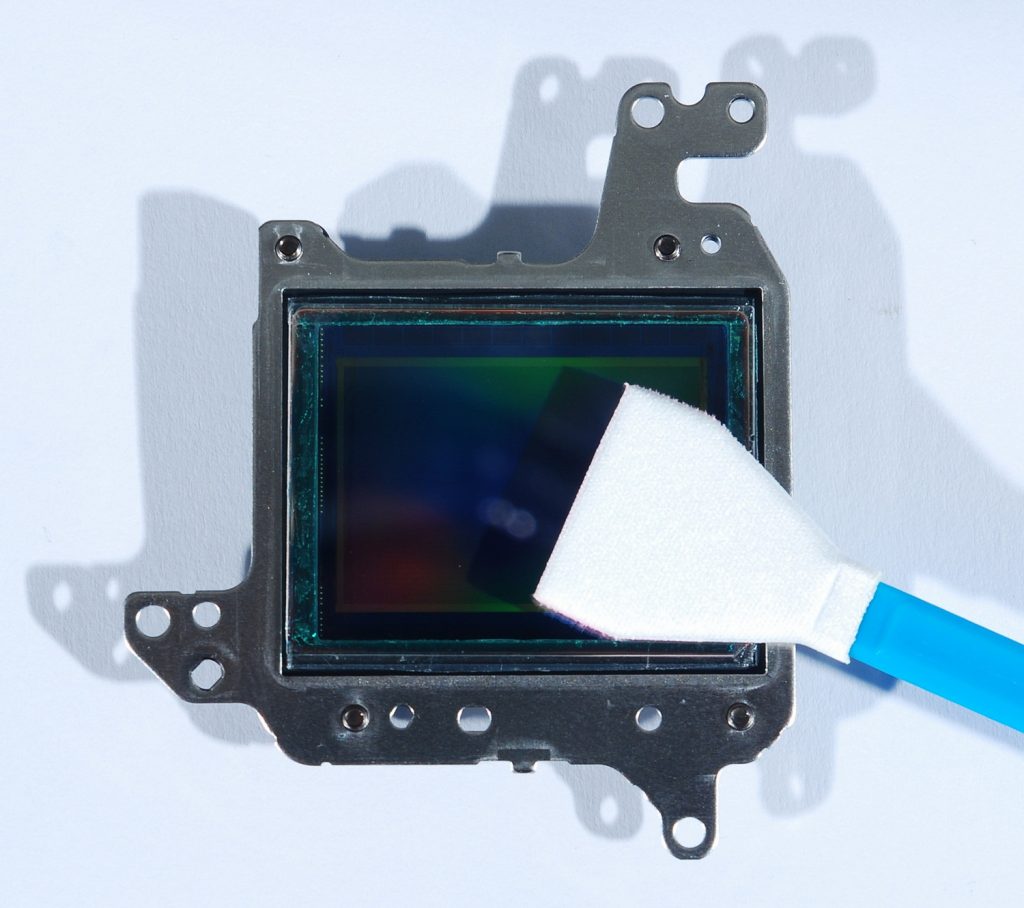
Prepare your astro filter and fit it onto the sensor. Use a LED light and dry sensor swabs to clean all the dust from the filter. Usually the sensor does not need cleaning but it may need blowing with air blower.
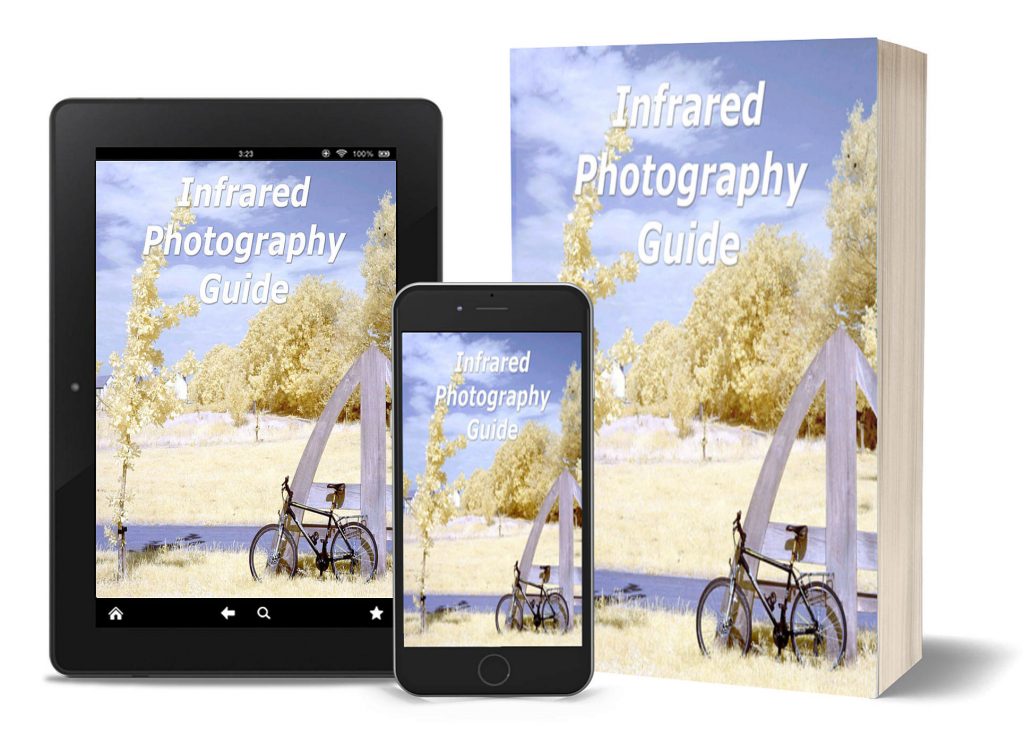
Download Our Infrared Photography Guide
- How to take infrared pictures with a digital camera
- What are infrared filters available
- How to process infrared images
- How to modify a digital camera for infrared photography
- How to modify a digital camera to a full spectrum
 Subscribe to our YouTube channel