This is probably the most difficult infrared camera conversion. We have here the Sony A5000 for a conversion.
You will need:
• Small Philips and flat screwdrivers
• 3M double sided tape
• Hot air blower
• Nitrile gloves
• ESD bracelet
• Cut to the dimensions infrared filter or clear glass
Some technicians doing full spectrum conversion do not stick a piece of glass to the sensor leaving it exposed to dust.
The disassembly is probably more complicated compared to other cameras out there.
Download Our Infrared Photography Guide

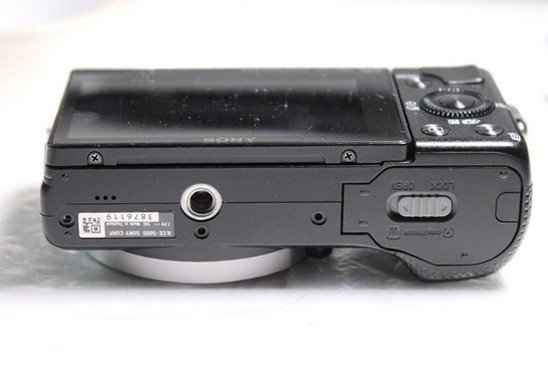
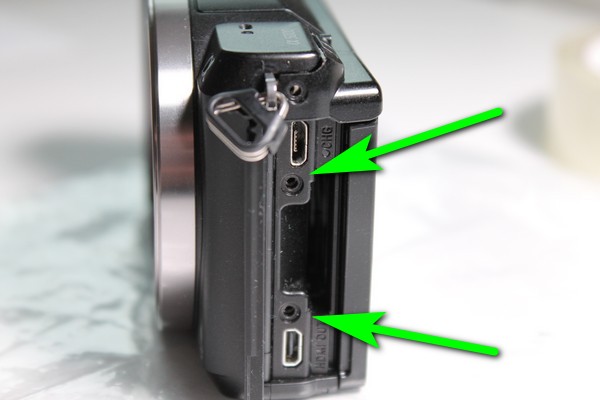
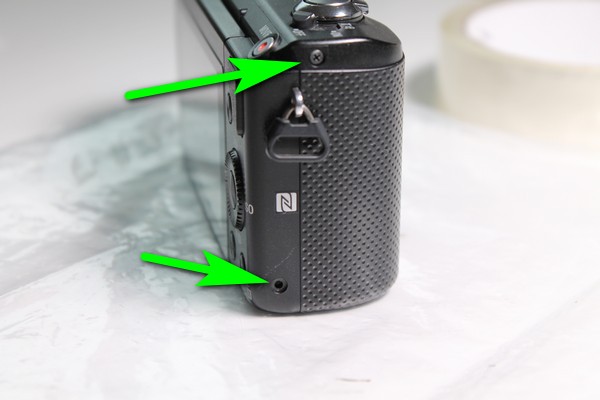
First of all we need to unscrew all the screws on it.
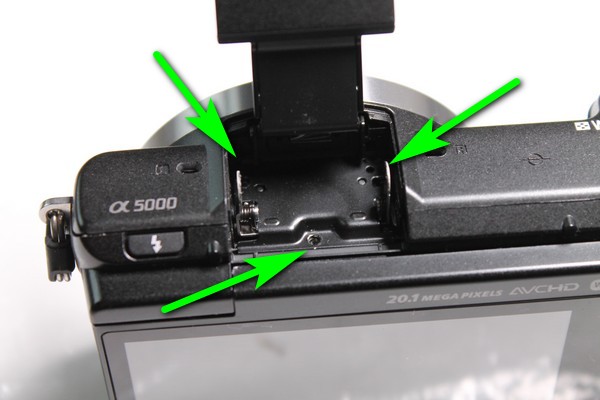
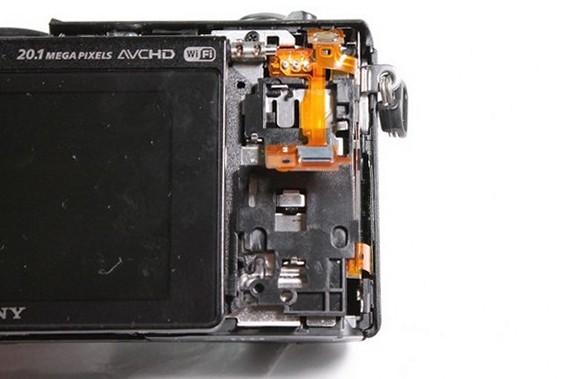
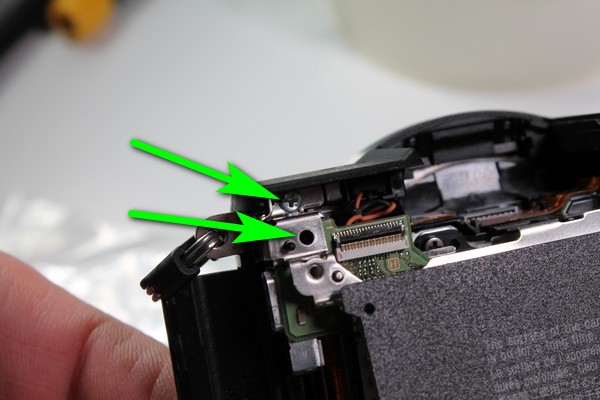
Now, we must unscrew three flash screws.
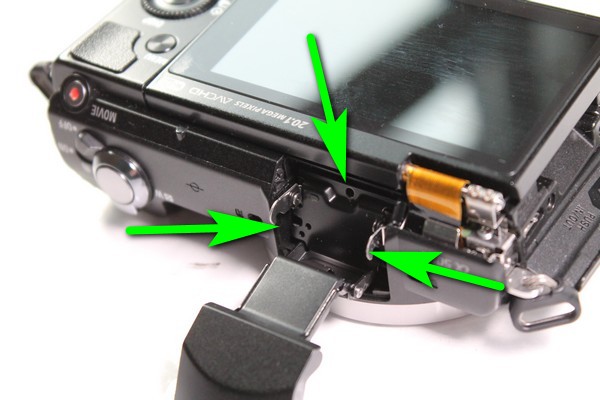
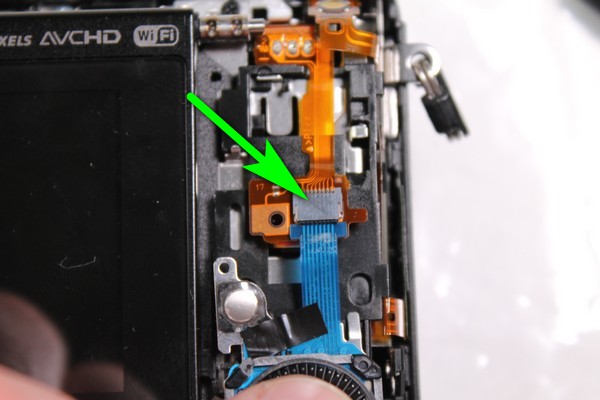
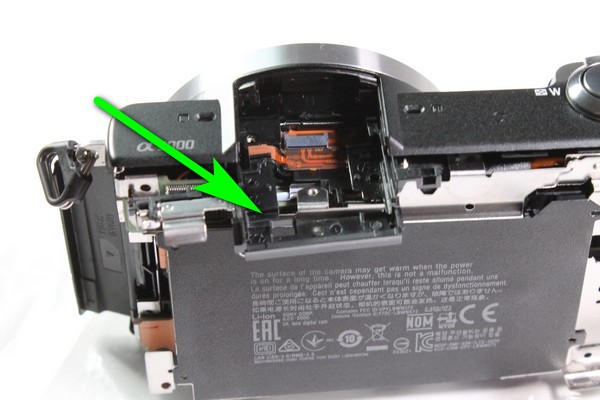
And we will disconnect a ribbon cable.
Be extra careful with this ribbon cable as it can break easily. To slide it out I usually use a wooden cocktail stick or a small flat screwdriver with extra carefulness.
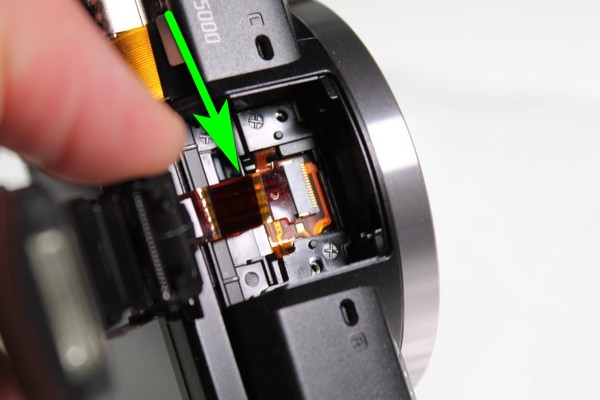
The back plastic can be removed by pulling a long piece next to the flash.
Now we will remove the control wheel.
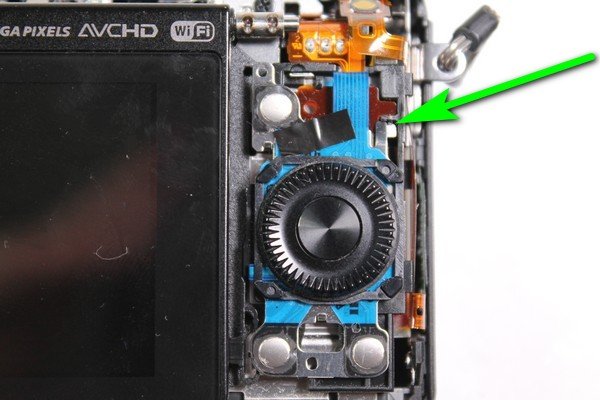
It should slide to the top. There is a clip you need to move with a small screwdriver.
Carefully disconnect the ribbon cable.
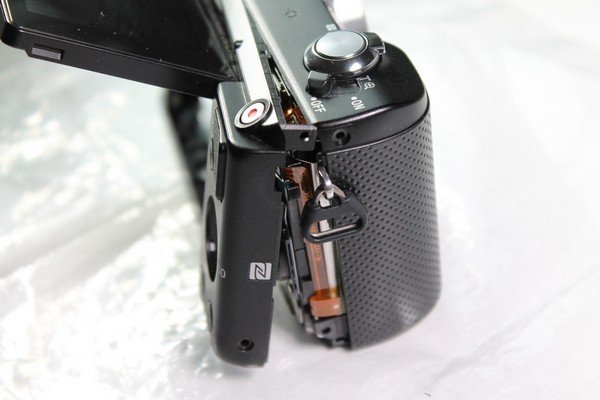
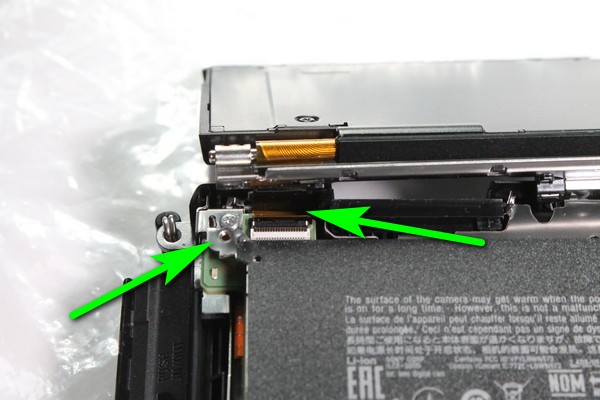
Unscrew LCD screw and disconnect its ribbon cable.
Taking Out The LCD
Remove plastic piece – a flash bracket.
Now unscrew all the screws that hold this metal piece.
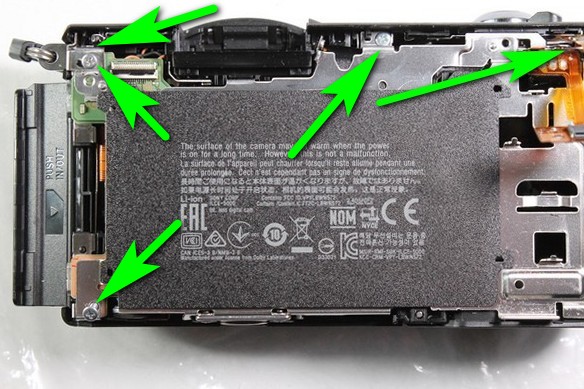
Take out the metal piece. It should go out smoothly; just pull it gradually from each side.
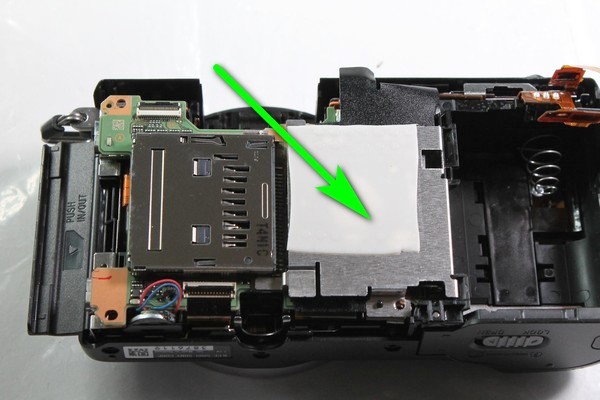
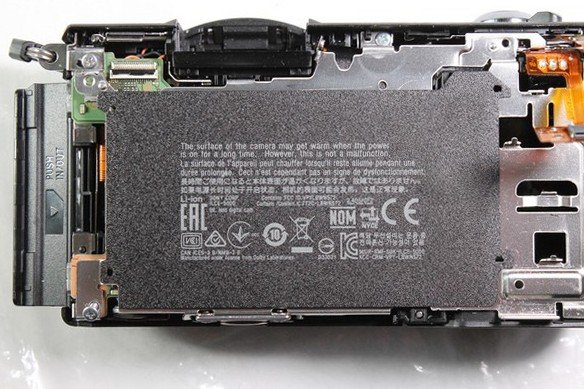
Unscrew one screw and take out the metal piece with a cooling pad.
Take out the protective insulation.
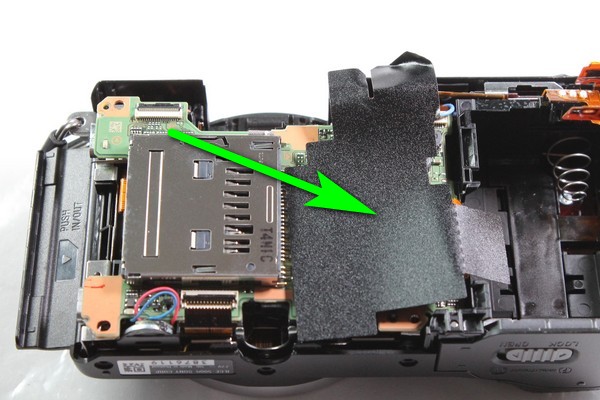
Disconnect all the ribbon cables and take out the logic board. There will be one hidden ribbon cable somewhere on the left. Carefully disconnect it using a small flat screwdriver. There will be two microphones on the top. Carefully take them out using small tweezers.
There will be a black plastic piece that has no screws fitted. You must start from the place I have marked.
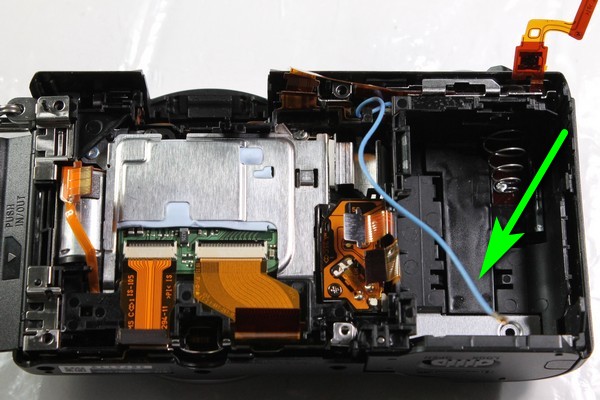
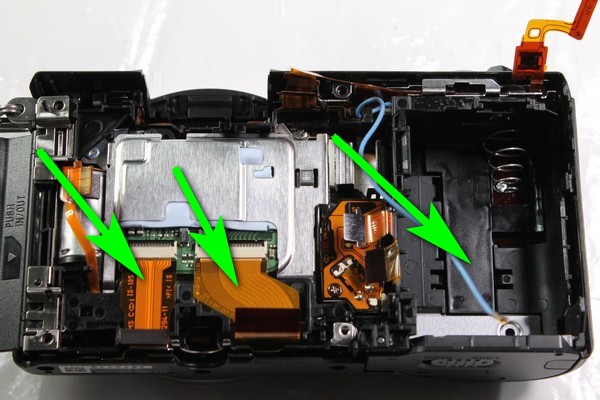
We are almost there. Disconnect the two ribbon cables and unscrew screws from the metal gasket. Take it out.
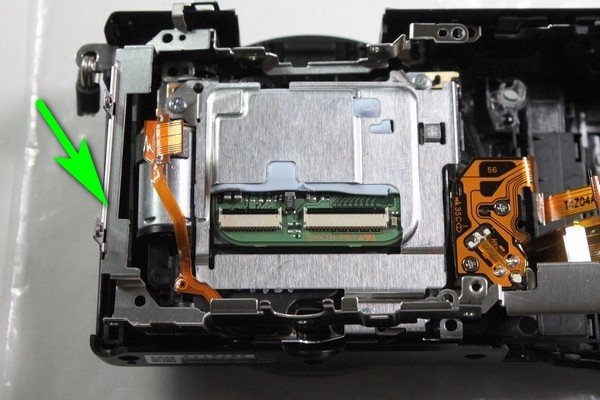
Unscrew three screws holding the sensor and take the sensor out.
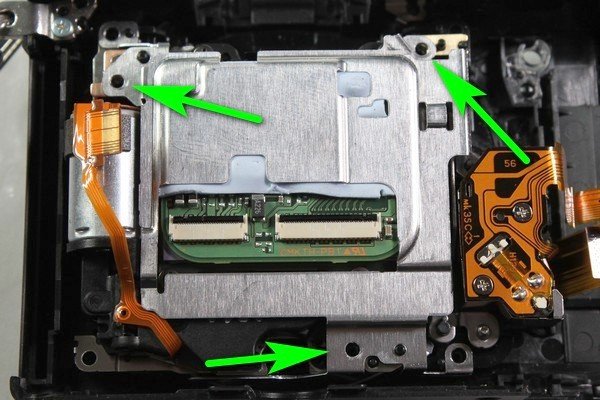
Do not lose those shims and remember where which one is located.
Now, you will need a hot air blower and a save knife.
Working On The Sensor
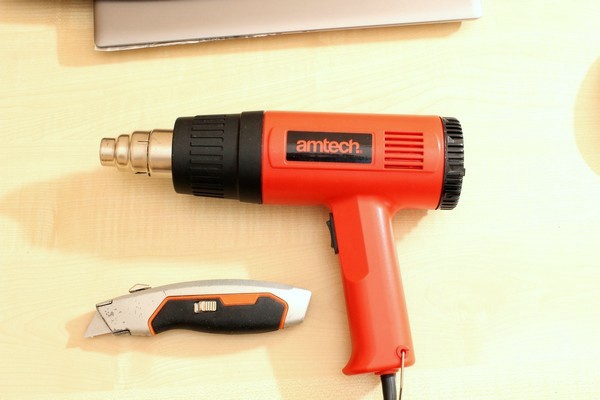
Heat up the sensor and separate the front glass from it.
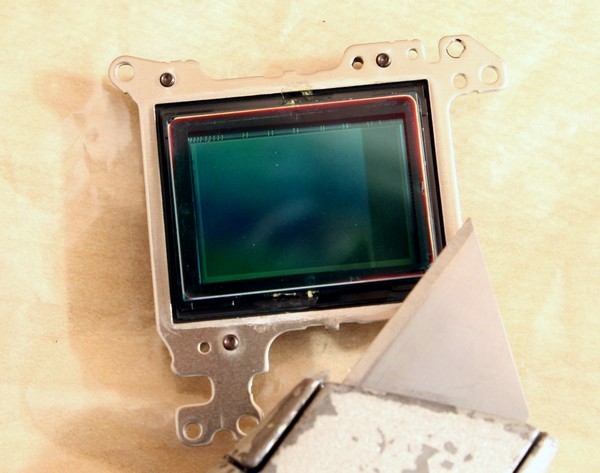
Remove the old double-sided tape if there is some left.
Cut two longer and two shorter pieces of 3M double sided tape (approx. 2mm wide).
Stick it to the sensor’s plastic.
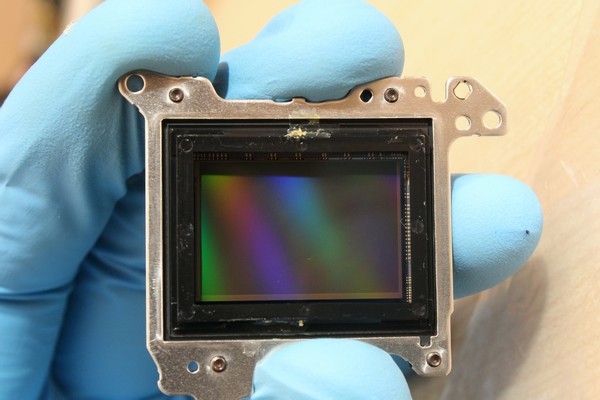
Make sure you are in a dark room. Using LED light remove any dust from the sensor and from the filter glass. I use a piece of micro fiber cloth.
Stick the filter to the sensor.
Assemble the camera.
For infrared filter that is 2 mm thick we would use 0.4 mm thick washers (2mm x 4.5mm x 0.4mm) and would shift the sensor slightly to the back.
Is the kit lens any good for infrared? Unfortunately, the Sony 16-50 kit lens has a spot-on high aperture number.
Please check out Mark Hilliard’s amazing blog about infrared image processing.
Please visit our shop.
 Subscribe to our YouTube channel
Podcast: Play in new window | Download (Duration: 3:15 — 3.0MB) | Embed