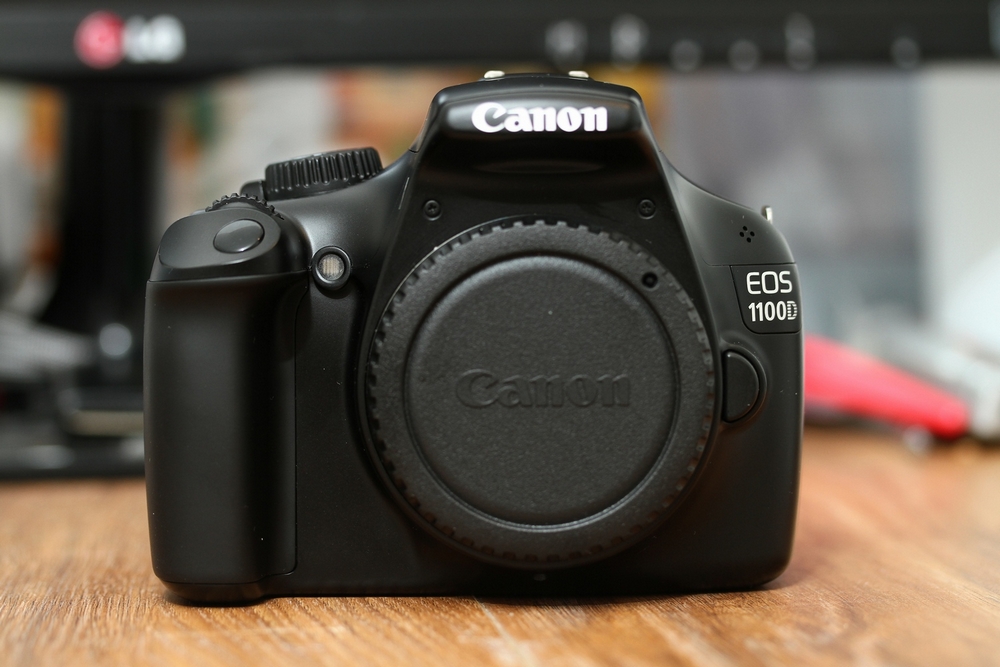
The Canon 1100D or Rebel T3 is probably the easiest to convert into astro photography camera. It has relatively beefy sensor with a big metal plate on it which helps to cool it down. Despite its age the camera still holds in resolution and picture quality. And most important thing it shoots RAW and there is myriad of lenses available.
We will not use here any additional filters. The first sensor filter that is installed is good quality and has needed bandwidth transmittance.
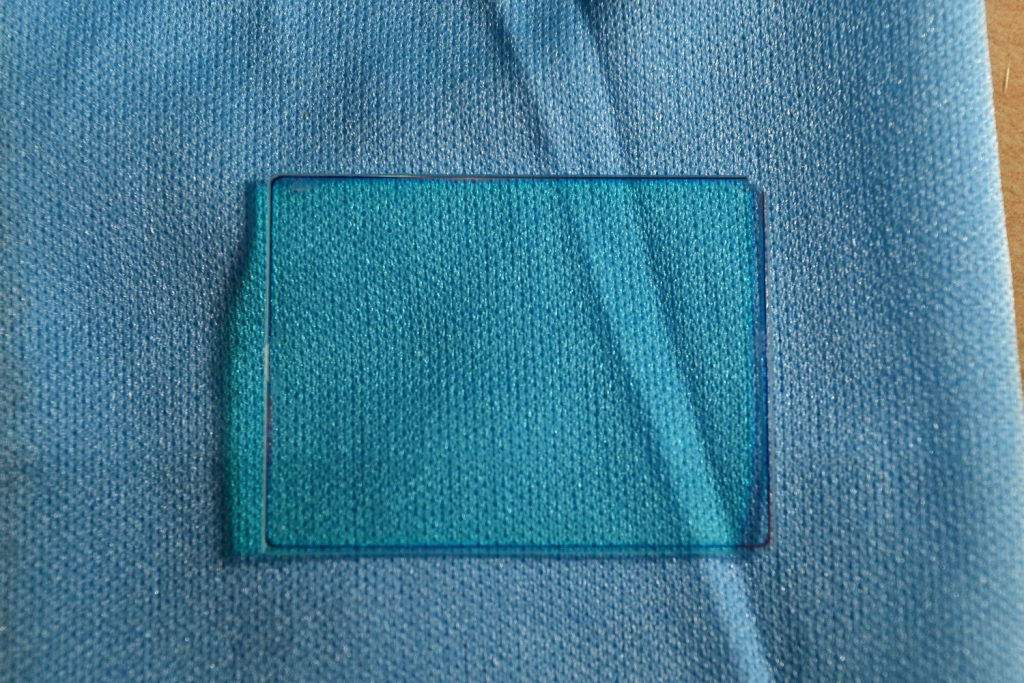
Disassembling the camera. We will need to remember where does which screw go. I suggest placing those screws on a table according to the place they come from the camera.
Unscrew and take out all the camera screws. I would suggest using a grounded anti static wrist band. This is because the sensor is kind of sensitive to the static charge.
If you do not have any antistatic equipment just make sure you do not walk or move too much since when we walk around a static electricity builds up in our bodies and clothes.
First take out the part with the LCD. There will be two ribbon cables connected. Use a small flat screwdriver to open those clips.
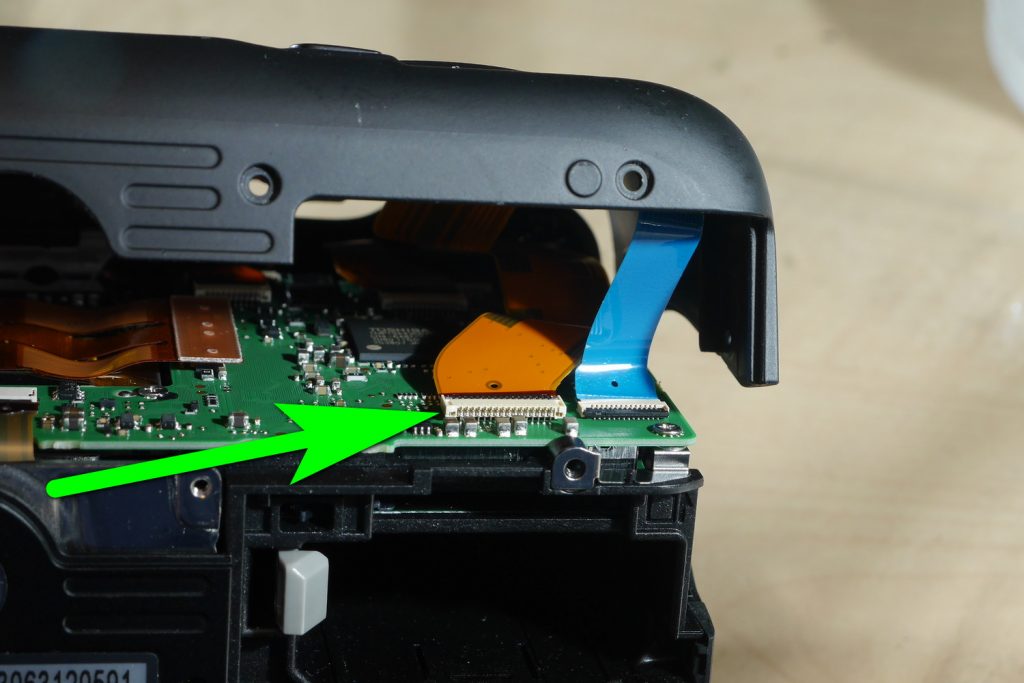
Now separate the front casing from the camera. If you have electric insulation use a piece of it to cover the high voltage capacitor.
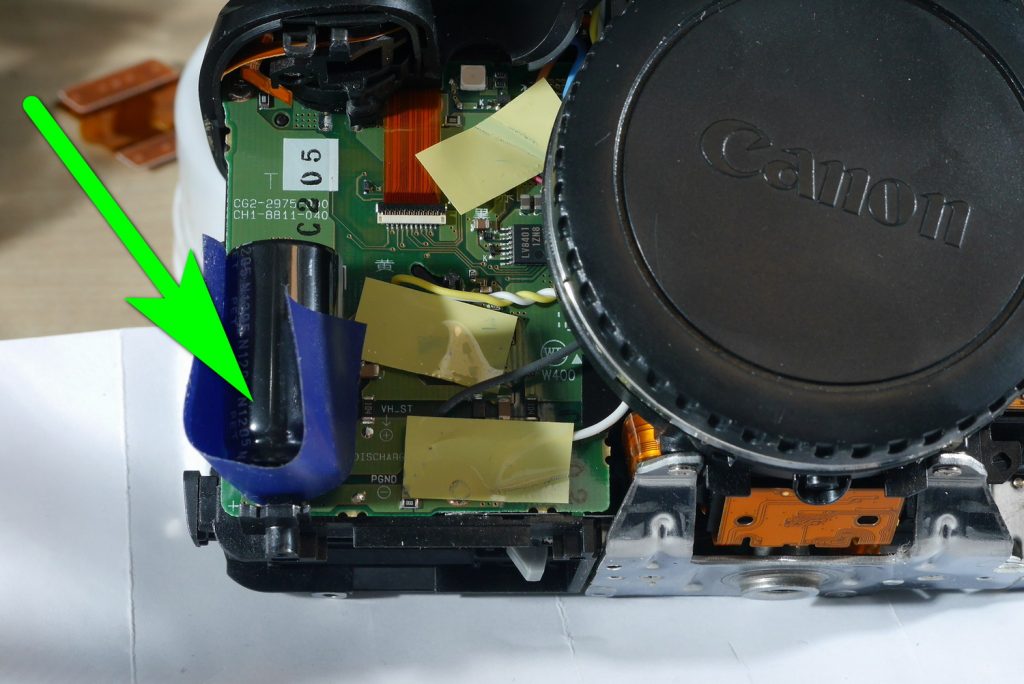
Separate the top part and leave it connected to the camera. Usually top part cables are soldered into the board and we do not want to use solder if it’s not necessary.
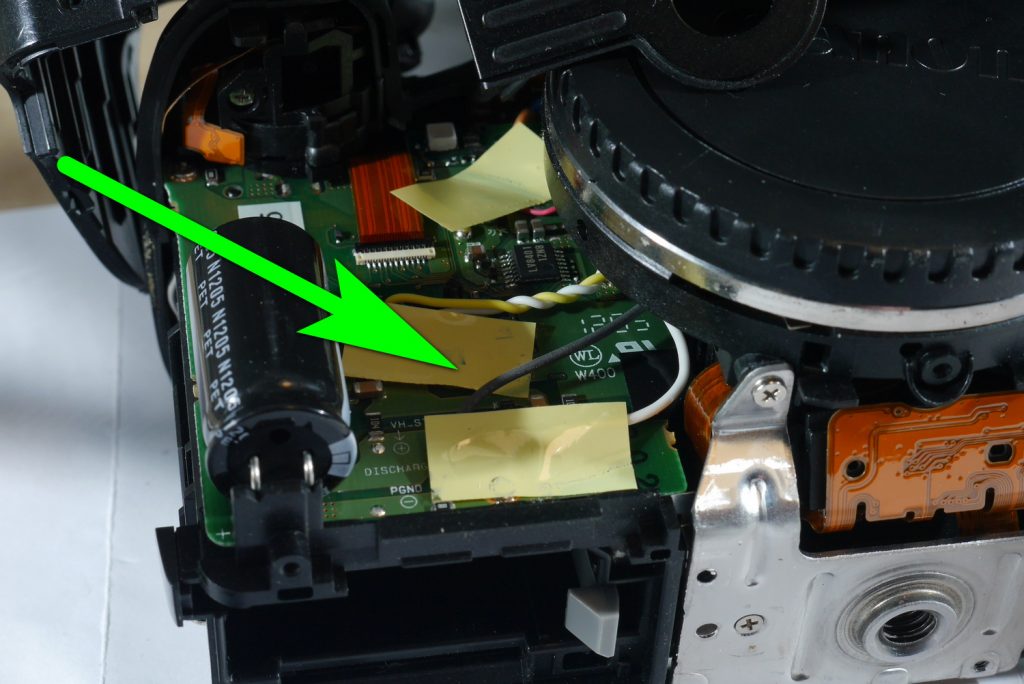
Also make sure you do not touch anything near the big capacitor as it will surely zap you.
Disconnect all the ribbon cables. Please use a cocktail stick for the ones that are near you and small flat screw driver for everything else.
Take out the logic board. Remember which screw goes where. The two longer screws go to the right side.
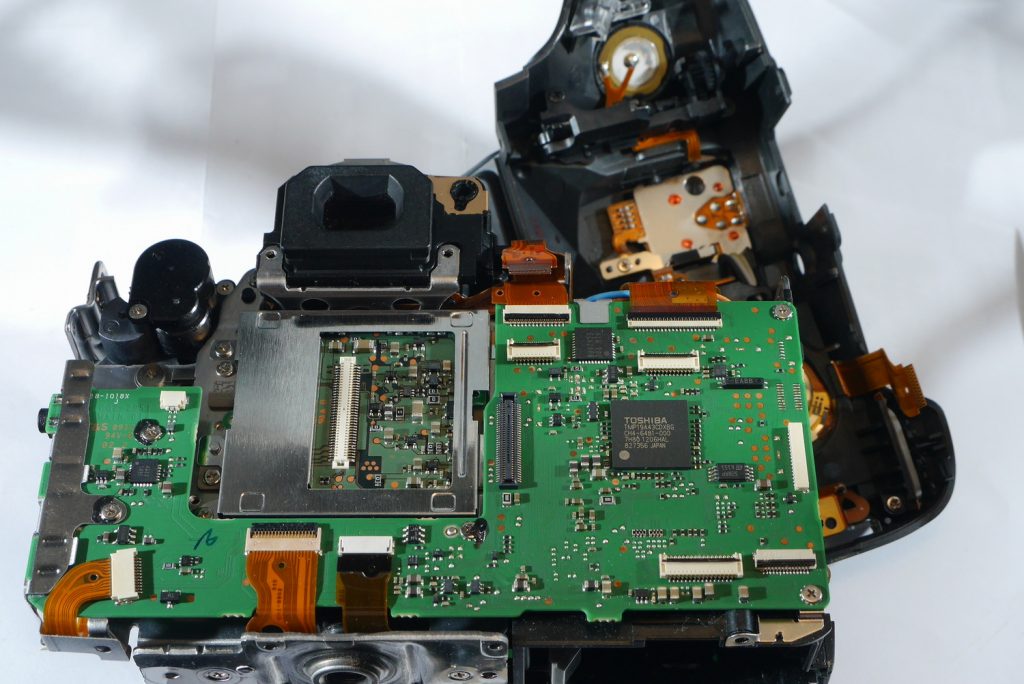
There will be three screws that hold the sensor. After you take the sensor out you will notice three shims. There can be more than one shim for one screw.
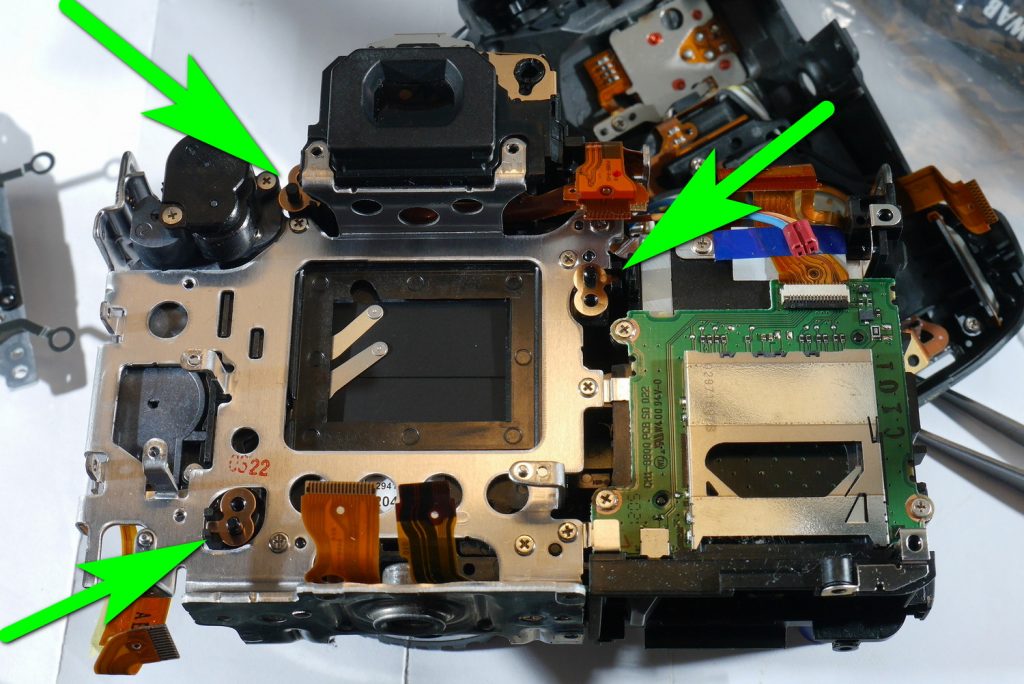
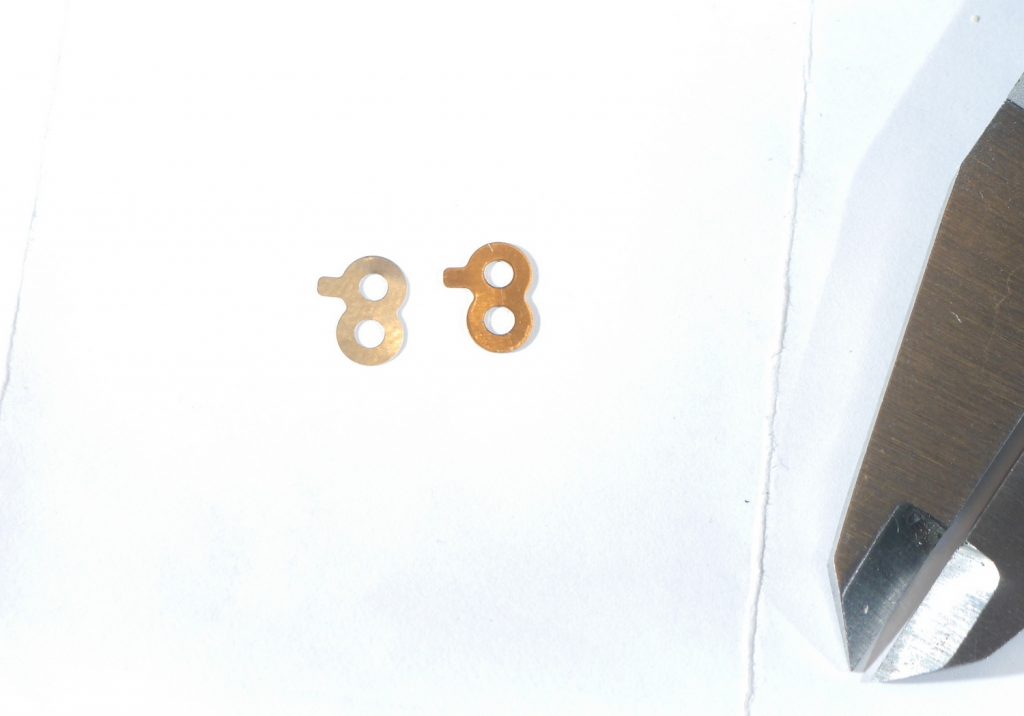
These shims are usually 0.3 mm in thickness. We can take them out for astro conversion. If we need the quick focus to be more precise we can replace those shims with the ones that are 0.15 mm in thickness.
You can find those shims on eBay or AliExpress. These are shims for M2 screw and they are about 4 mm in outside diameter.
Now we are going to separate the plastic frame from the sensor and take out those two filters.
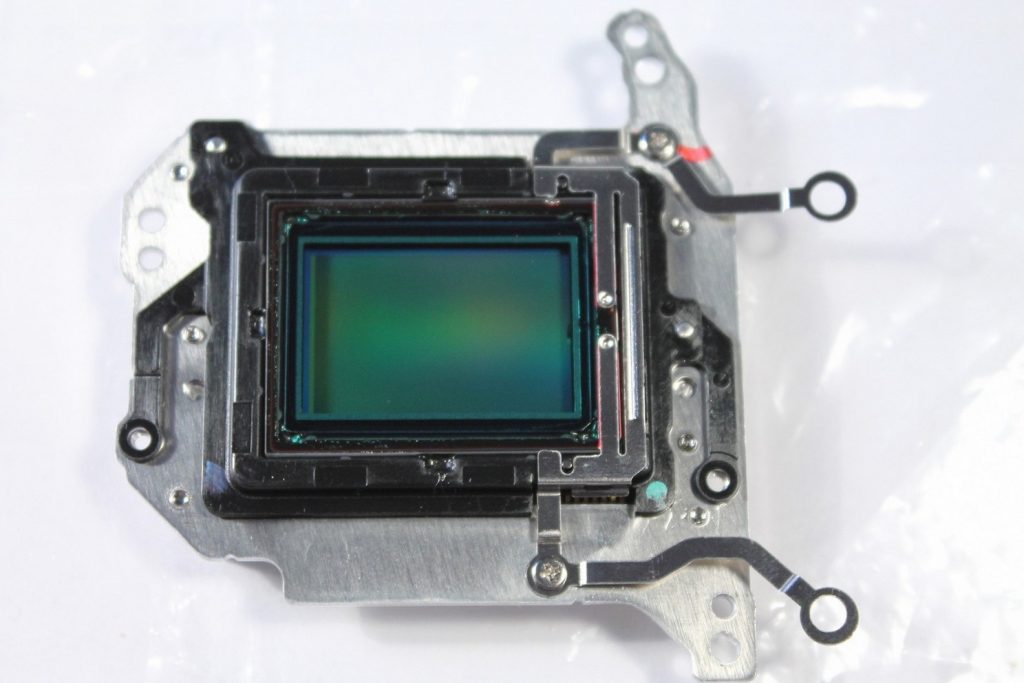
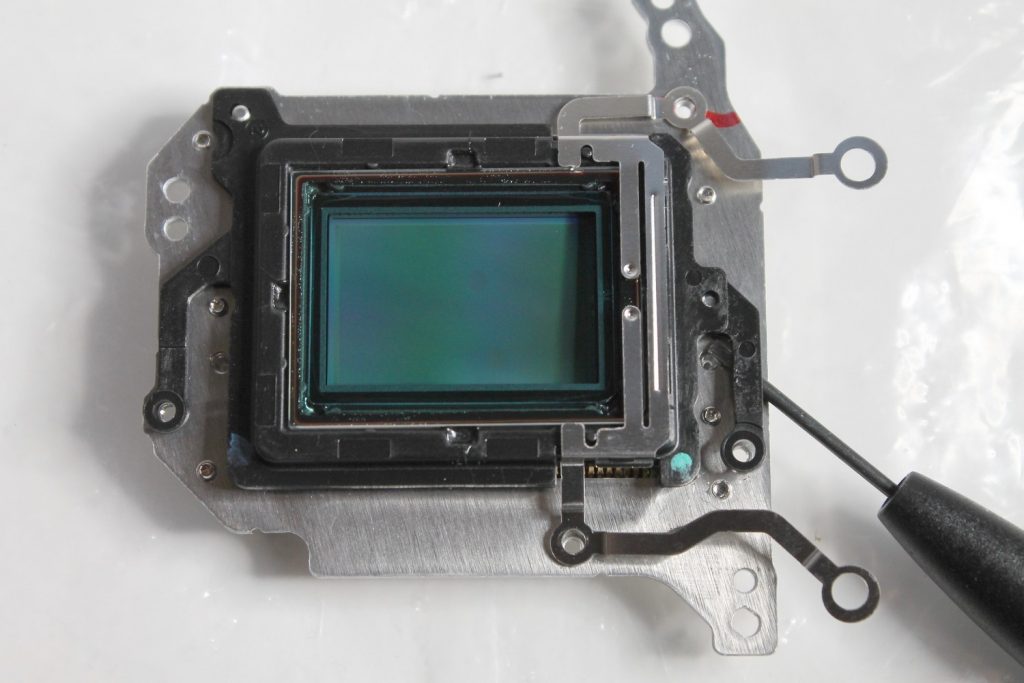
Try to separate the plastic from the sensor. If it stuck firmly use hot air gun or hair drier to heat it up. Separate the plastic frame and place the sensor back into camera. We do not want our sensor to start gathering any dust.
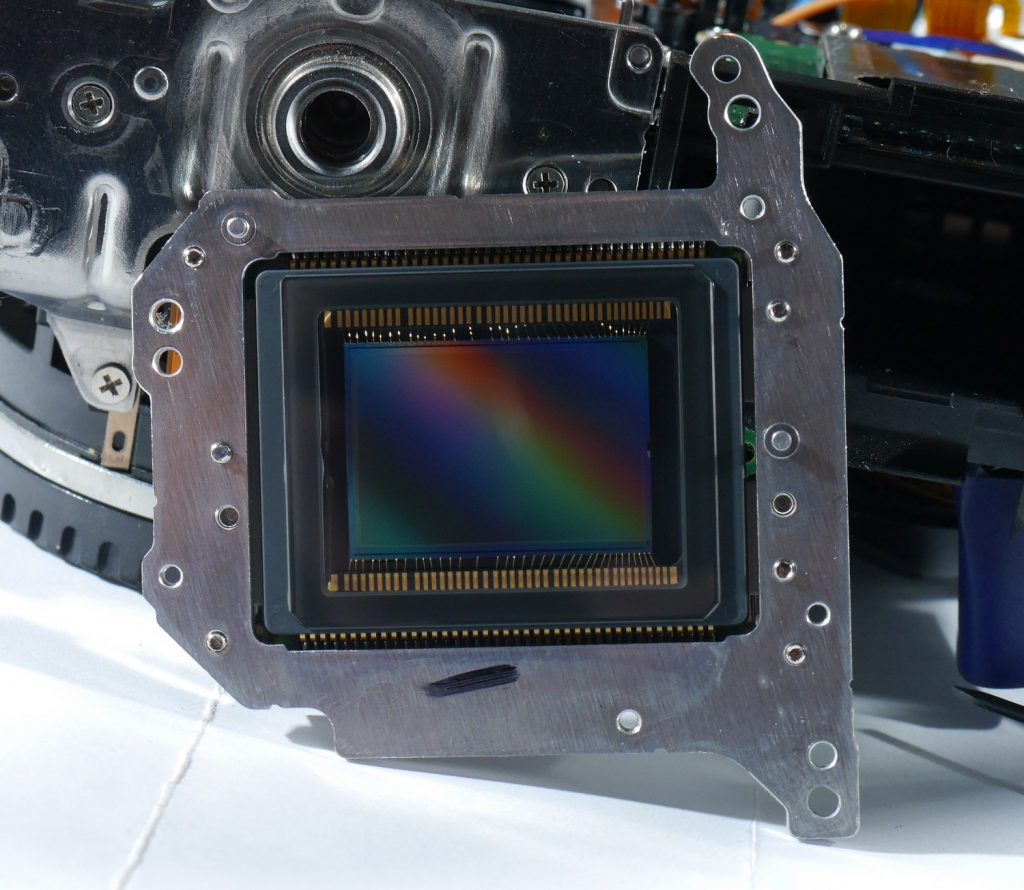
Now get a piece of plastic or a small plastic bag and stick the frame on it. It will protect the frame from gathering dust.
With a small flat screwdriver separate glue that is applied on four sides. Sometimes there is no glue and that makes our work easier.
Preheat the frame a little and with a small flat screwdriver separate the filter from the frame. The side to start has a small mark. You need to stick the screwdriver underneath the glass in that corner.
Slowly turn the screwdriver and start separating. The separation process is a bit slow. If that does not work preheat it a bit more.
Get a double-sided tape and make two 1 mm strips for the two longest sides. Make length measurements with a caliper. Stick those two strips on the frame where the filter will be fitted. Cut a bit of that tape off where the mark is.
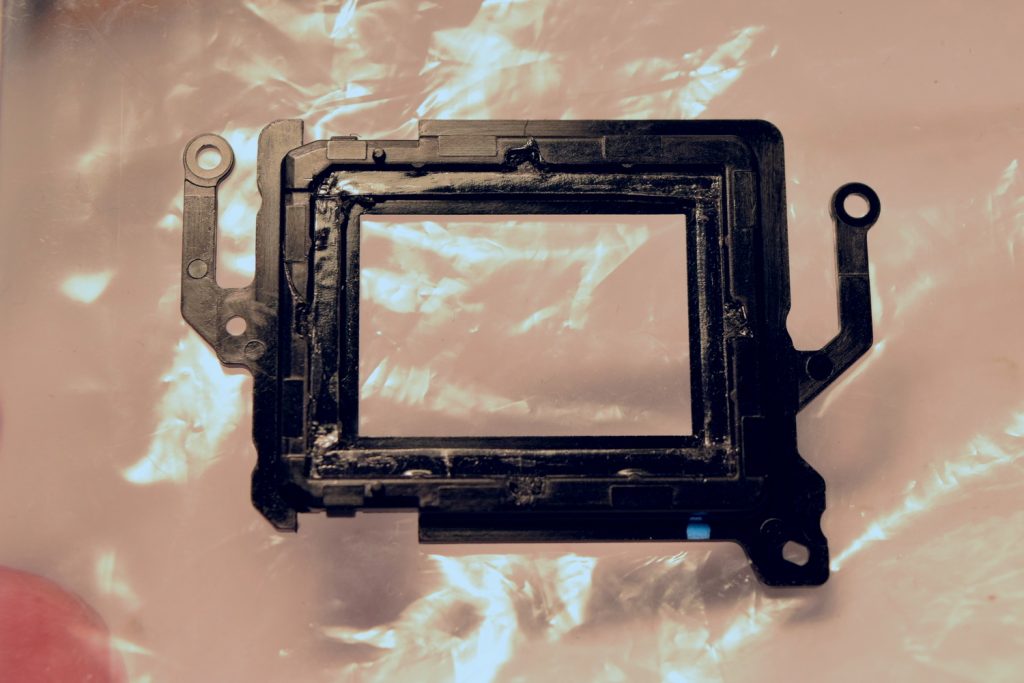
Measure the shorter lengths and cut the two shorter tape stripes. Stick them in the place.
Now prepare the filter. If you avoided touching the filter on the inside, cleaning is not necessary. If there are marks on it we nee to clean it. Use a micro fiber cloth that is used to clean lenses, a small amount of lens cleaning liquid and a dry sensor swab. First apply lens cleaning liquid on the cloth and wipe the filter. Now get a LED torch light and using sensor swab make sure the glass surfaces are clean.
Double check one filter side for dust. Use air blower if necessary. Place the filter in the frame in the way that the mark in the filter matches the mark in the frame.
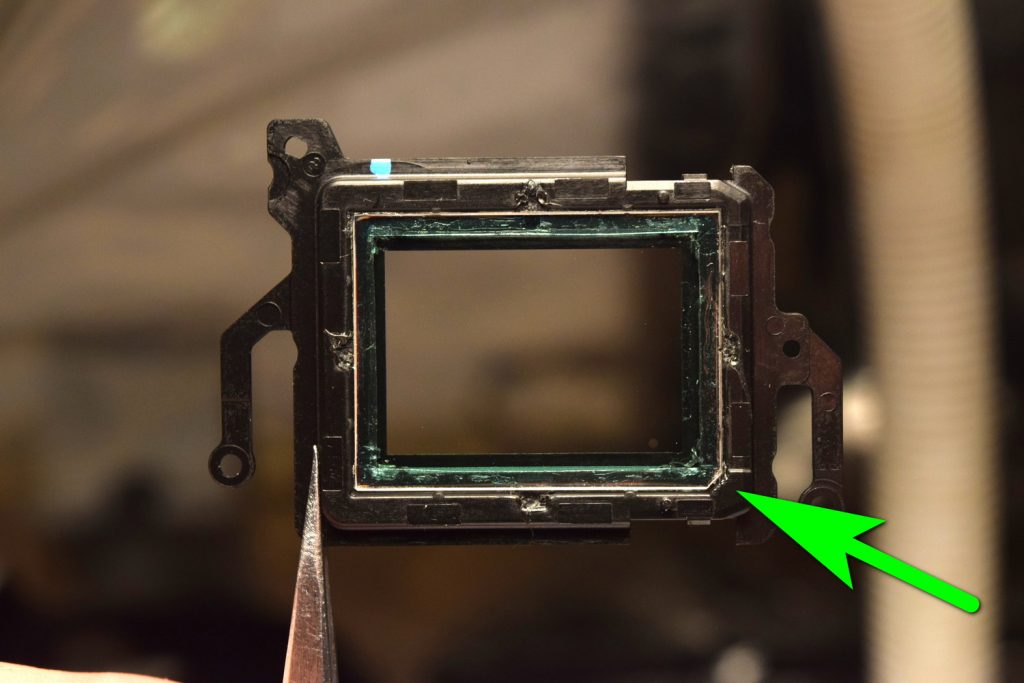
Now take out the sensor and make sure it has no dust on the surface. Also double check that the inside of the frame has no dust. Place the frame on the sensor. At this point you also can check how clean the conversion will be. Just turn off all lights and point your LED light from different angles to the sensor.
You should see maybe dust particles that are barely seen. This is still acceptable as those particles will not be visible in the picture.
Fit the metal part to the sensor. Now if you have 0.15 mm shims that’s good. But if not it is still okay as for astro photography Live View mode will be used.
Fit in the sensor, fit in the logic board. Do not forget to fit the fiber optics cable that is used for the flash.
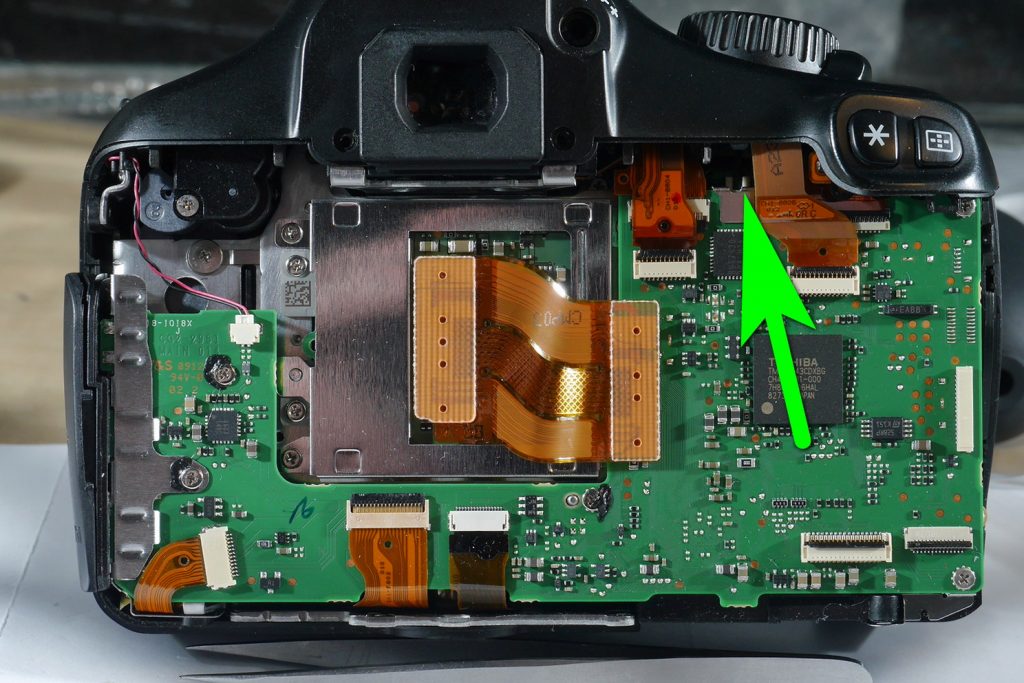
Fit the ribbon cables. Get some glue and apply it on the three screws. These three screws are short and they may get loose.
Fit the front plastic to the camera, double check all the connections and fit the LCD and button panel.
Screw in all the screws.
Download Our Infrared Photography Guide
- How to take infrared pictures with a digital camera
- What are infrared filters available
- How to process infrared images
- How to modify a digital camera for infrared photography
- How to modify a digital camera to a full spectrum

 Subscribe to our YouTube channel