This camera is very popular because of its movie capabilities. That’s why sometimes it’s hard to find one.
For proper conversion a micrometer or gauge is necessary. In case you do a full spectrum conversion and do not have these tolls simply shifting the sensor to the front as far as it goes may do the job.
If you convert it for astro the above method also may work. Important is to make the sensor level in correspondence to the chassis as if its not level we would get part of a picture not in focus when taking astro photos.
The disassembly of this camera is straight forward. We just need to know which screw goes where. The easiest way to do that is to place the screws on the table according to their locations in the camera.
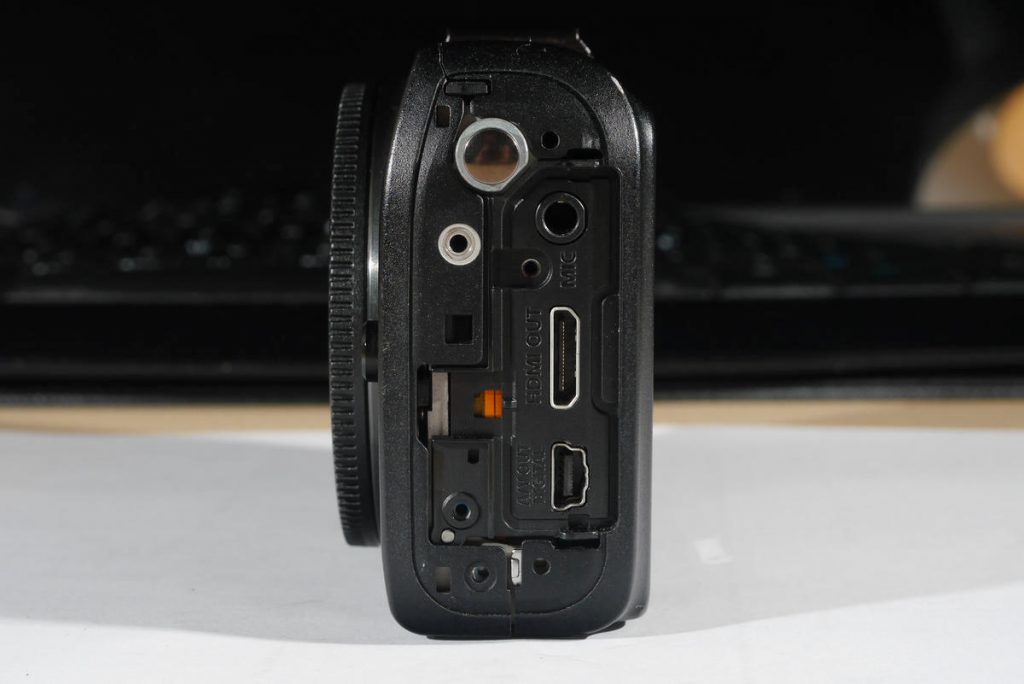
Unscrew all the outside screws. Remove the body cap and take out the front plastic.
The right-side screw location is important so make sure you know where does which screw go.
Please open battery door and keep it open during disassembly and during assembly.
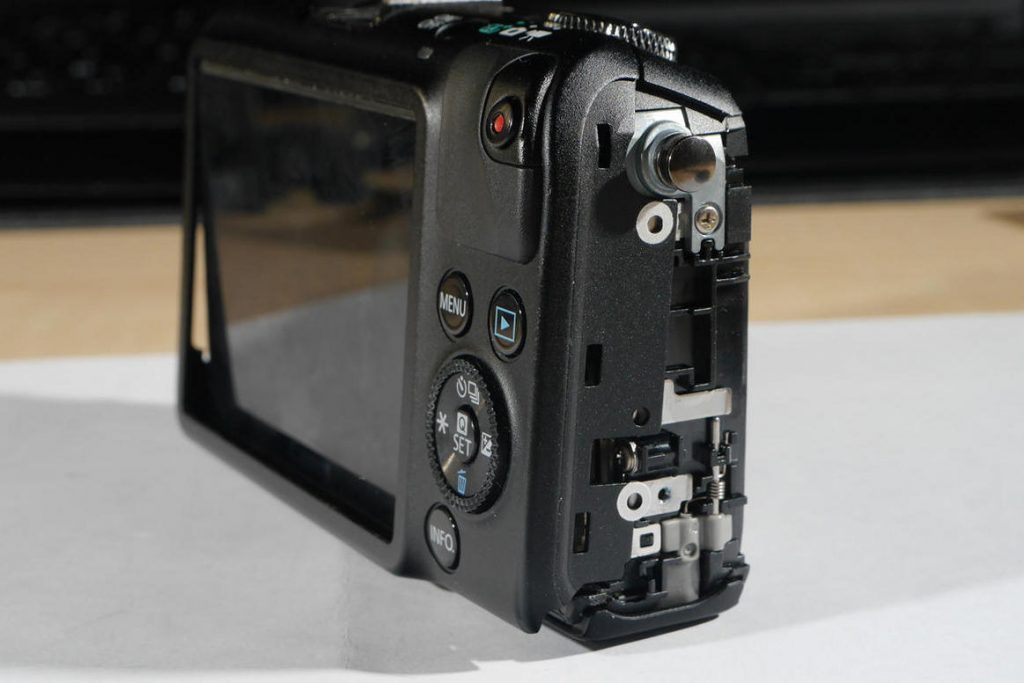
Disconnect the LCD. Unscrew eight screws and take out that aluminum plate.
Disconnect all the cables. There will be the screws to unscrew that are holding the top part. Remember which screw goes where.
Take out the top part.
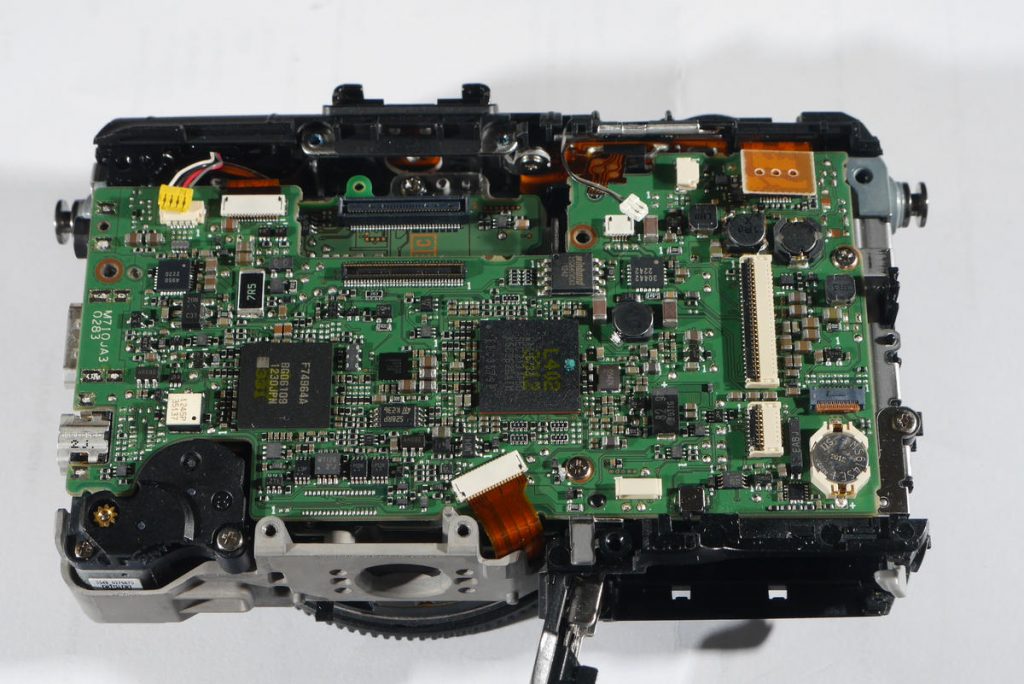
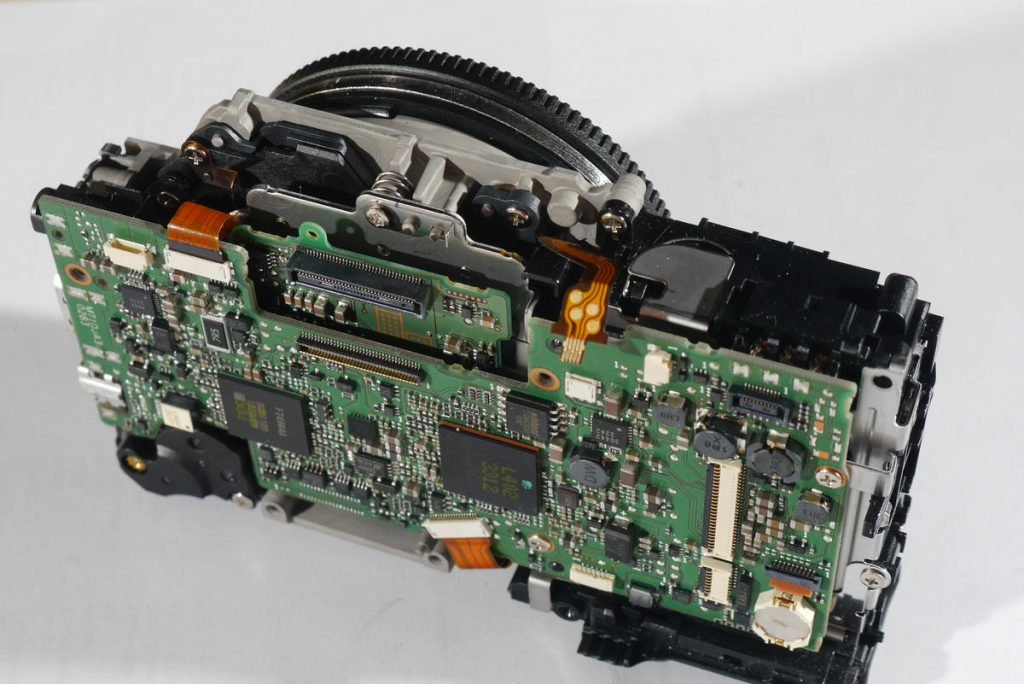
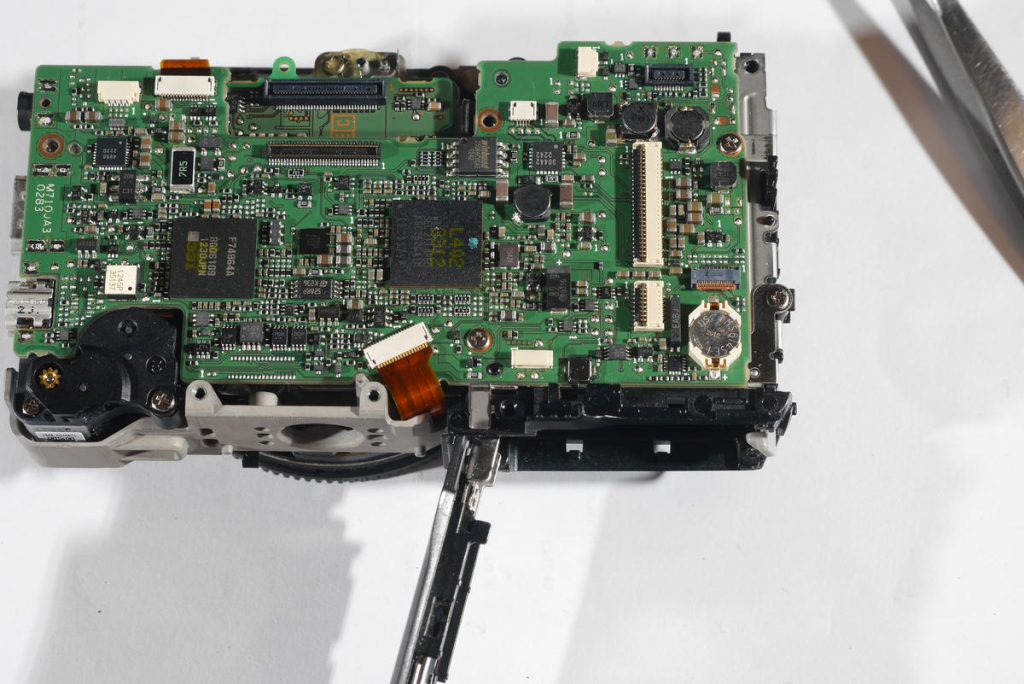
Now unscrew the two logic board screws and take out the logic board.
Unscrew the two screws in battery compartment. Separate it.
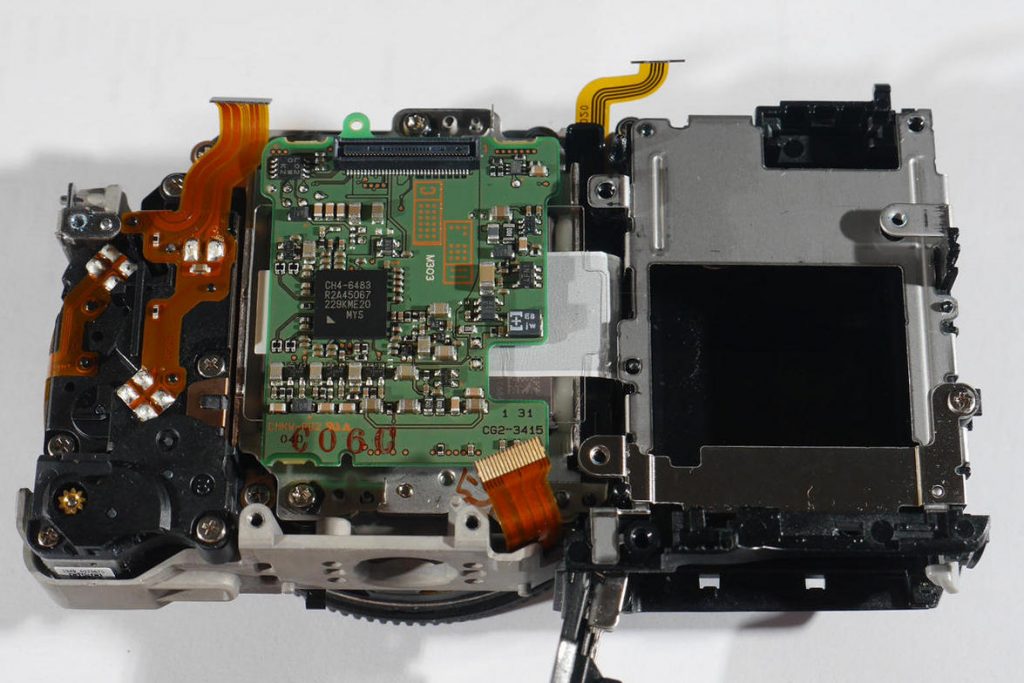
Carefully separate the cooling tape from the chassis.
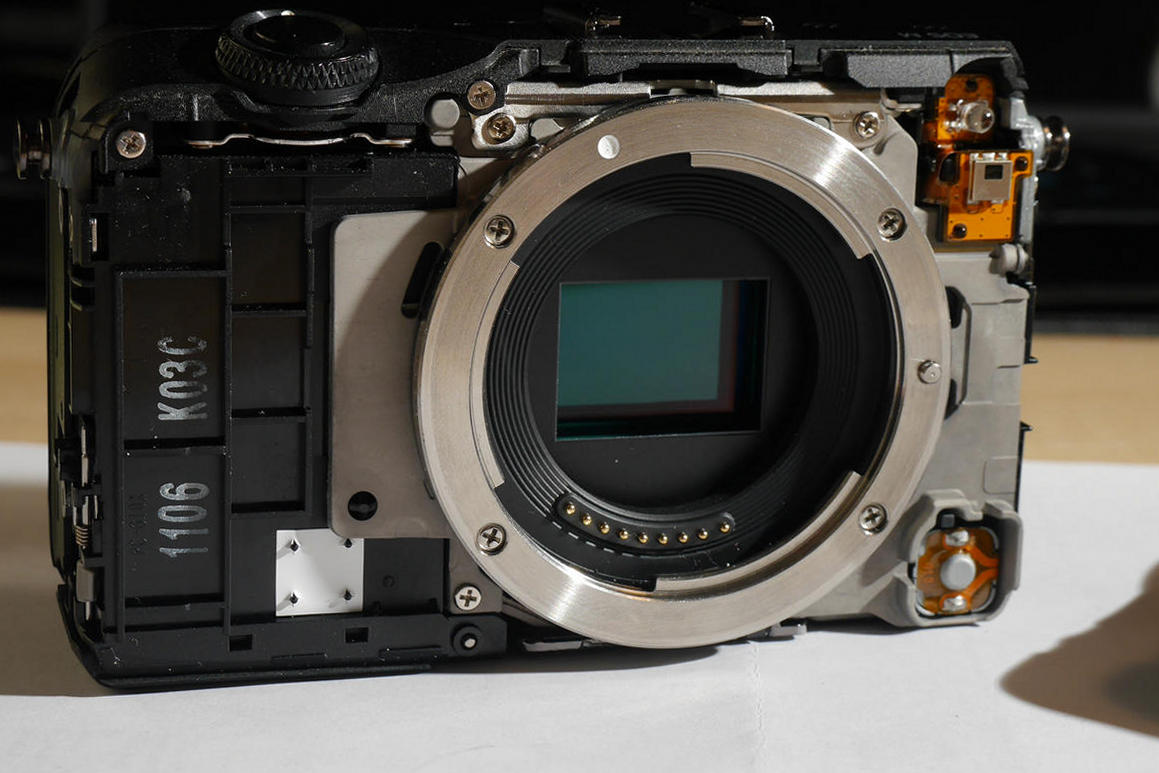
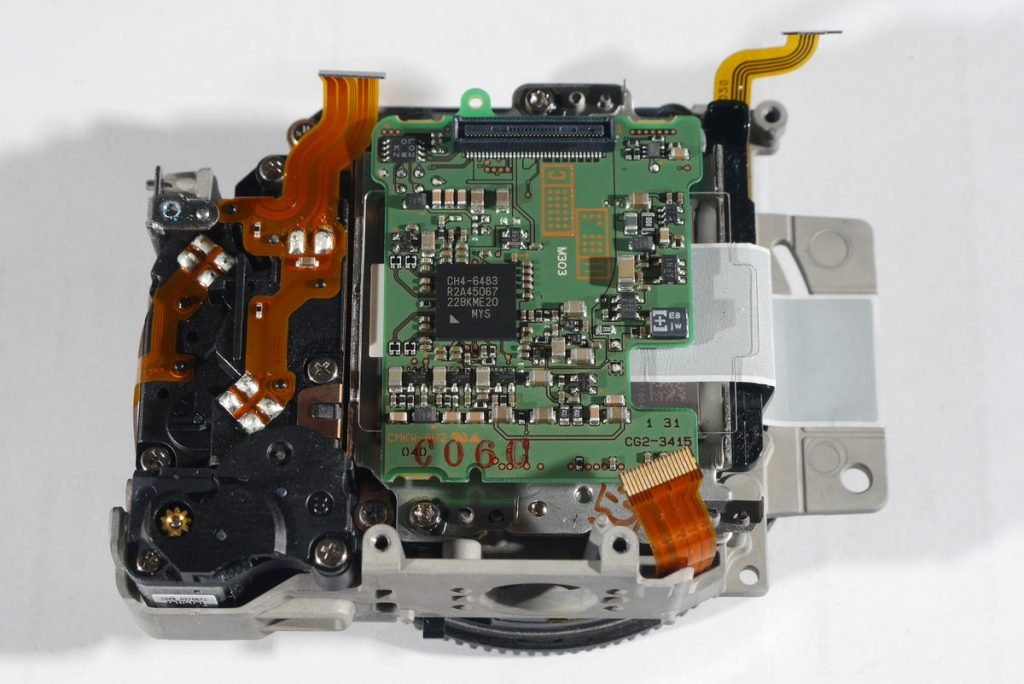
Measure the sensor distance from the chassis. Take measurements on the PCB near the three screws.
Unscrew the three screws and take out the sensor. Unscrew the three screws and separate the plastic frame from the sensor. You can keep the plastic frame with filters in case you need it in the future for other projects.
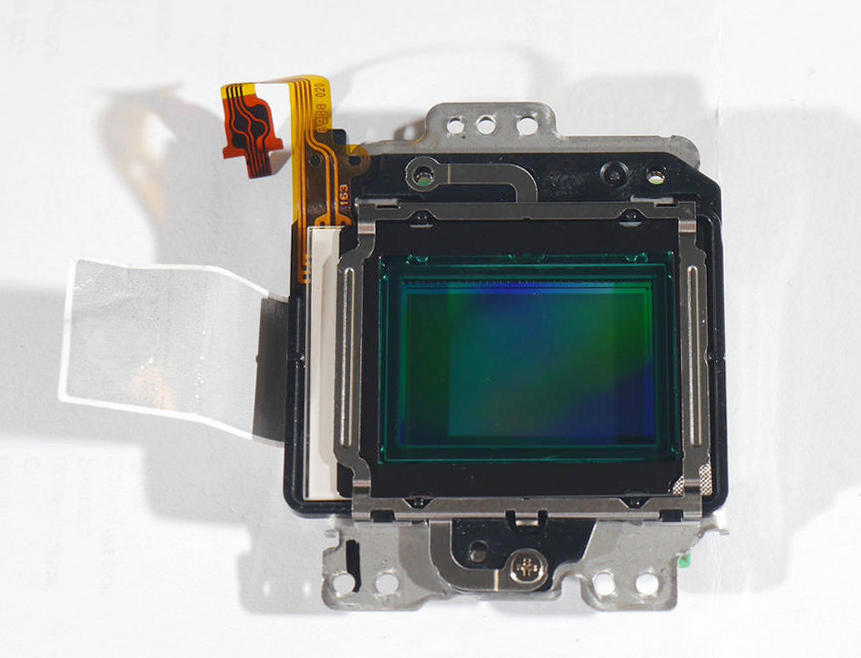
Make sure you do not touch the sensor surface.

Place the sensor back. Subtract 0.3 mm from your measurements and level the sensor according to it. If you do not have measuring tools simply tighten the three screws. This most likely will work and the sensor will be leveled.
Assemble the camera. Please keep the battery door open. Open it before placing the logic board in.
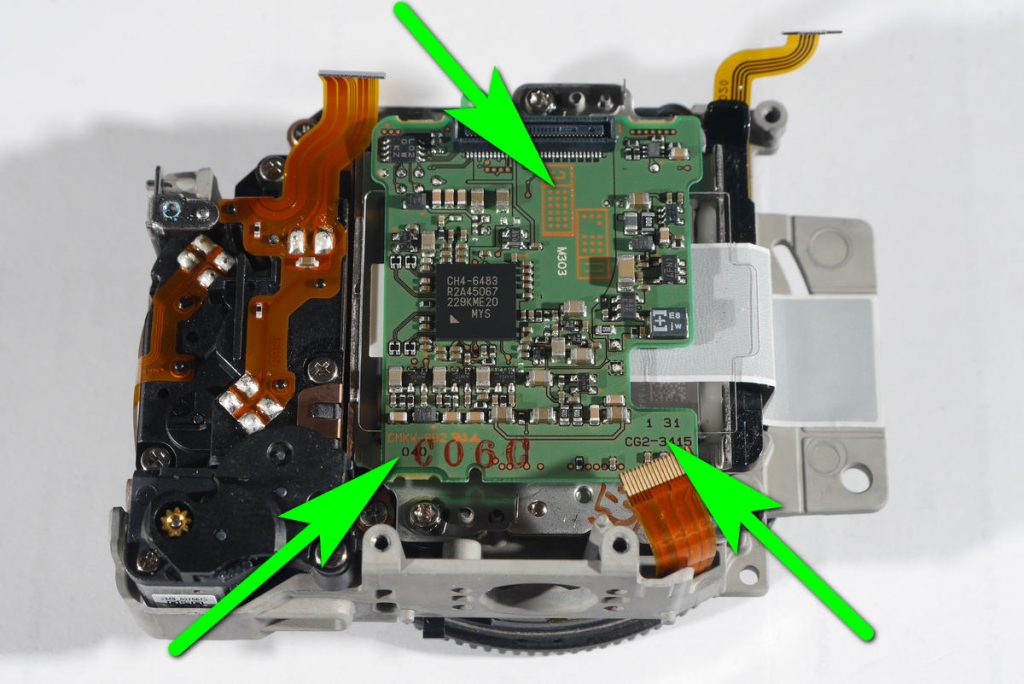
Now there are three screws that need to go exactly in their place. If you mix them the camera will stop taking pictures.
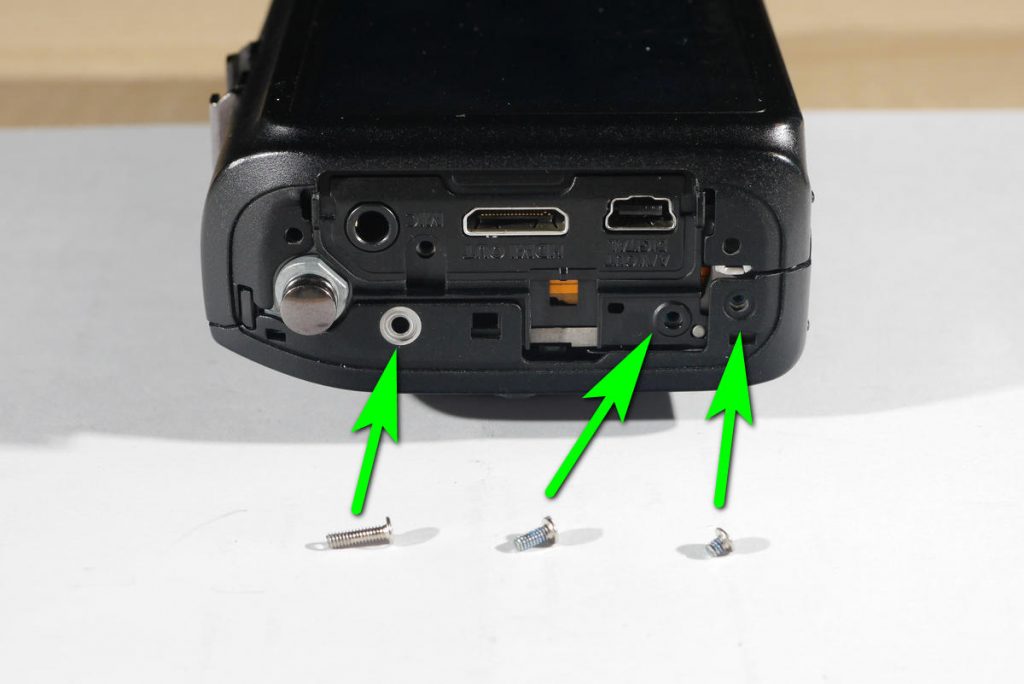
The shortest screw must go in the bottom. The middle screw must go in the middle. The longest screw goes on the top.
Download Our Infrared Photography Guide

- How to take infrared pictures with a digital camera
- What are infrared filters available
- How to process infrared images
- How to modify a digital camera for infrared photography
- How to modify a digital camera to a full spectrum
 Subscribe to our YouTube channel